How to apply Let's encrypt SSL in Windows
Introduction
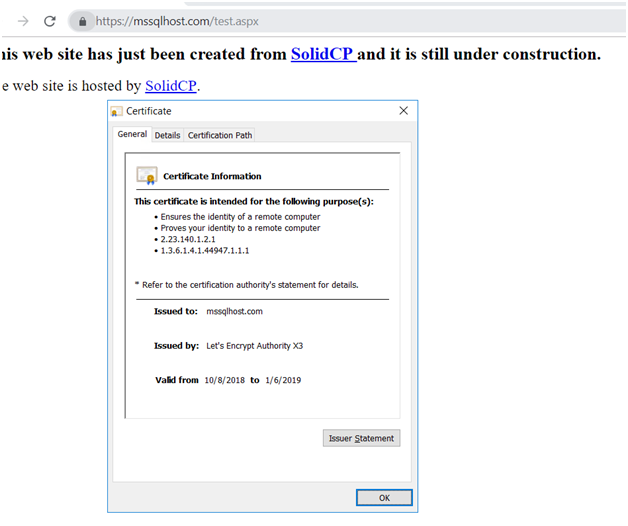
Let’s Encrypt provides free SSL/TLS certificates that help secure your website by enabling HTTPS. On Windows servers, you can easily apply Let’s Encrypt SSL certificates using tools like win-acme or similar ACME clients.
This guide walks you through the process step by step, ensuring your site is protected with a valid SSL certificate and automatically renewed.
Prerequisites
Before applying Let’s Encrypt SSL in Windows, make sure you have:
- A Windows Server (2016/2019/2022 or later).
- A domain name pointing to your server’s public IP address.
- IIS (Internet Information Services) installed and running.
- Administrator access to the Windows server.
- Port 80 and 443 open in your firewall for Let’s Encrypt validation.
Steps to Apply Let’s Encrypt SSL in Windows
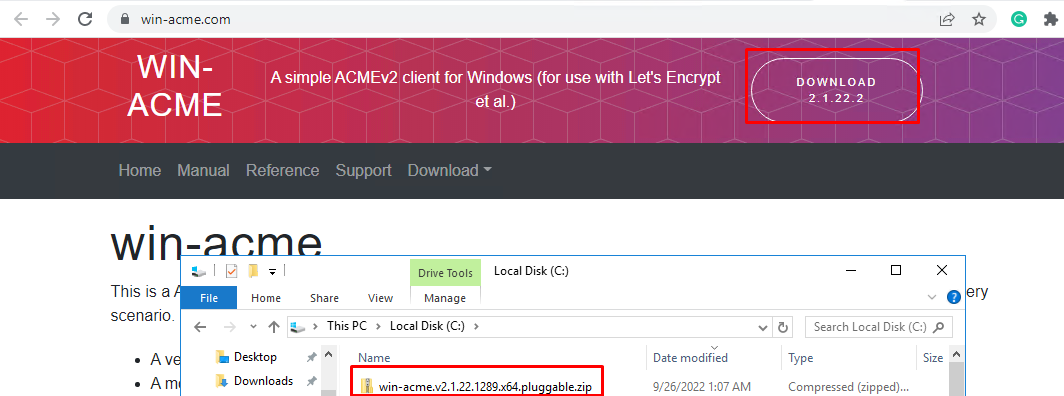
Step 1: Download the ACME Client (win-acme)
- Go to the official win-acme release page
- Download the latest .zip package.
- Extract it to C:\letsencrypt\ or another preferred directory.
Step 2: Generate SSL certificates
If you need to export the certificate, please change the option "PrivateKeyExportable" to "true" in the settings.json and settings_default.json files.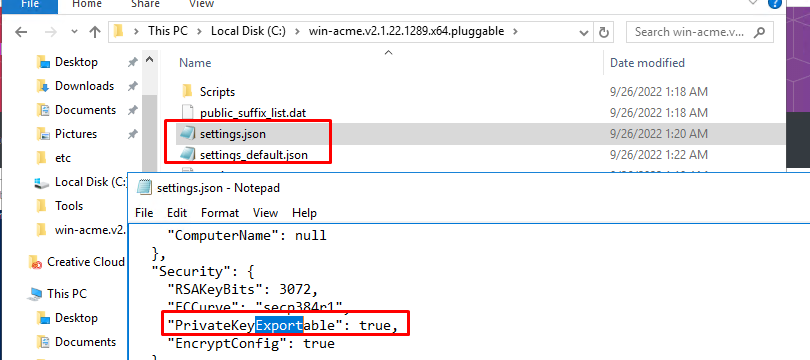
2.1 Run win-acme in PowerShell
- Open Command Prompt as Administrator.
- Navigate to the folder:
cd C:\letsencrypt - Run the client:
.\wacs.exe
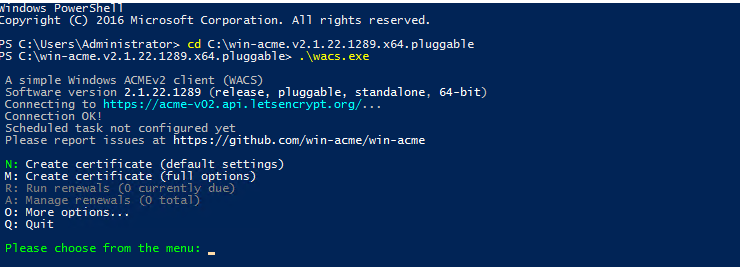
2.2 Create a New Certificate
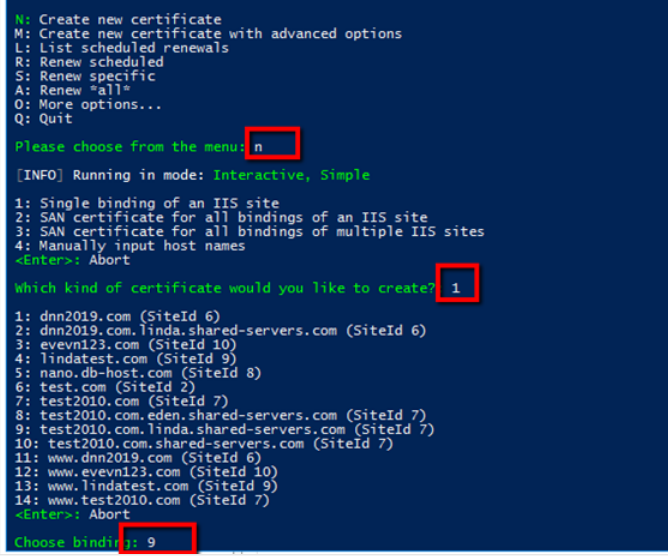
- Select “N” (New Certificate).
- Choose the certificate you would like to create
- Choose the site or hostname you want to secure.
- Enter your email address for Let’s Encrypt notifications.
- Accept the Let’s Encrypt Terms of Service.
Step 3: Verify Your Domain in IIS
Open IIS and click on the automatically generated link.