

How to Attach and Detach a Database in SSMS
Introduction
This tutorial will demonstrate how to detach a database from SQL server and how to attach a new database from database file.
Detach: The database will be removed from the SQL server.
Attach: There will be a new database in the SQL server.
Step-by-Step Guide to Attach and Detach a Database in SSMS
Step 1: Run the SQL Server Management Studio from the Start Menu

Step 2: Detach the Database
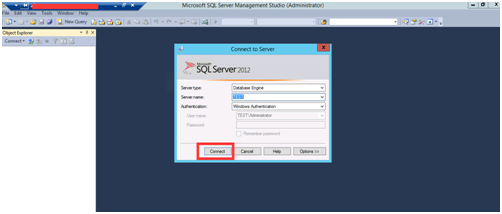
2.1 Connect to the SQL Server
2.2 Choose the database

2.3 Right-click on the database
In this example, the example used is named “test”
2.4 Detach the database
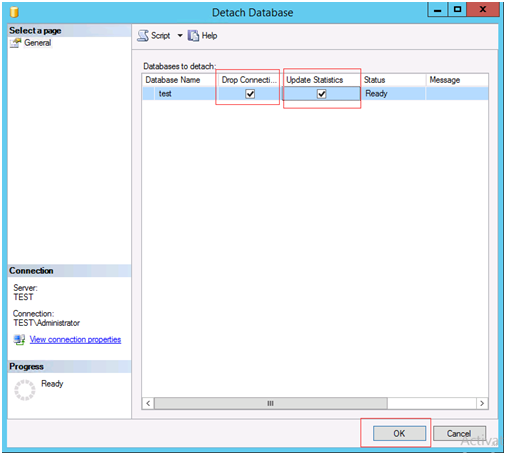
2.5 Detach Successful
When your database has disappeared from the database list, you will know that it has been detached successfully.
Step 3: Attach Database
3.1 Copy your database file to the specific folder.
(Most likely it’s in C:\Program Files\Microsoft SQL Server\MSSQL\DATA)
3.2 Right-click on the database and choose “Attach”

3.3 Click “Add”

3.4 Find the .mdf file of the database
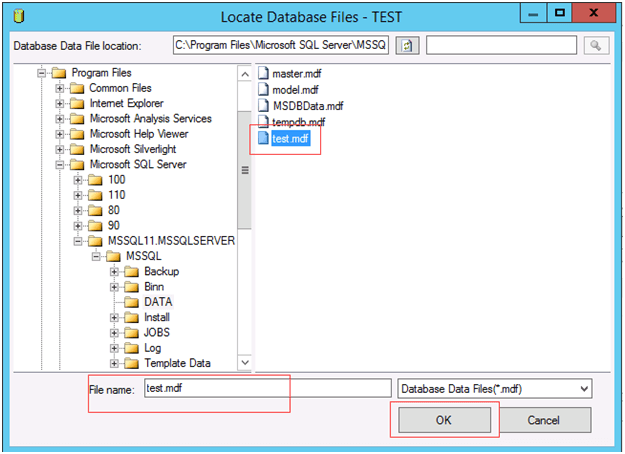
3.5 Click “OK” to attach it to the database

3.6 Attach Successful
If the attach operation is successful, your database will show up in the database list.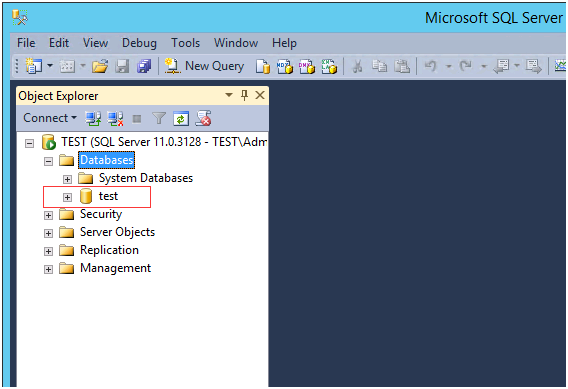
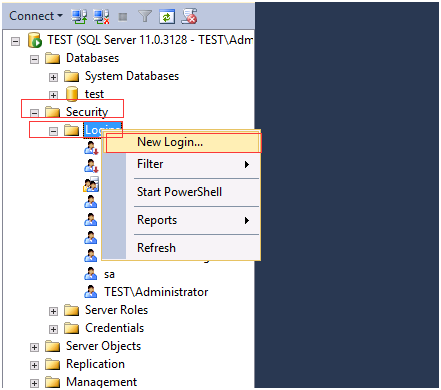
3.7 Create a User
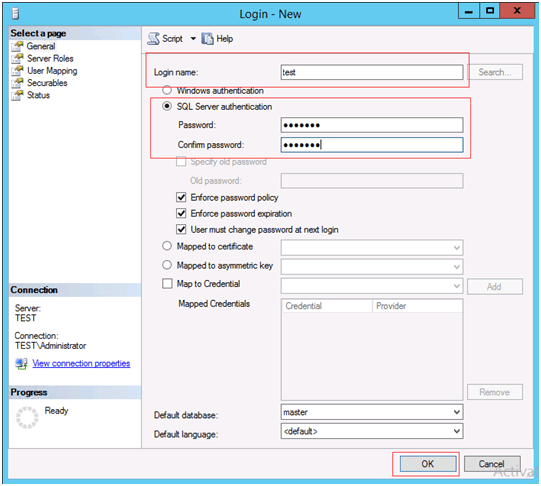
3.8 Choose a SQL Server Authentication and Setup Password
3.9 How to Perform User Mapping to Authorize a User to Use a Certain Database
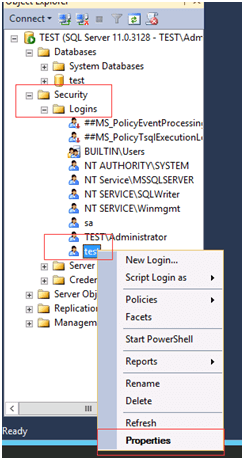
3.9.1 Choose a User
3.9.2 User Mapping
Choose the database that this user can access. In this case, the database name is called “test”. Choose the database role membership for this user. In this example, db_owner and public is used.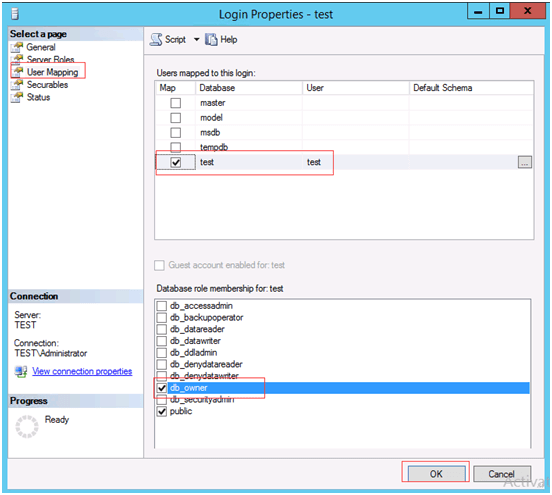
Step 4: Done
Outline