

How to Change the Remote Desktop Port on Windows Server
The default Remote Desktop Protocol (RDP) port for Windows Server is 3389. For security or network management reasons, you might want to change this port.
In this guide, we’ll walk you through remote desktop change port methods using both regedit and PowerShell—perfect for beginners.
In this guide, we’ll walk you through remote desktop change port methods using both regedit and PowerShell—perfect for beginners.
Method 1: Change RDP Port via Regedit
This method uses Regedit remote desktop port editing.
Step 1: Open the Registry Editor
- Press
Windows + Rto open the Run dialog. - Type
regeditand press Enter.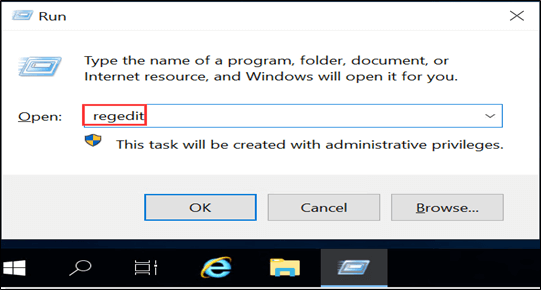
- If prompted by User Account Control (UAC), click Yes.
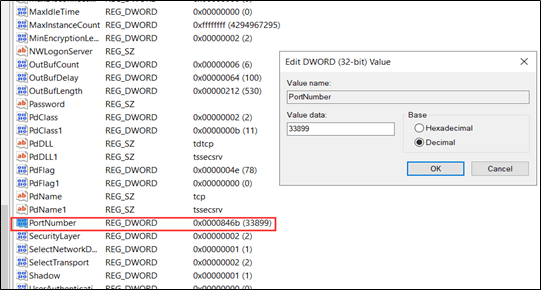
Step 2: Find the RDP Port Setting
Navigate to:
HKEY_LOCAL_MACHINE\System\CurrentControlSet\Control\Terminal Server\WinStations\RDP-Tcp\PortNumberStep 3: Modify the Port
- Double-click PortNumber.
- Select Decimal.
- Enter your new port number (recommended range: 1024–65535).
- Click OK.
Method 2: Change RDP Port with PowerShell
If you prefer commands, this is the change remote desktop port registry method via PowerShell.
Step 1: Open PowerShell
- Press
Windows + S, type PowerShell, and select Windows PowerShell.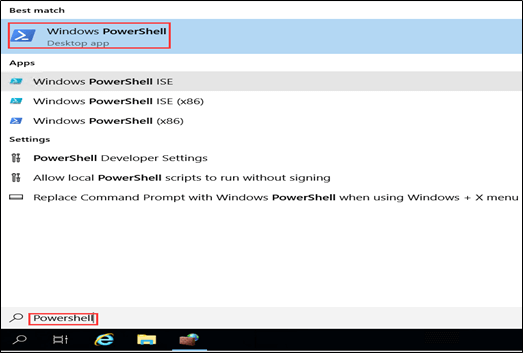
Step 2: Run the Command
Set-ItemProperty -Path 'HKLM:\SYSTEM\CurrentControlSet\Control\Terminal Server\WinStations\RDP-Tcp' -Name 'PortNumber' -Value 33899
Replace 33899 with your chosen port number.
Step 3: Open New RDP Port in Firewall
The newly set RDP port must be open in the firewall before it can be used. About how to open a port in Windows Firewall, please refer to How to Open a Port in Windows Firewall.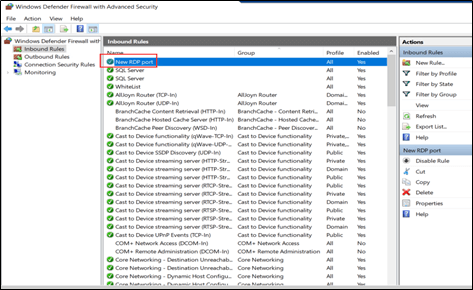
Step 4: Restart Remote Desktop Service
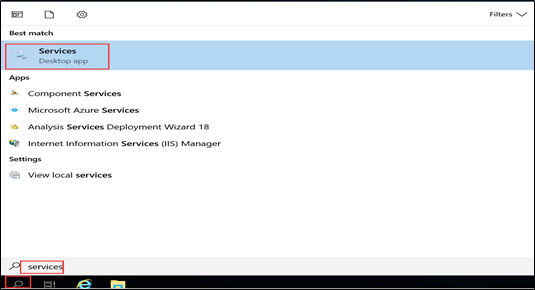
- Type services in the Search box. Open Services
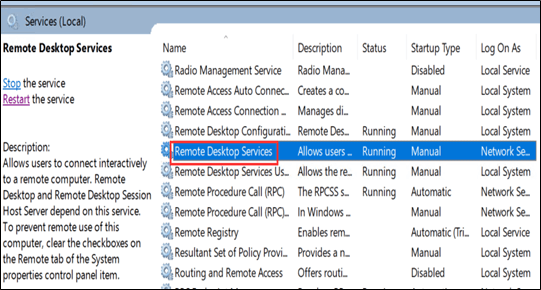
- Restart Remote Desktop Services
Step 5: Test the Connection
When connecting from an RDP client:IP_Address:Port
Example:10.10.XX.XX:33899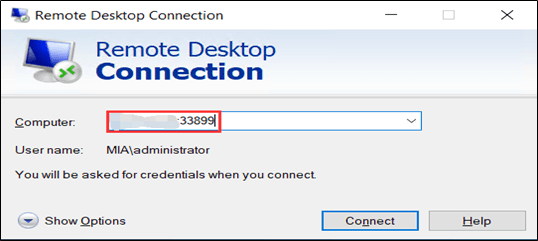
Tips for Beginners
- Always note the new port before logging out, or you may lock yourself out.
- Keep the default port open temporarily during testing.
- Choose a port above 1024 for better compatibility.
Keywords:
remote desktop change port, regedit remote desktop port, registry, remote desktop port, change rdp port registry, change remote desktop port registry, change rdp port regedit, change rdp port windows server, change rdp port powershell, rdp port change regedit, regedit rdp port change
Outline