


VPS Security: How to Check if a Linux Server is Hacked
Introduction
If you manage a Linux server—whether it’s a VPS, a dedicated server, or a cloud server—keeping it secure is your top priority. Hackers often leave hidden users, malicious processes, or scheduled jobs to maintain access.
This step-by-step guide will walk you through how to detect if your Linux server has been hacked and how to strengthen your server security. Following these checks will help you protect your server, improve VPS security, and ensure long-term cloud server security.
Why Linux Server Security Checks Are Important
Many admins only notice security issues after performance drops or data breaches occur. But regular server protection checks help you:
- Detect intrusions early before damage occurs
- Maintain stable VPS performance by removing cryptominers or malware
- Ensure cloud server security and prevent misuse of your server for spam or attacks
- Protect sensitive data and comply with security standards
- Reduce downtime and repair costs
Proactive monitoring is the key to a secure server. Let’s go step by step.
Step-by-Step Guide to Secure Server Linux
Step 1: Monitor Users’ Activities
1.1 Check the Currently Logged-in Users
Run the command:
w
This shows the list of users currently logged in.
- Copy the IP addresses you see.
- Go to iplocation.net to check where these IPs are from.
- If you find unknown or unusual IPs, your server may be compromised.
1.2 Check Recently Logged-in Users and IPs
Run:
last -10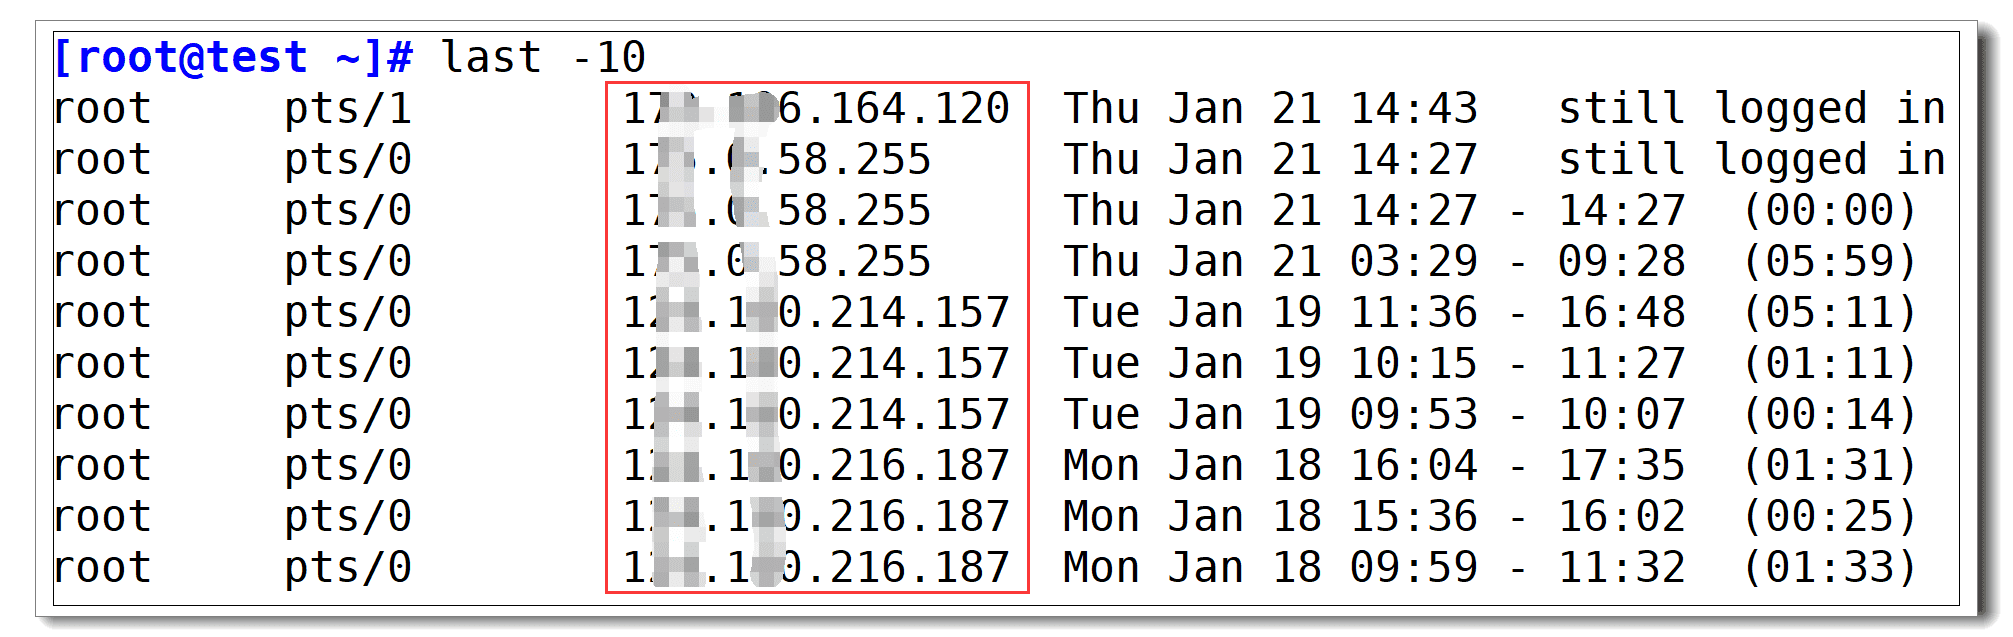
This displays the 10 most recent logins. Look for:
- Unknown usernames
- Suspicious login times (like 3 AM when nobody should be working)
- IP addresses you don’t recognize
1.3 Check User Bash History
If you suspect a specific user:
su <user>
history
Replace <user> with the username. This shows recent commands. Look for suspicious commands like wget, curl, or script execution.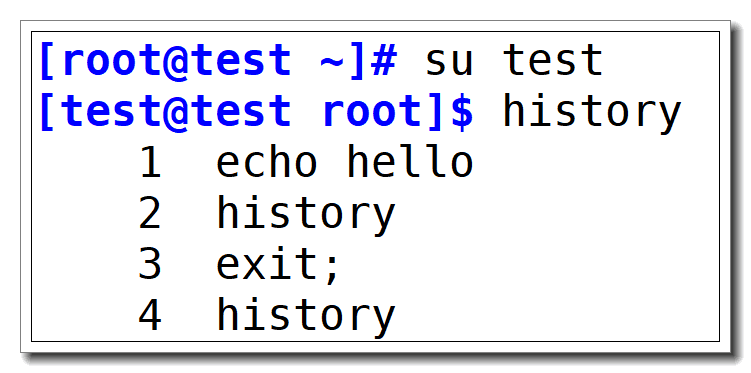
Step 2: Check System Processes
2.1 Check High CPU/Memory Usage
Run:
top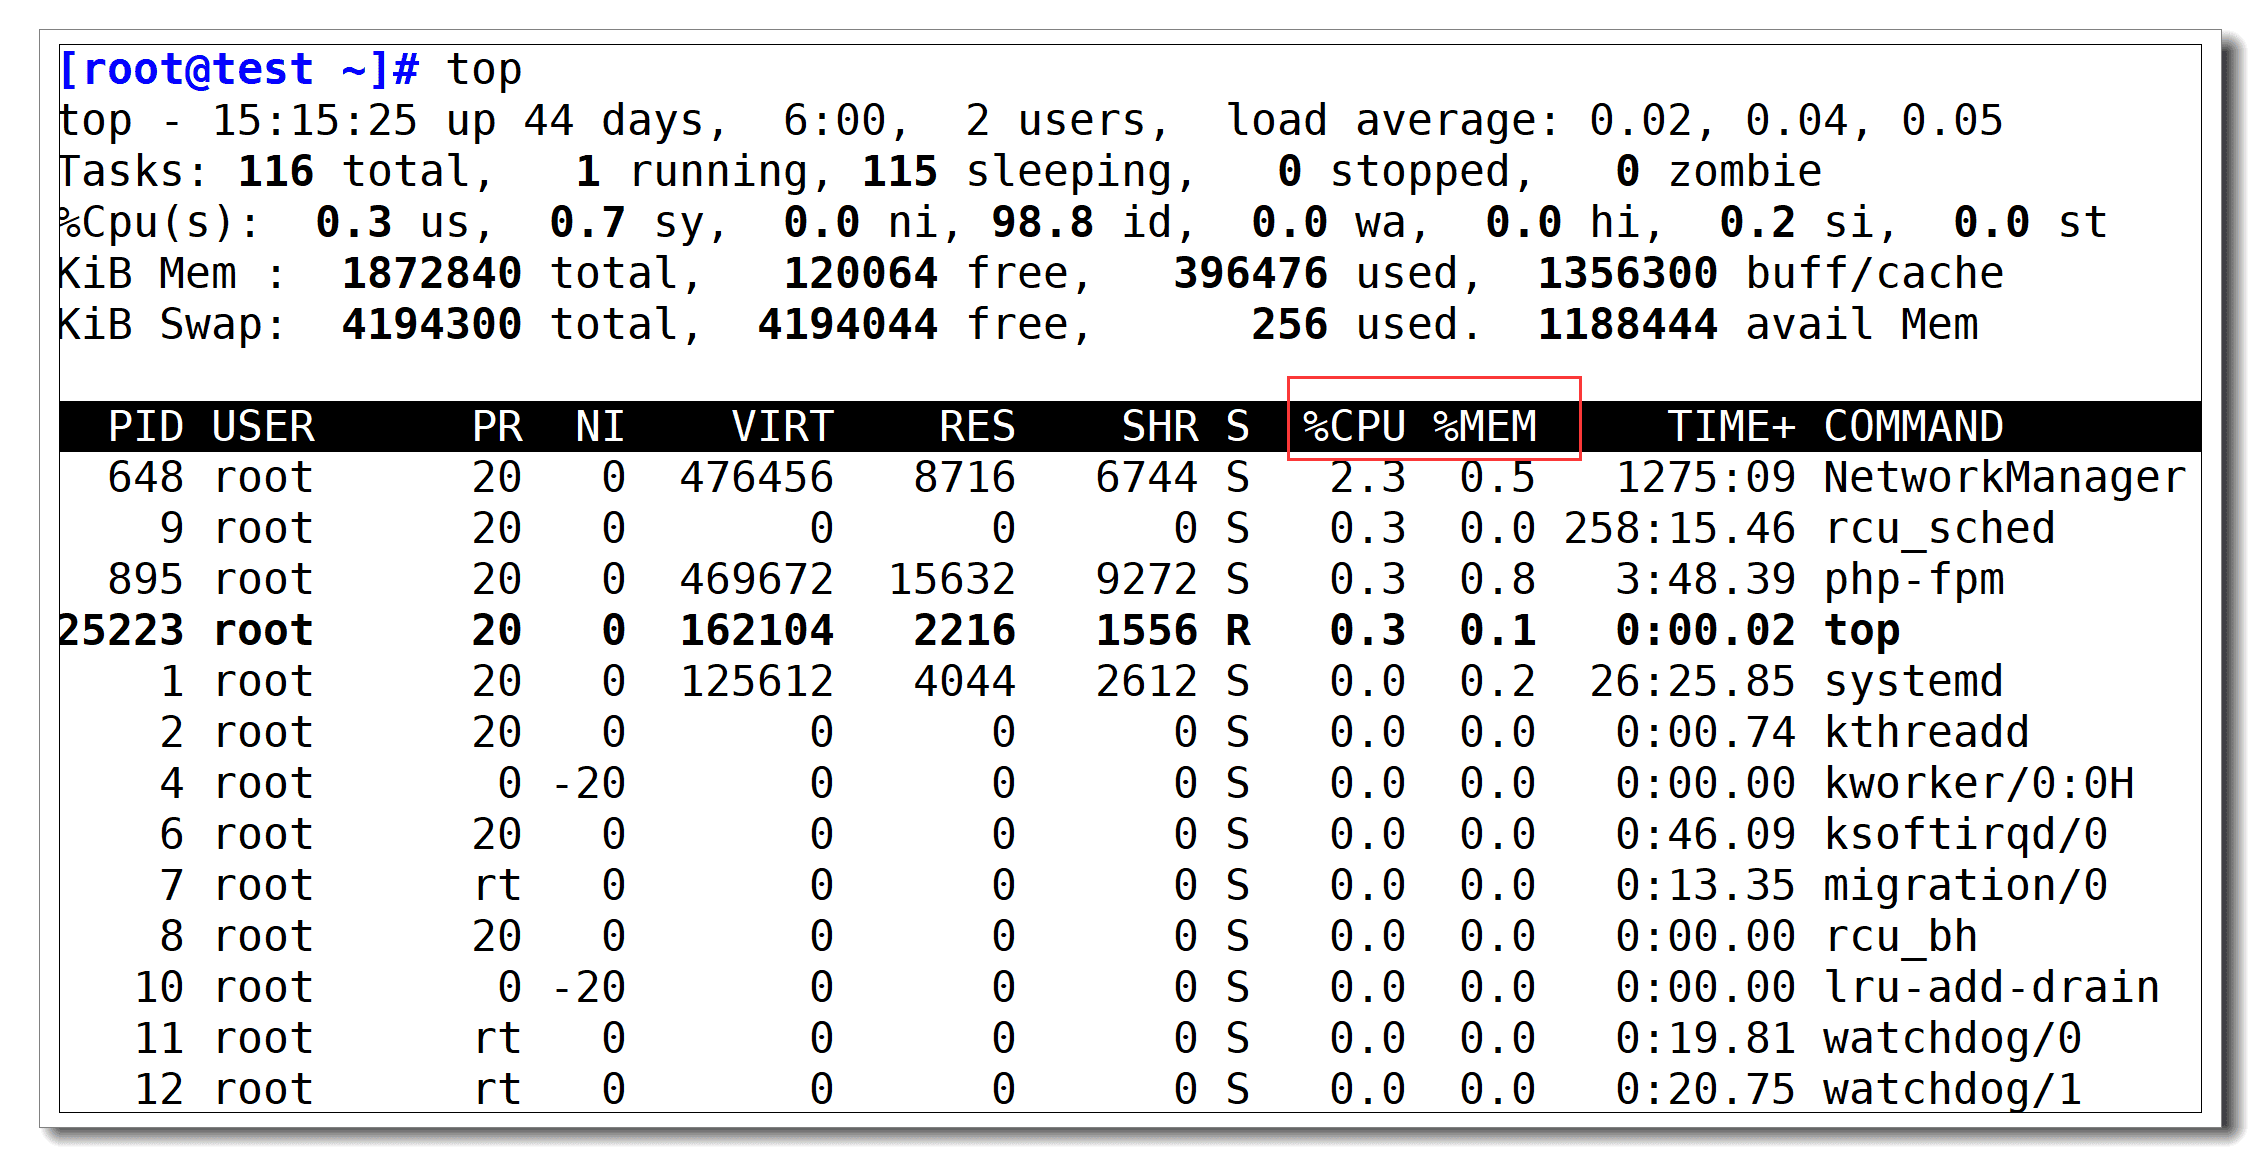
Look for processes consuming more than 30% CPU or memory. If you don’t recognize them, it could be malware (e.g., crypto miners).
2.2 List All Processes
Run:
ps -aux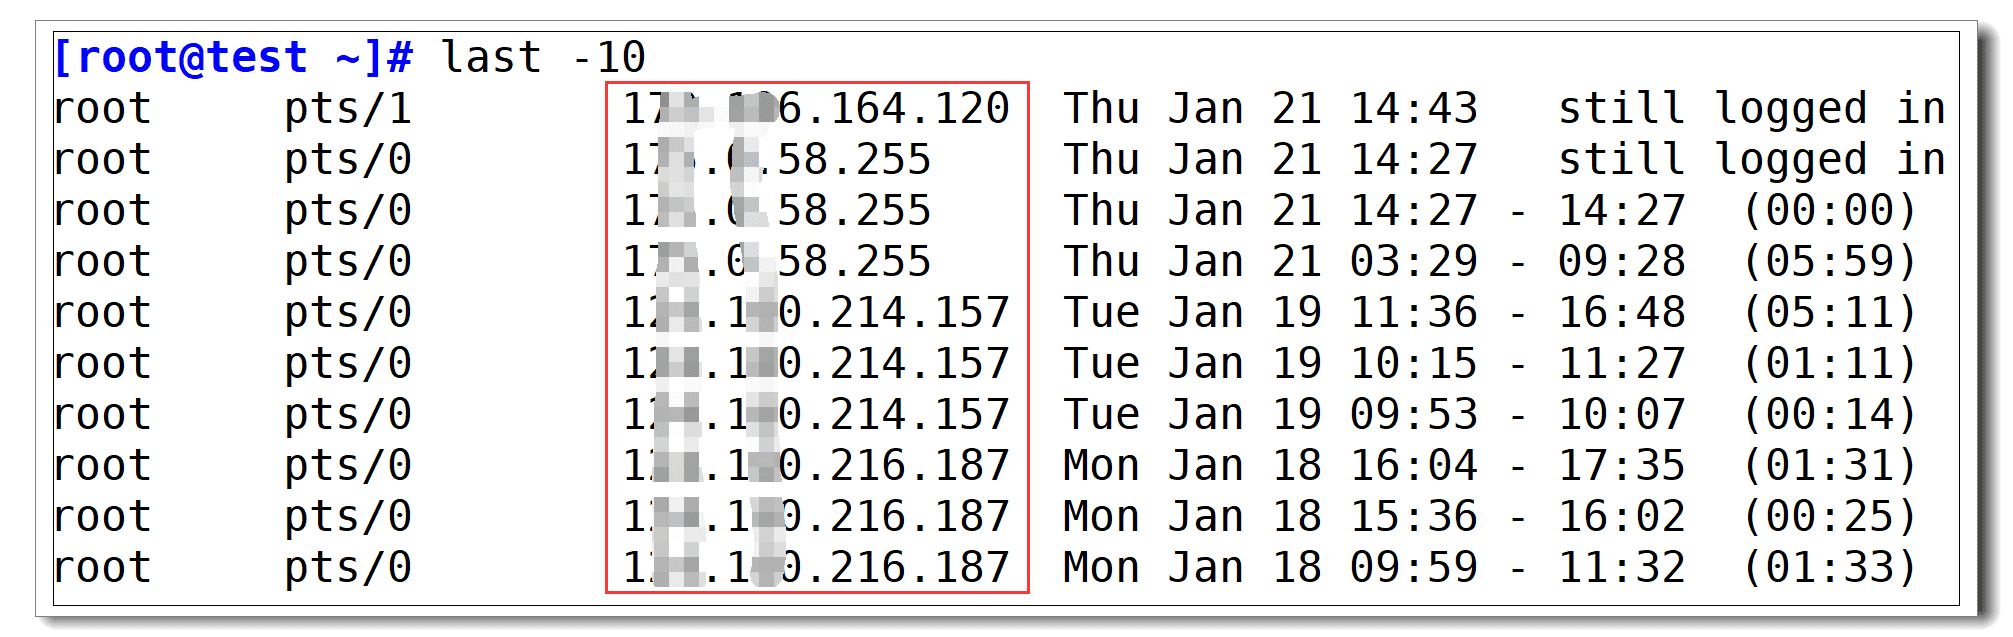
This gives a full process list. Review unusual processes that don’t belong to standard services.
2.3 Check Files Used by Suspicious Processes
Run:
lsof -p PIDReplace PID with the process ID. This shows the files the process is using.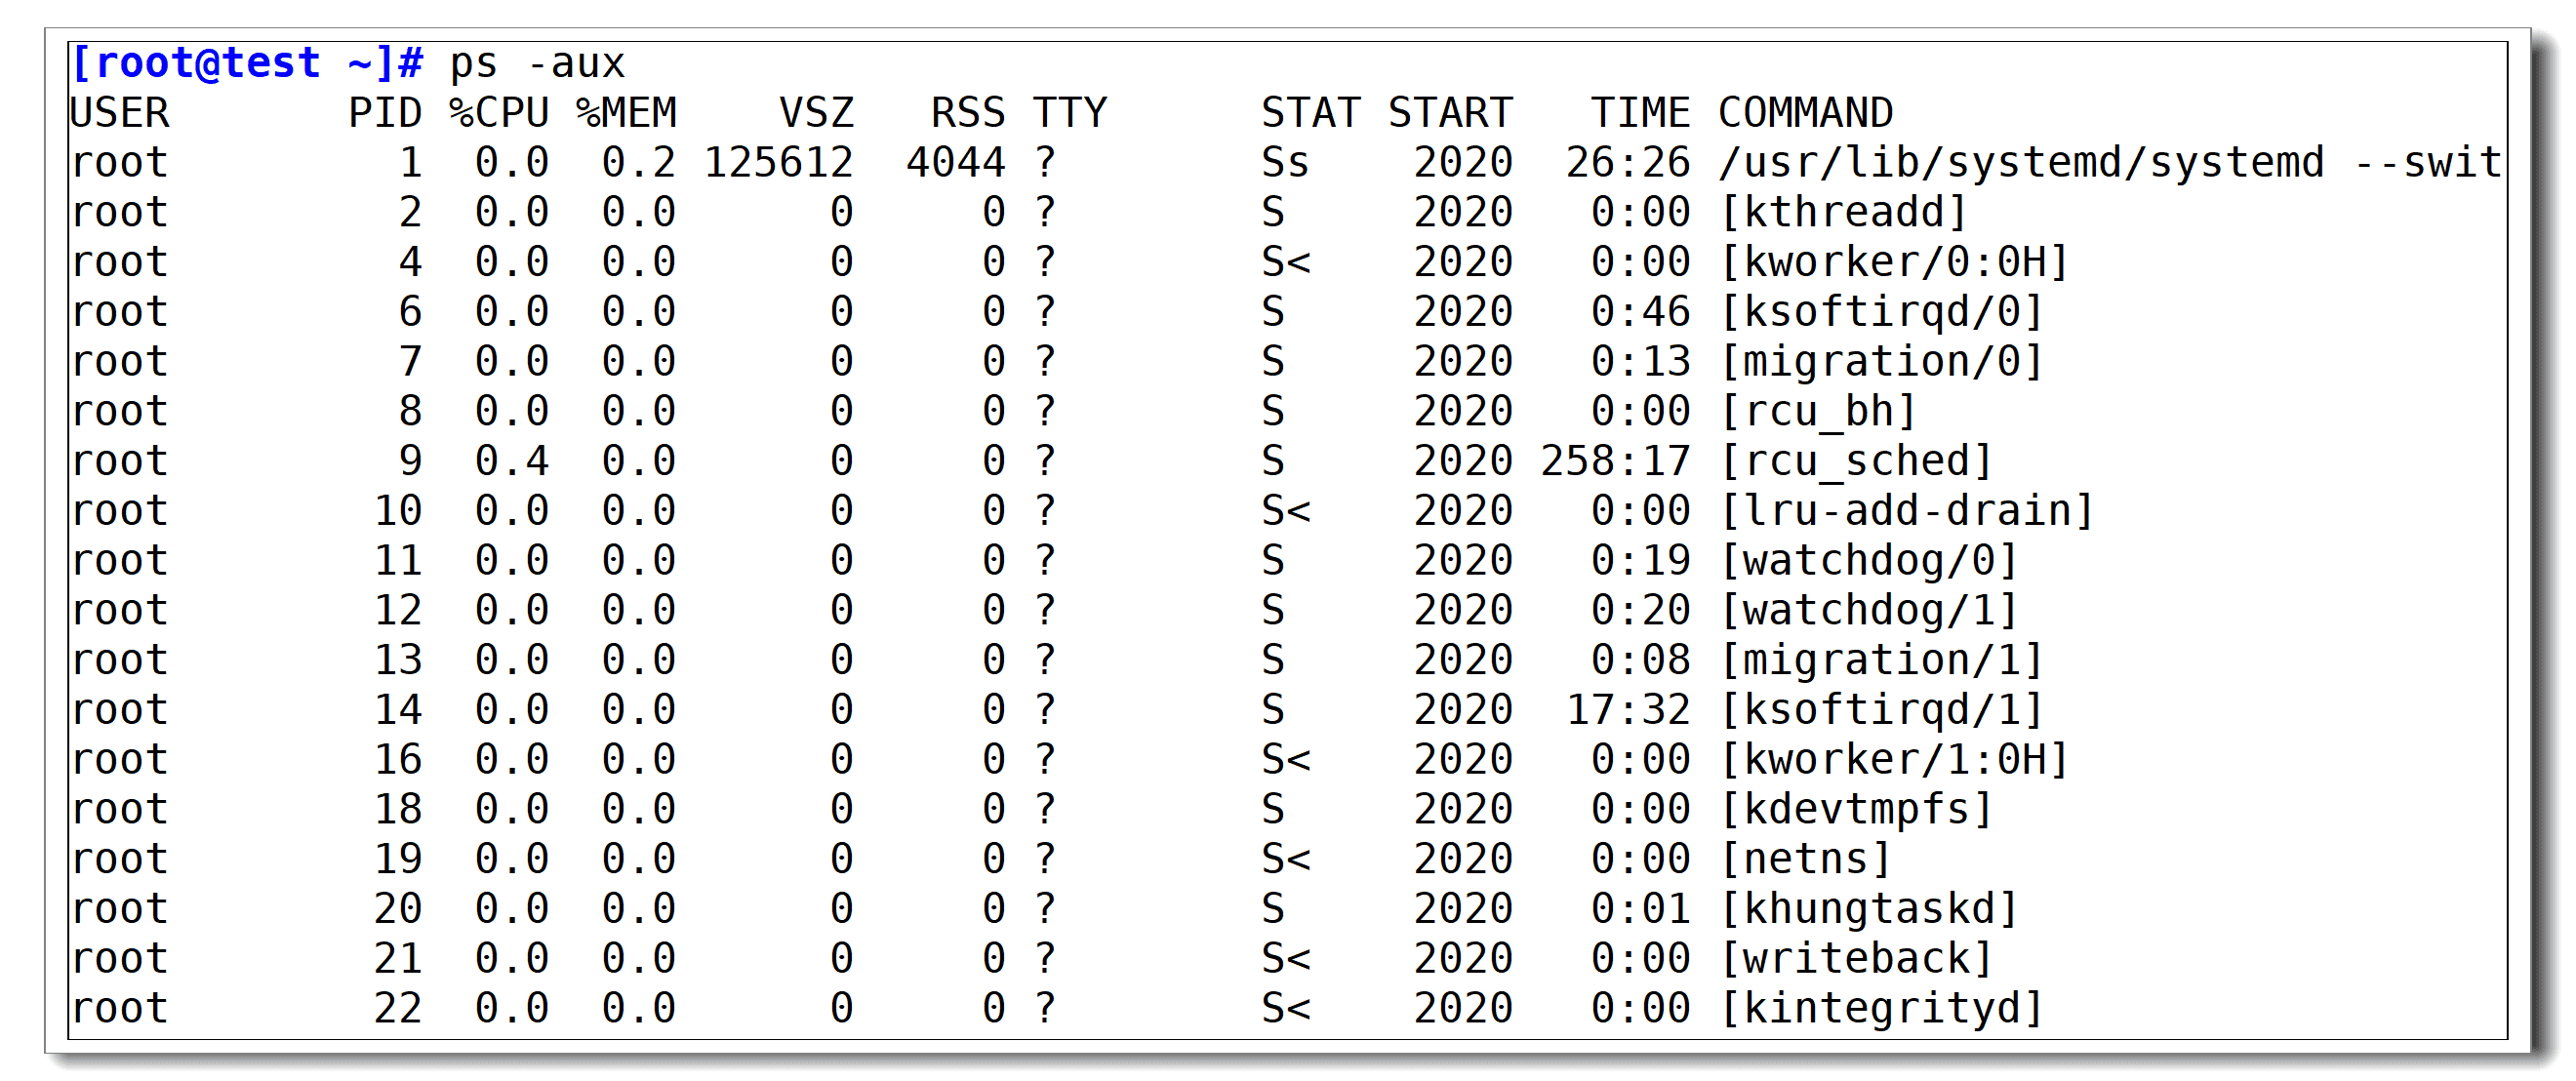
If lsof is not installed:
CentOS: yum install -y lsof
Ubuntu: sudo apt-get install -y lsof
2.4 Identify the Executable File of a Process
Run:
ll /proc/PID/exeReplace PID with the suspicious process ID. If you find unknown .sh or .py scripts, your Linux server may be hacked.
Step 3: Check Network Traffic
3.1 Monitor Bandwidth Usage
Run:
iftop -n -PThis shows real-time traffic.
TX: outgoing trafficRX: incoming trafficTOTAL: total usagepeak: peak bandwidth
If iftop is missing:
CentOS: yum install -y iftop
Ubuntu: sudo apt-get install -y iftop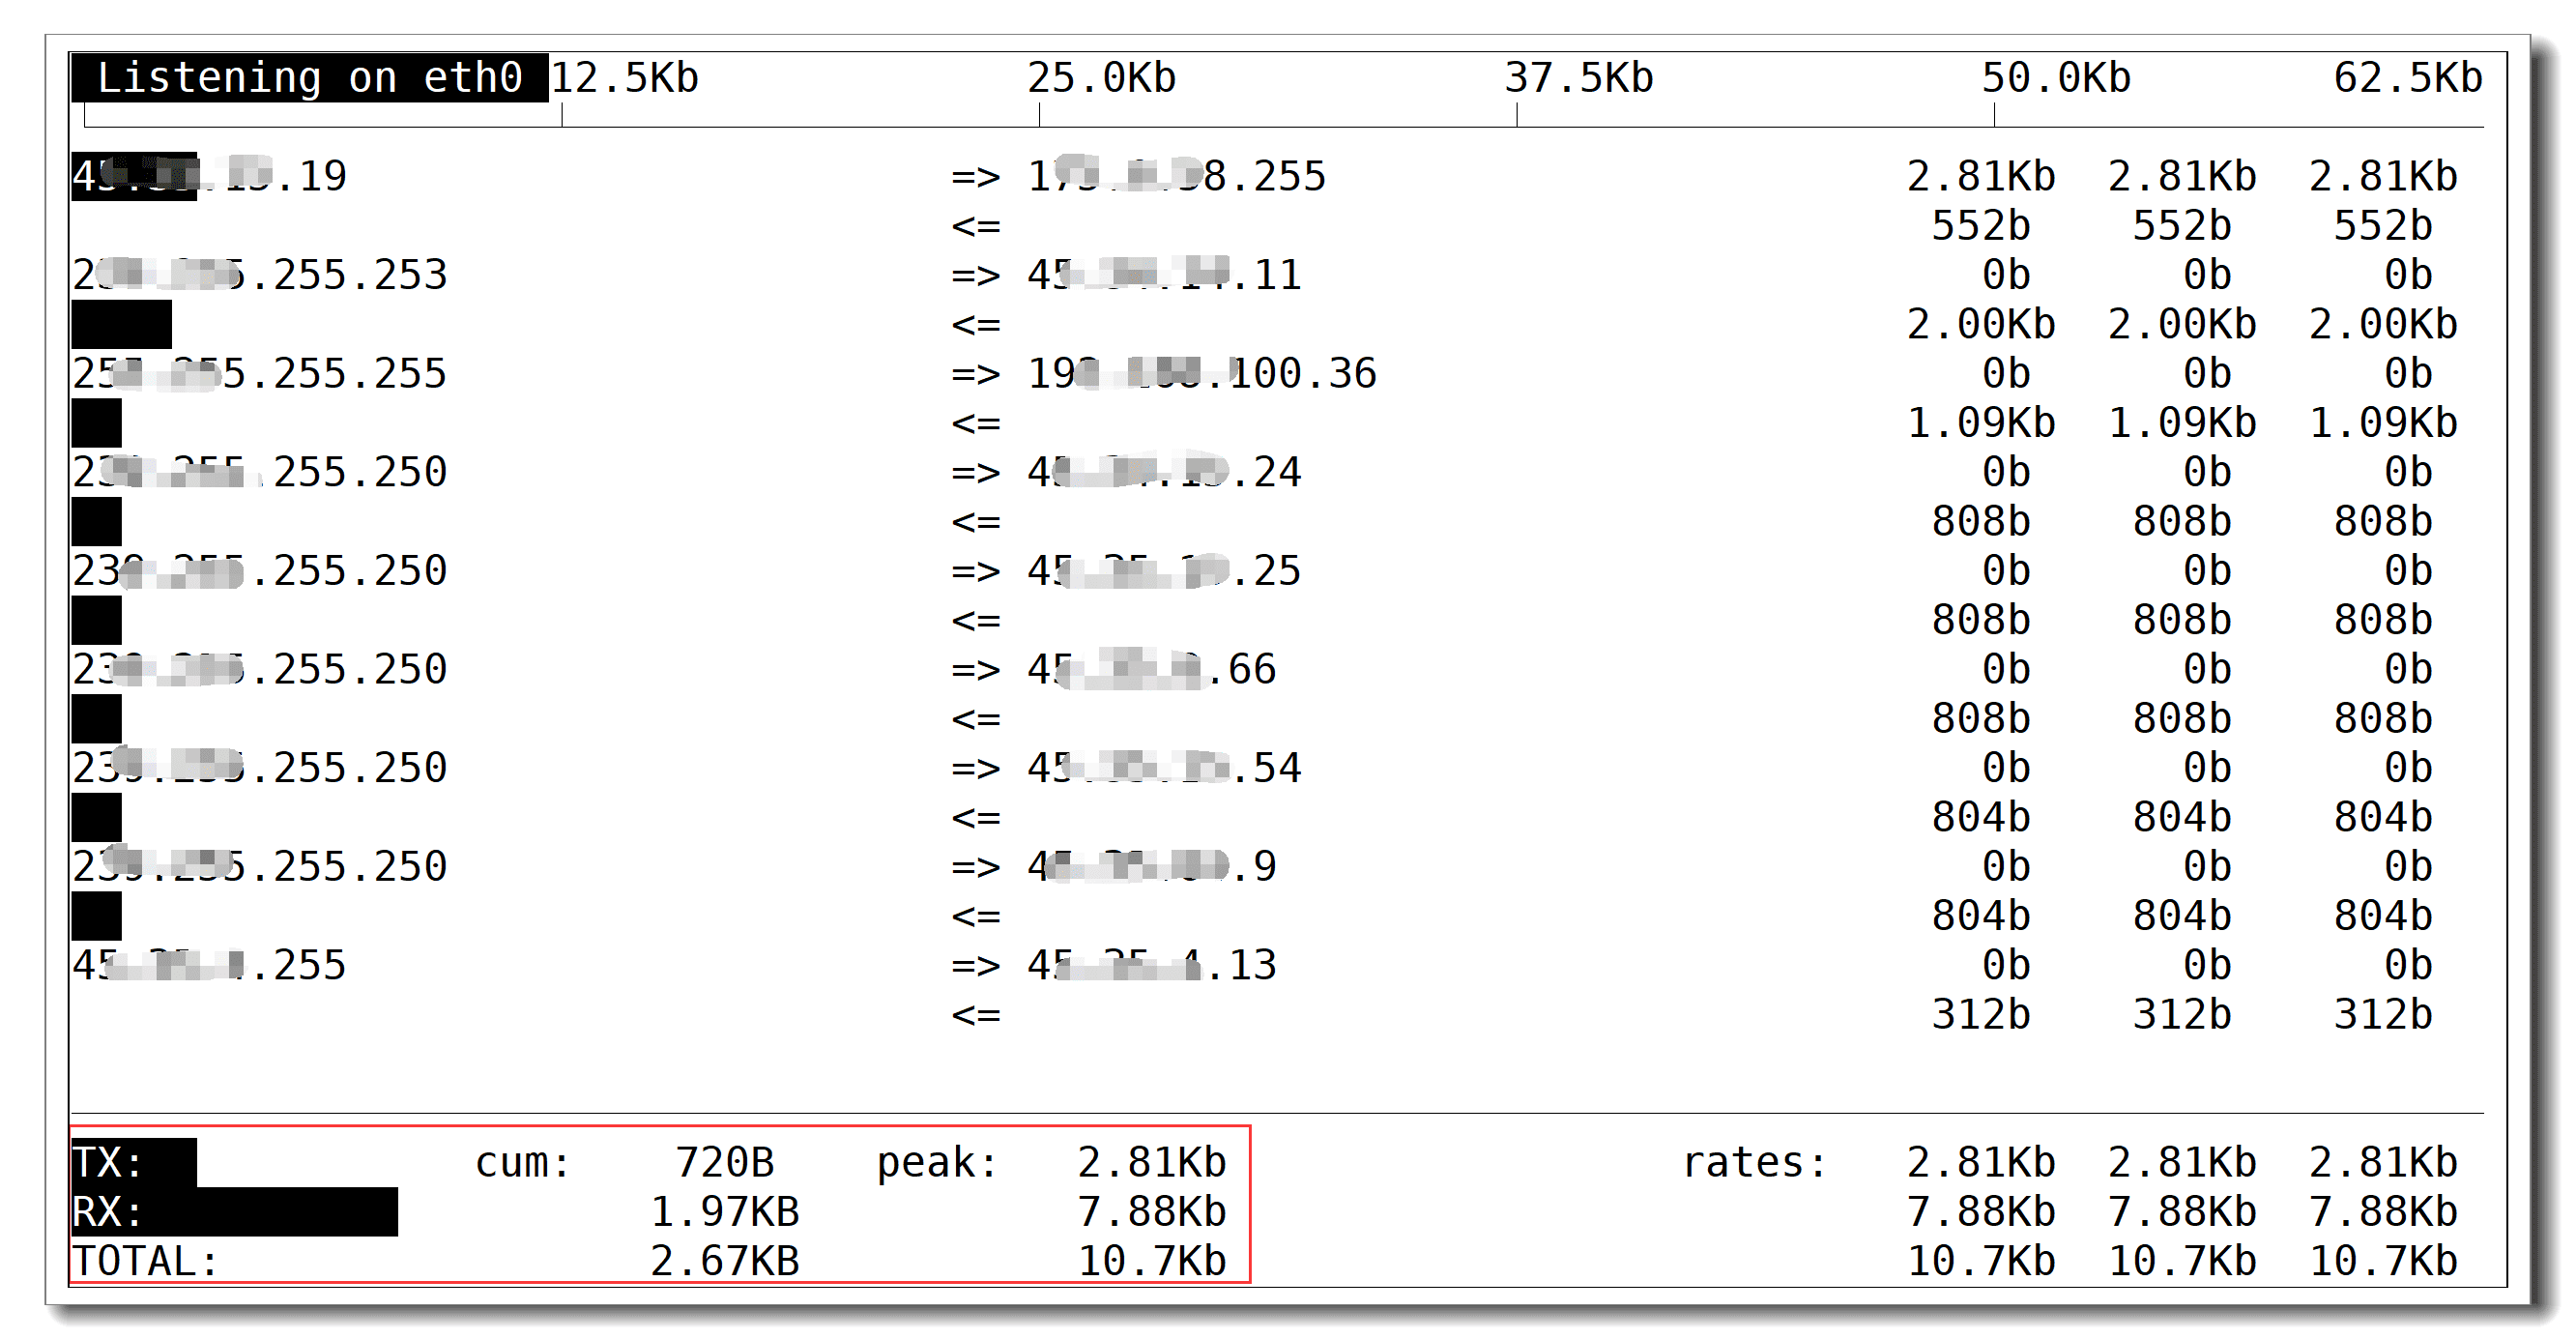
If you see suspicious remote hosts or unusually high outbound traffic, it could mean your server has been hacked.
3.2 Check Listening and Active Ports
Run:
netstat -la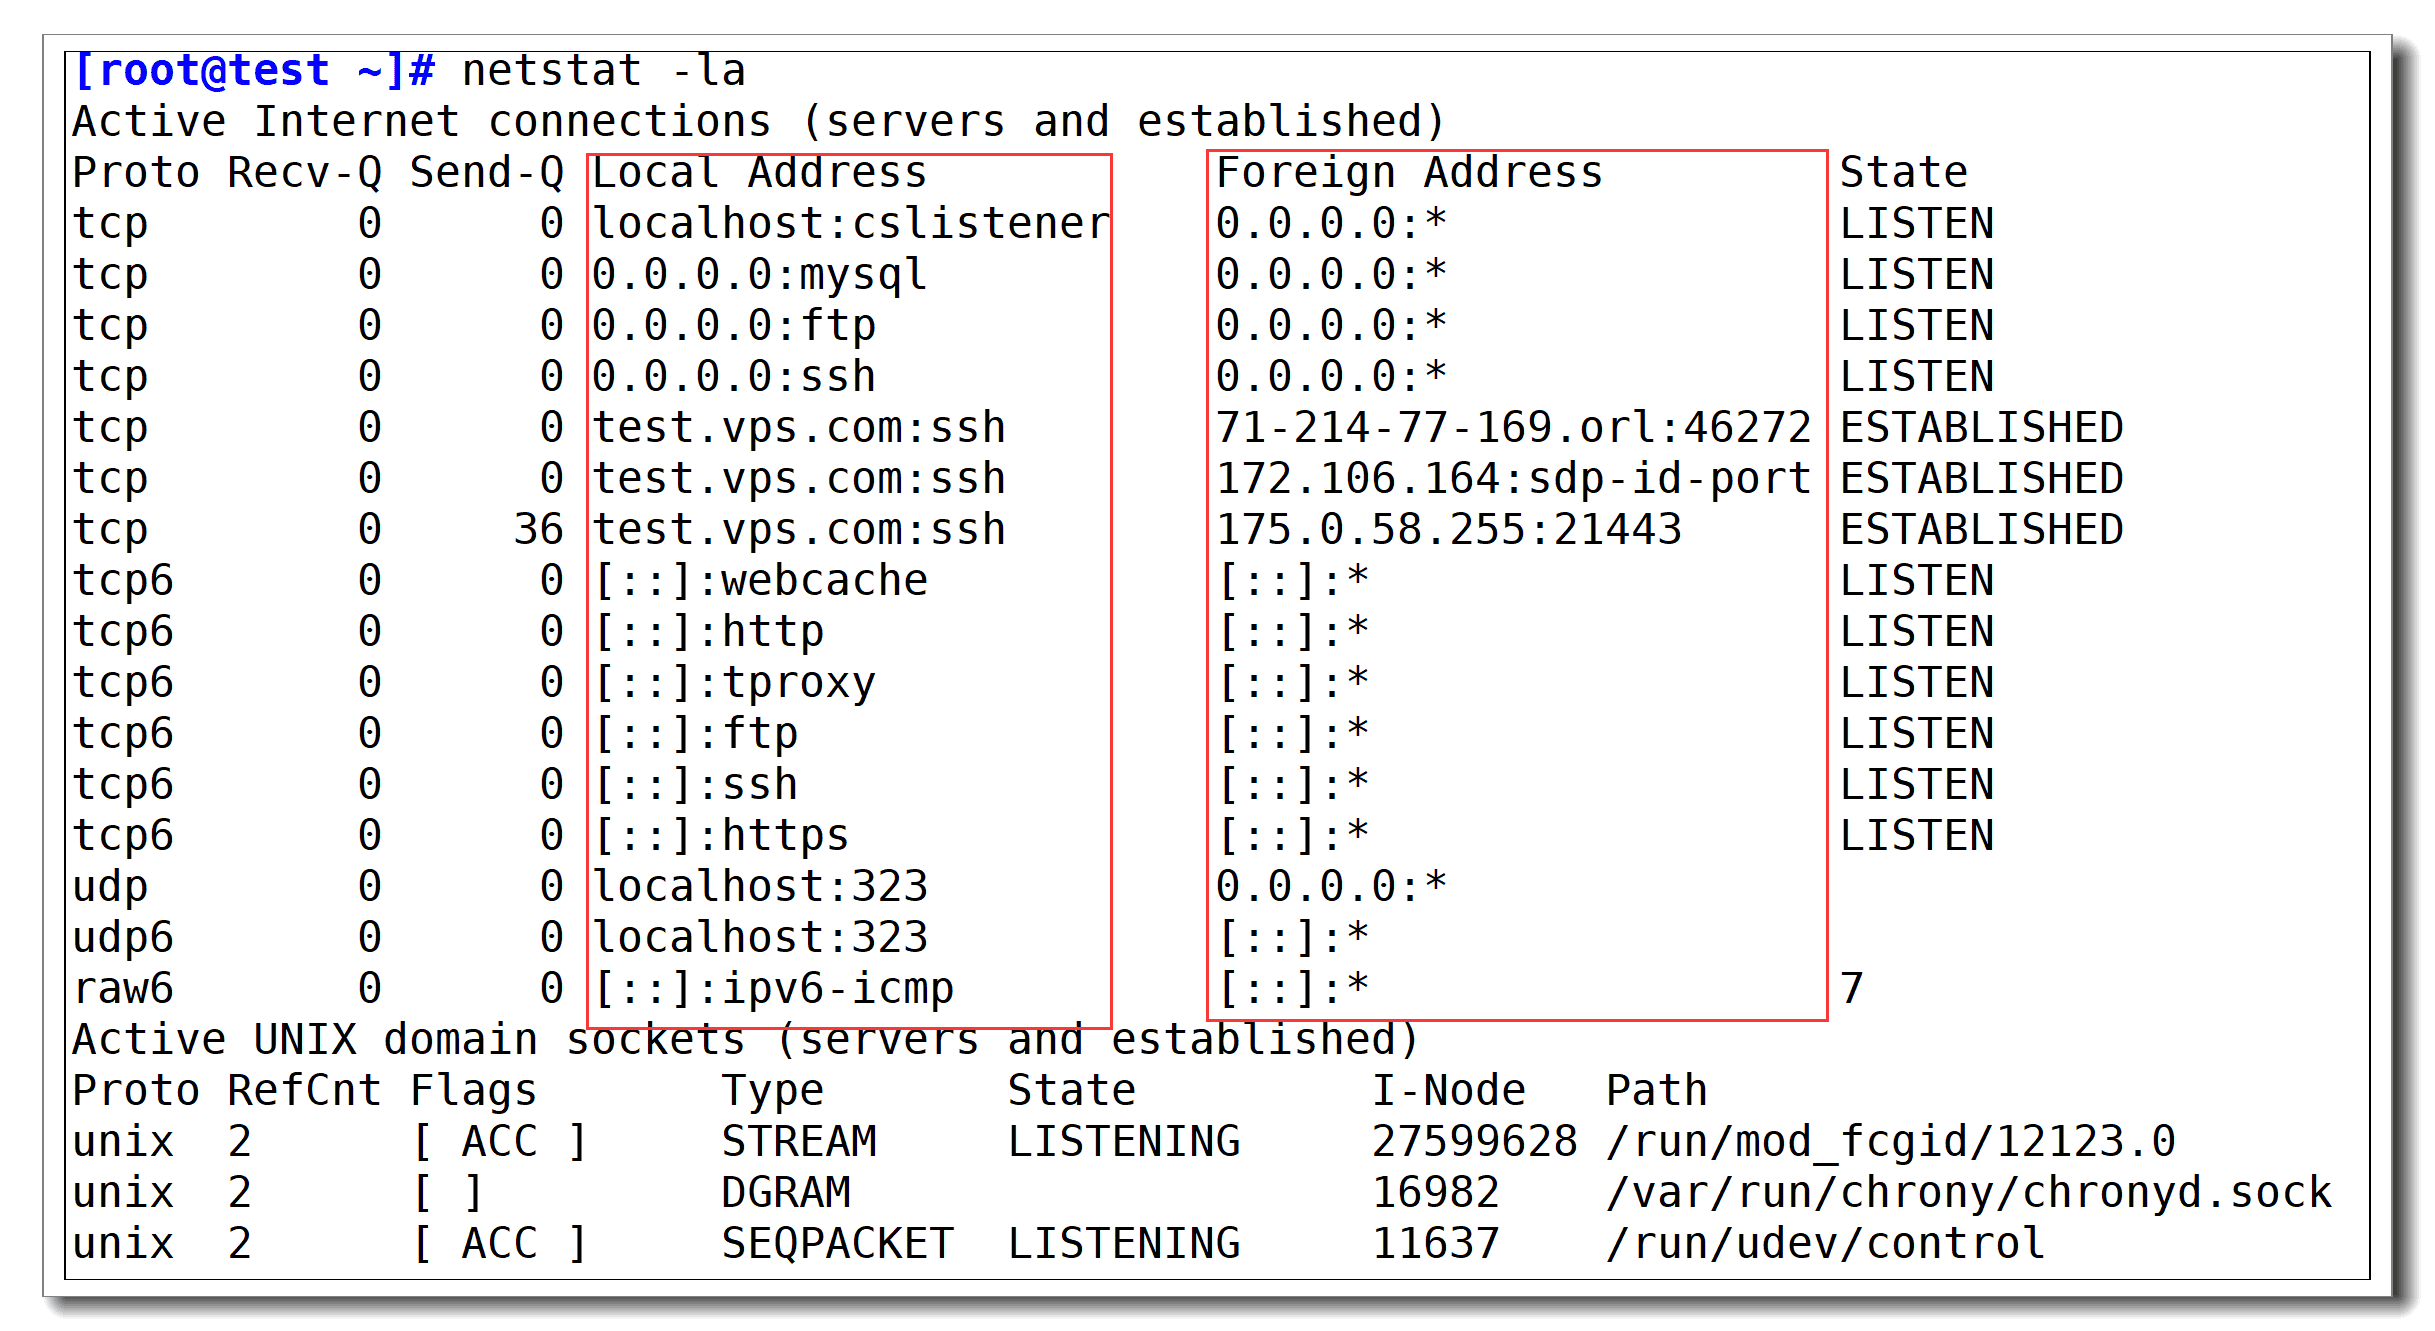
Look for unusual open ports. Attackers often use high-numbered ports to maintain secret connections.
Step 4: Check Cron Jobs
Hackers may add malicious cron jobs to execute scripts automatically.
- View current user cron jobs:
crontab -l- View cron jobs for another user:
crontab -u username -l- Check system-wide cron jobs:
- ls -la /etc/cron.hourly
- ls -la /etc/cron.daily
- ls -la /etc/cron.weekly
- ls -la /etc/cron.monthly
- Edit/remove suspicious jobs:
crontab -e
service crond restart
Malicious cron jobs are a common way for hackers to maintain persistence.
Step 5: Check for Rootkit Infections
Rootkits are one of the most dangerous threats. They can hide processes and files, making them hard to detect.
5.1 Install chkrootkit
- CentOS:
cd ~
wget ftp://ftp.pangeia.com.br/pub/seg/pac/chkrootkit.tar.gz
tar xvf chkrootkit.tar.gz
cd chkrootkit-*
make sense
./chkrootkit- Ubuntu:
apt-get update
apt install chkrootkit -y
chkrootkit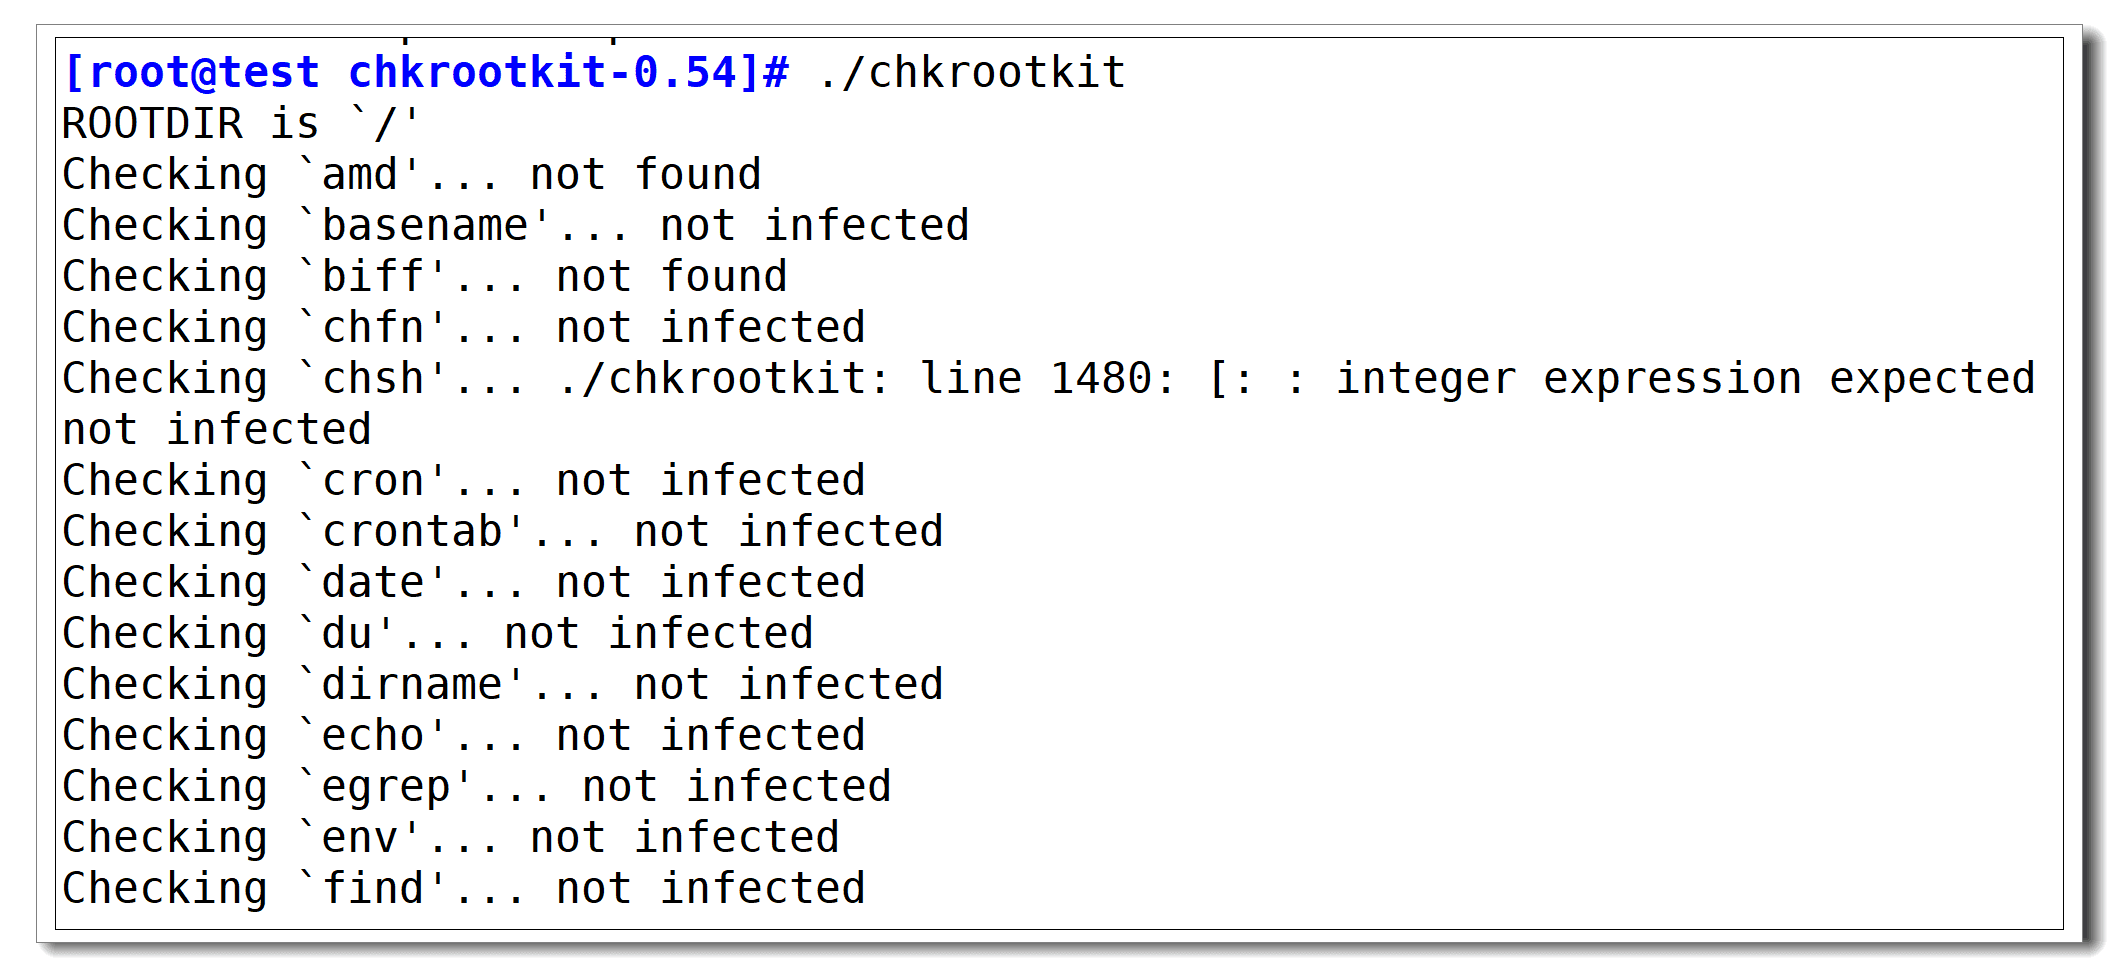
5.2 Run chkrootkit
If it detects infections, take action immediately:
- Quarantine or remove infected files
- In severe cases, reinstall the system to fully protect your server
Conclusion
Checking your Linux server for suspicious activity is essential for server protection. By monitoring users, analyzing processes, inspecting network traffic, reviewing cron jobs, and scanning for rootkits, you can greatly improve your VPS security and cloud server security.
Most importantly, make these checks part of your regular server security routine. Hackers rely on negligence. Staying proactive ensures a secure server and helps you protect your server against future attacks.
secure server, vps security, server security, cloud server security, server protection, protect server