

How to Install and Configure DHCP Server on Windows
Introduction
If you are new to networking, you may wonder: What does DHCP mean?
DHCP (Dynamic Host Configuration Protocol) is a service that automatically assigns IP addresses, subnet masks, default gateways, and DNS settings to computers in your network. This makes network management much easier because you don’t need to manually configure IP addresses for each device.
A DHCP server is the system that provides these settings. In this guide, we will explain step by step how to install and configure DHCP server on Windows Server 2019. Don’t worry if you’re a beginner — everything is written in simple steps.
In this guidance, we will cover:
- Installing the DHCP server role in Windows
- Configuring DHCP settings by creating a DHCP scope
- Verifying that the client server receives an IP address from the DHCP server
Precondition Before Installing DHCP
Before starting the installation, make sure you meet these requirements:
- Assign a static IP address to your Windows Server.
- Have administrative privileges to install roles.
Detailed Guide to Install and Configure DHCP
Step 1: Install DHCP Server Role on Windows
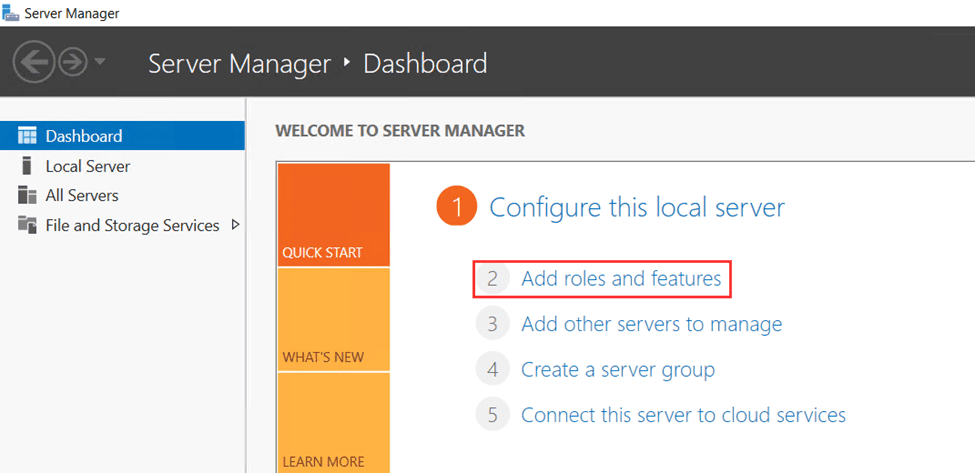
1.1 Open Server Manager
- Click the Start menu.
- Open Server Manager.
- In the dashboard, click Add Roles and Features.
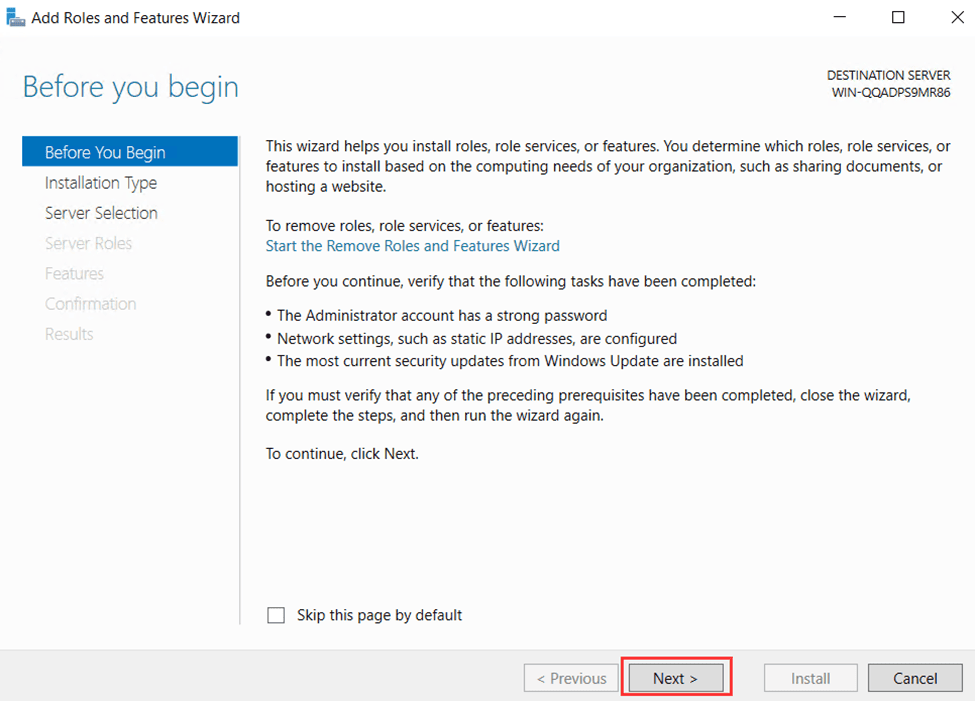
1.2 Start the Role Installation Wizard
- On the "Before You Begin" screen, just click Next.
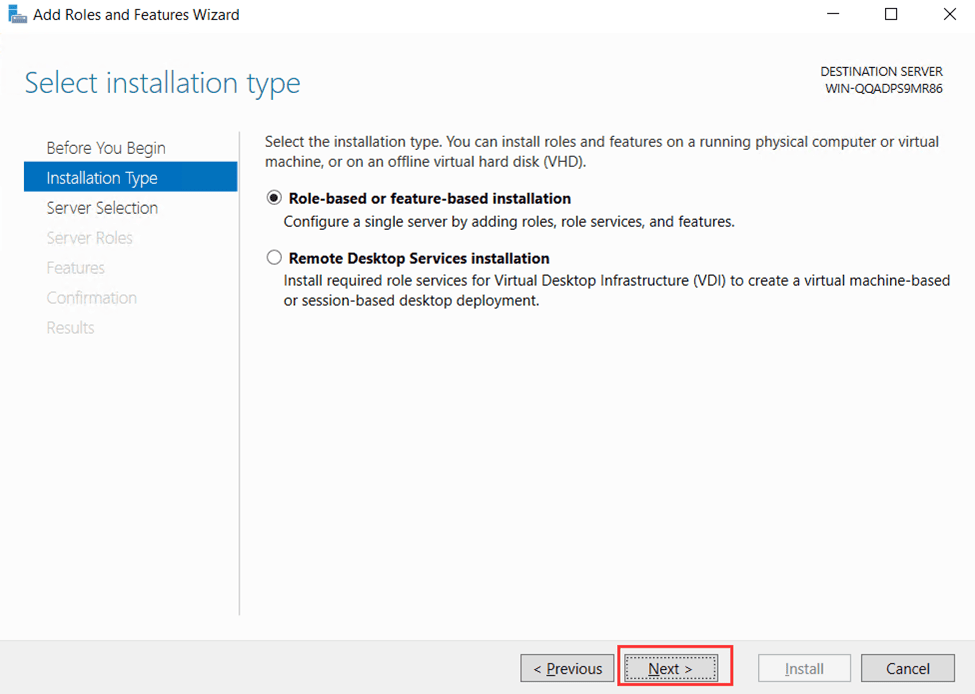
1.3 Select Installation Type
- Choose Role-based or feature-based installation.
- Click Next.
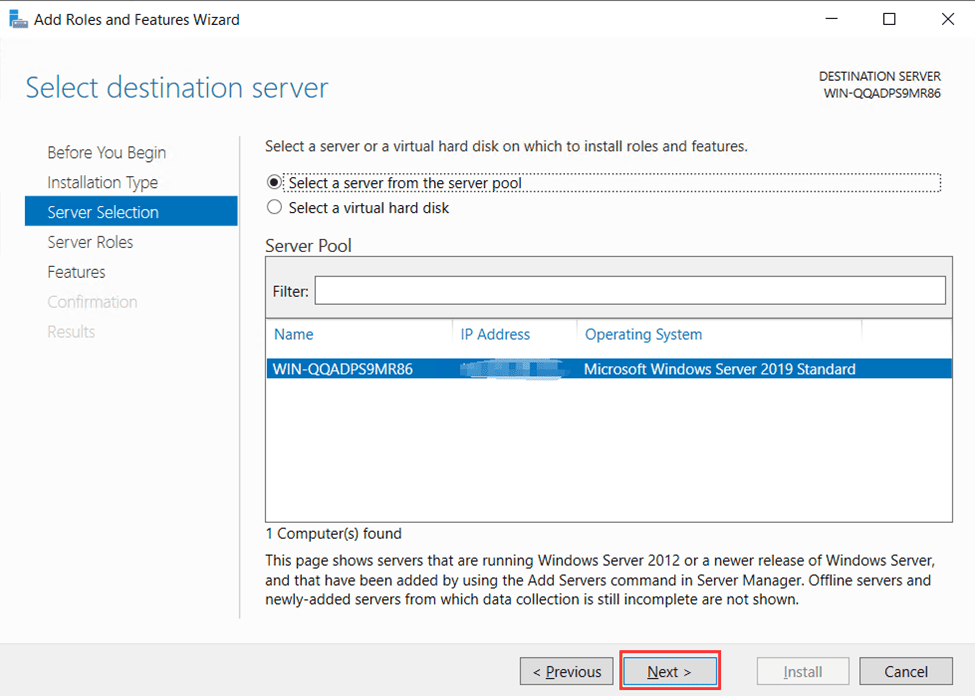
1.4 Select Destination Server
- Choose This server from the server pool.
- Click Next.
1.5 Select Server Roles
- Check DHCP Server.

- When prompted, click Add Features to install the required components.
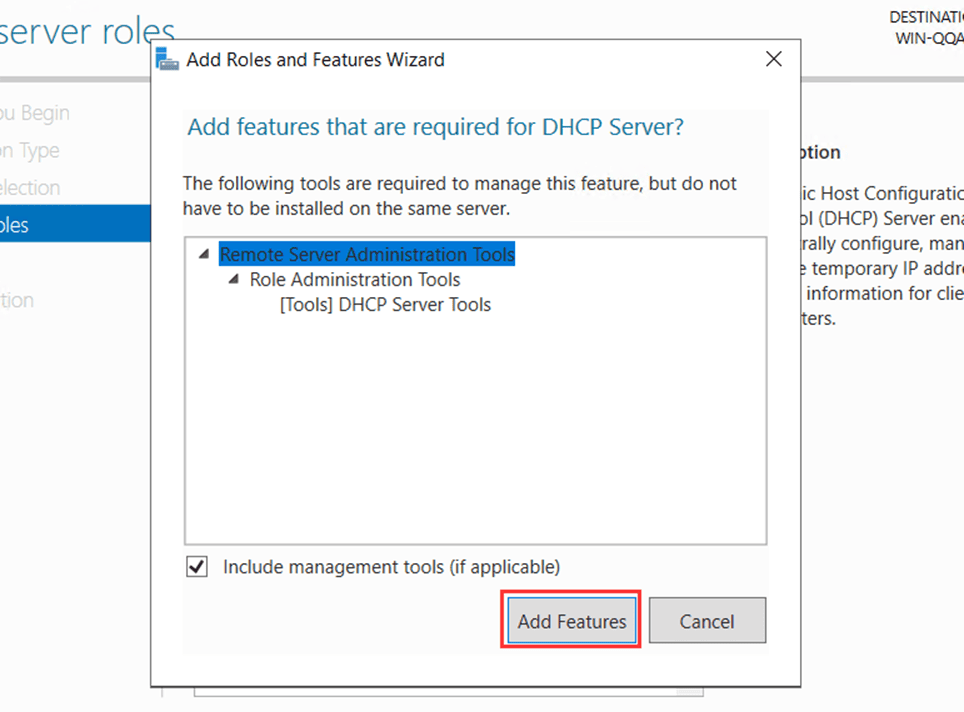
- Click Next.

1.6 Confirm and Install
- Keep clicking Next until you reach the confirmation screen.
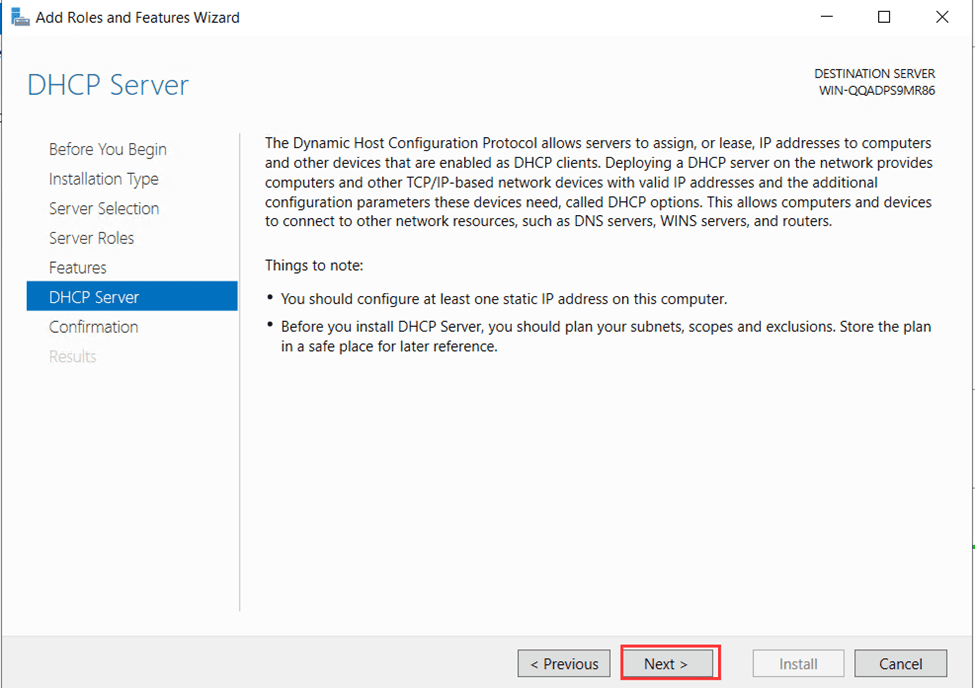
- Click Install.

- Wait until the DHCP server role finishes installing.
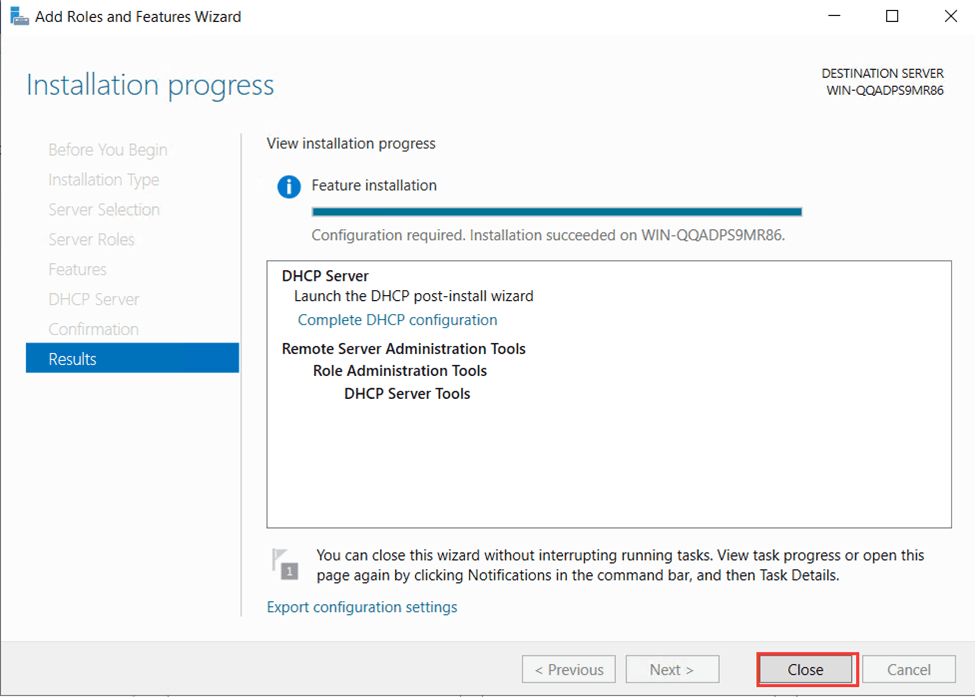
At this point, you have successfully installed the DHCP server in Windows Server 2019.
Step 2: Configure DHCP Server on Windows
Now that the server role is installed, let’s do the DHCP configuration.
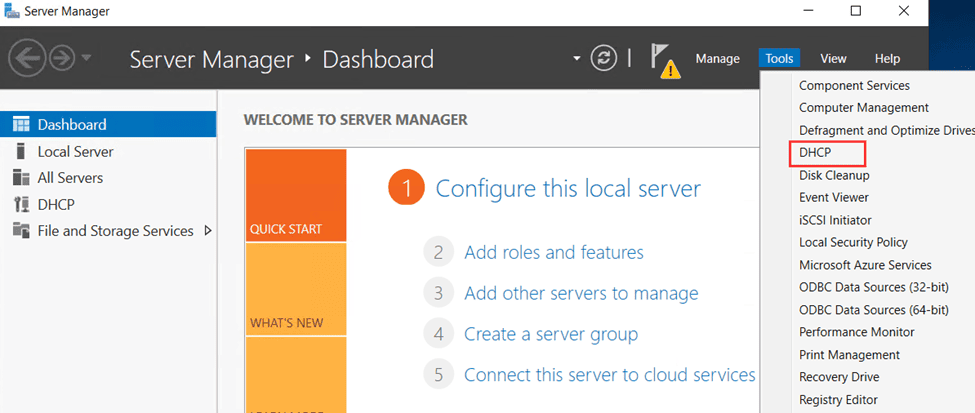
2.1 Open the DHCP Management Console
- In Server Manager, click Tools.
- Select DHCP to open the DHCP management tool.
2.2 Create a New IPv4 Scope
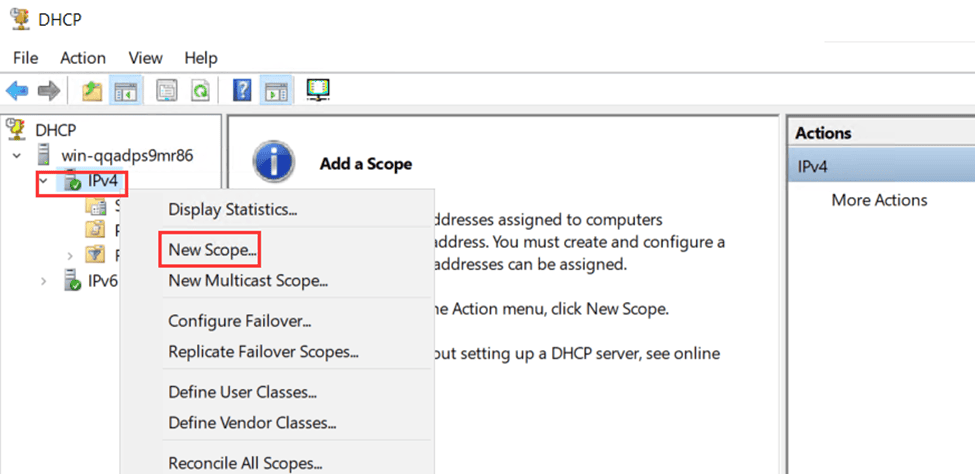
- In the left pane, right-click IPv4.
- Select New Scope.
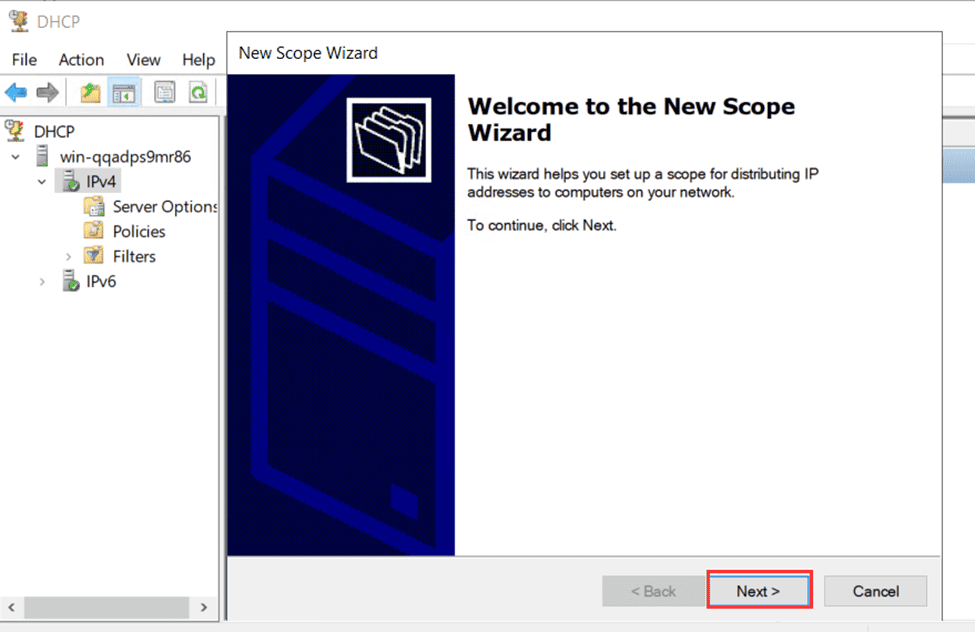
- The New Scope Wizard will open. Click Next.
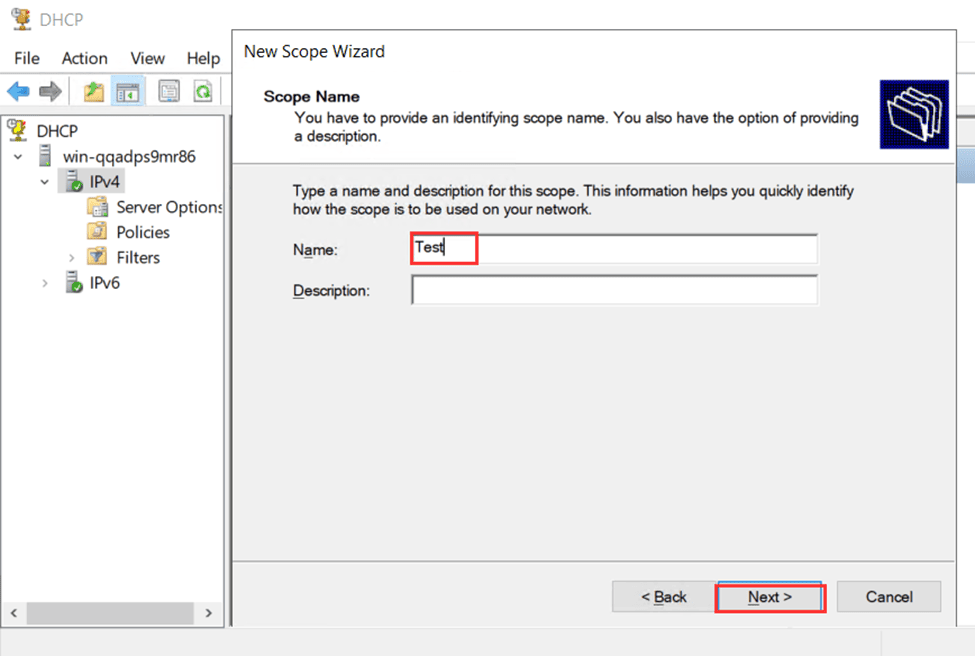
2.3 Name the Scope
- Enter a name for the scope (e.g., "Office Network").
- Click Next.
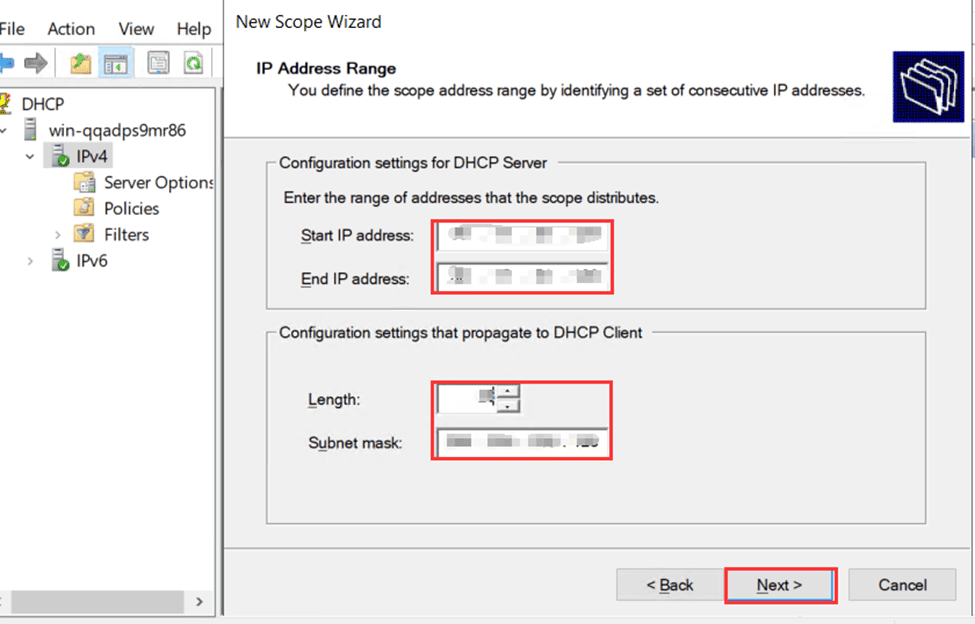
2.4 Set the IP Address Range
- Enter a Start IP address and an End IP address for the DHCP scope.
Example: Start:192.168.1.100→ End:192.168.1.200 - Click Next.
2.5 Configure Scope Settings
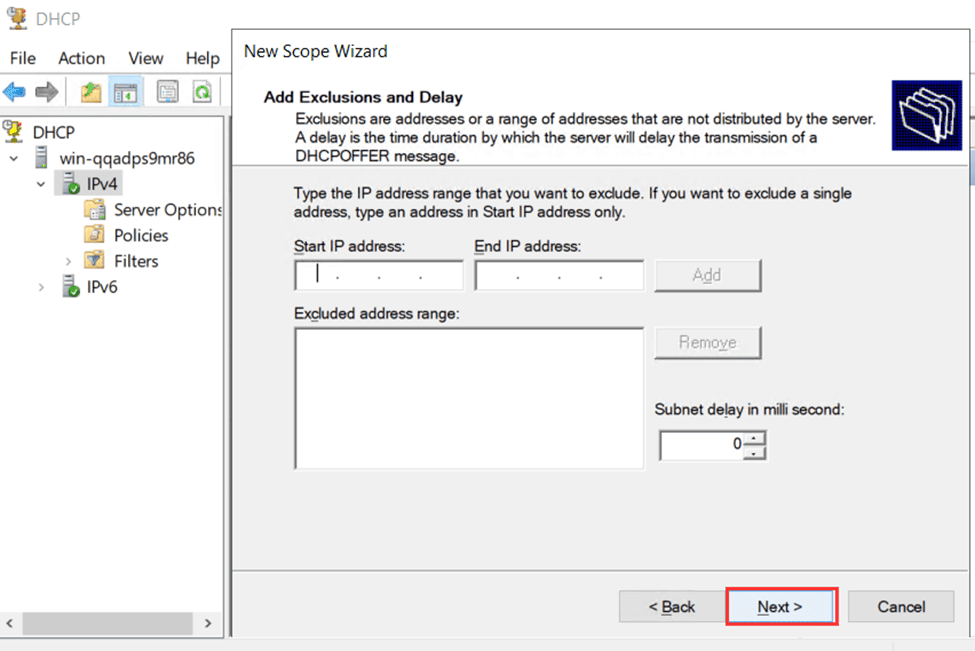
- On the Exclusions and Delay screen, leave defaults. Click Next.
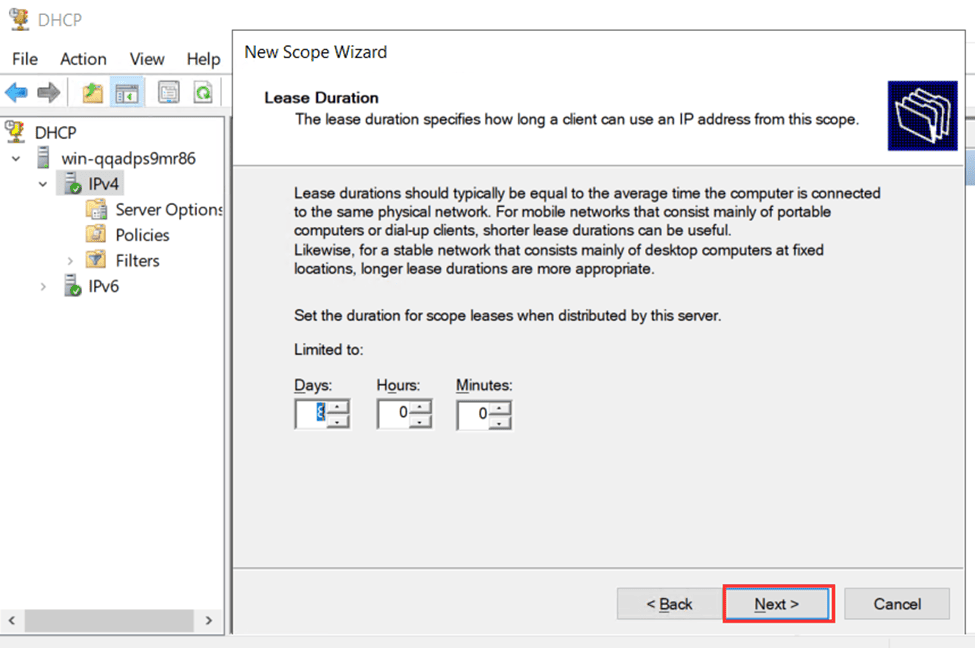
- On the Lease Duration screen, keep default settings. Click Next.
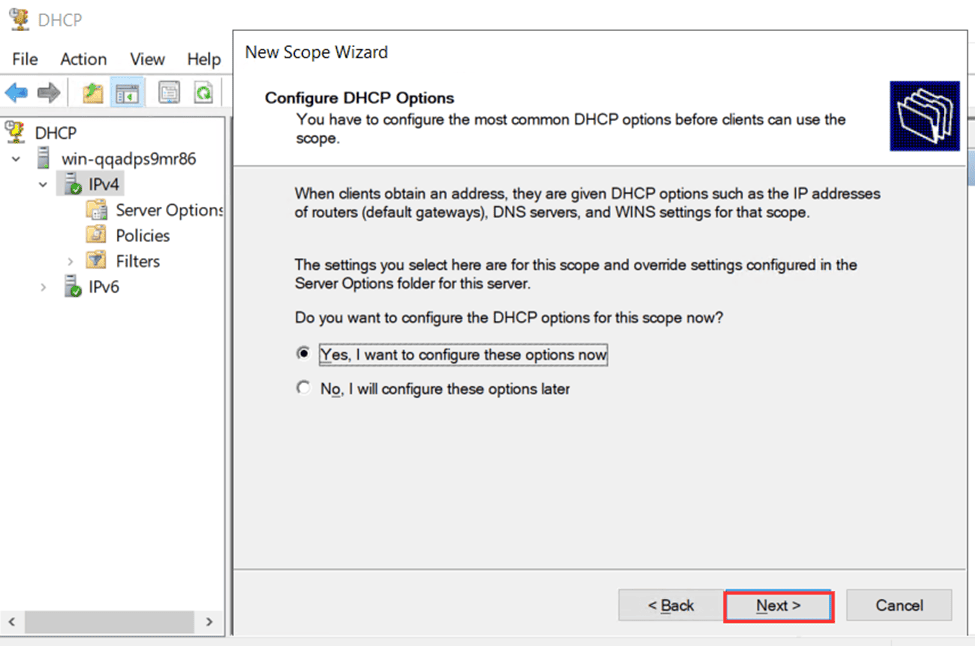
- On the "Configure DHCP Options" screen, select "Yes, I want to configure these options now" and click Next.
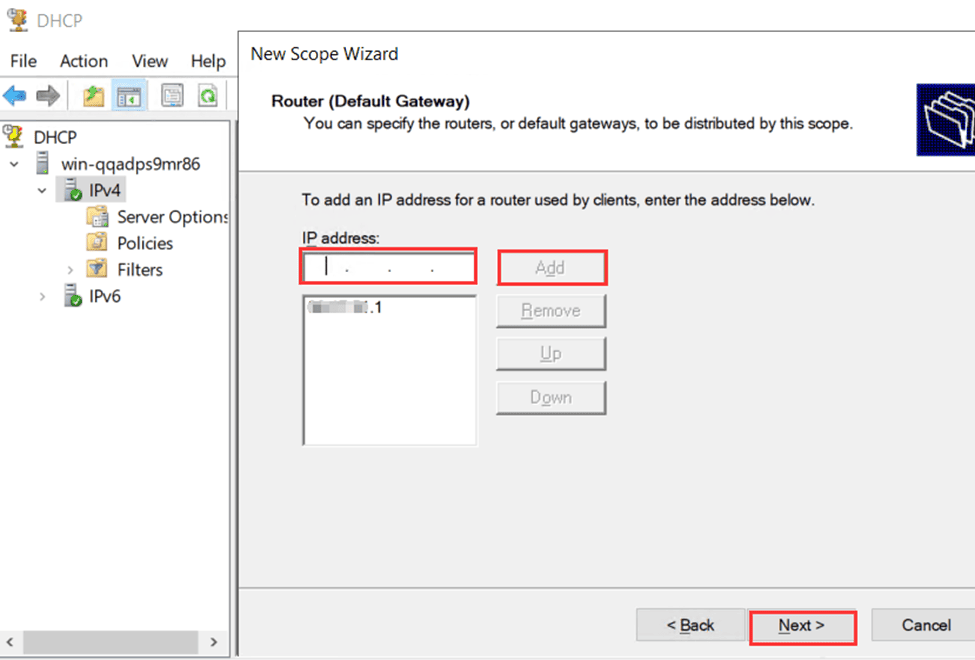
2.6 Configure Router (Default Gateway)
- Enter the Default Gateway (e.g.,
192.168.1.1). - Click Add, then click Next.
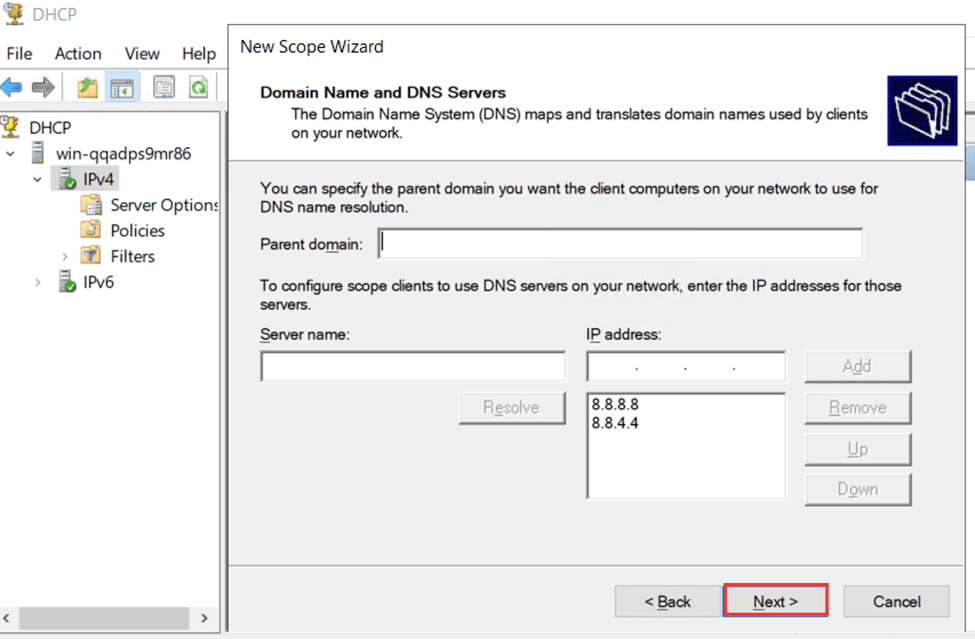
2.7 Configure DNS
- The wizard will automatically detect your DNS server address.
- If needed, add another DNS server manually.
- Click Next.
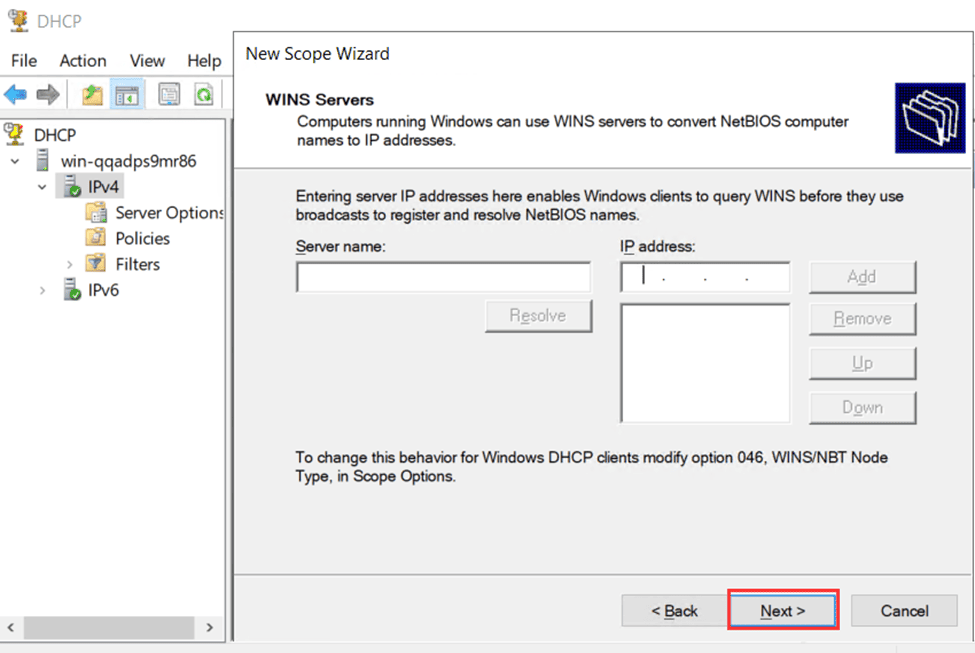
2.8 Finish DHCP Scope Setup
- Keep clicking Next until you reach the confirmation screen.

Now you have created a DHCP scope and completed the configure DHCP server process.
Step 3: Verify DHCP Server is Working (Client Side)
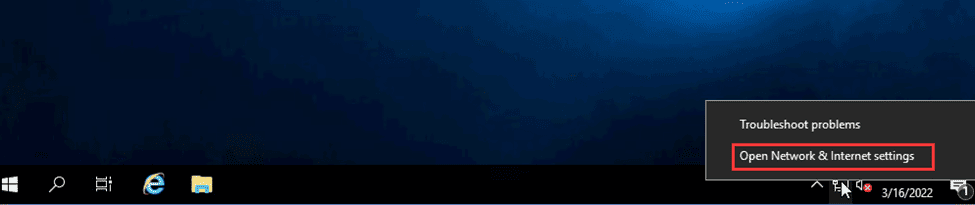
3.1 Open Network Settings on Client Server
- On a Windows client machine, right-click the Network icon.
- Select Open Network & Internet settings.
3.2 Change Adapter Settings
- Click Change adapter options.
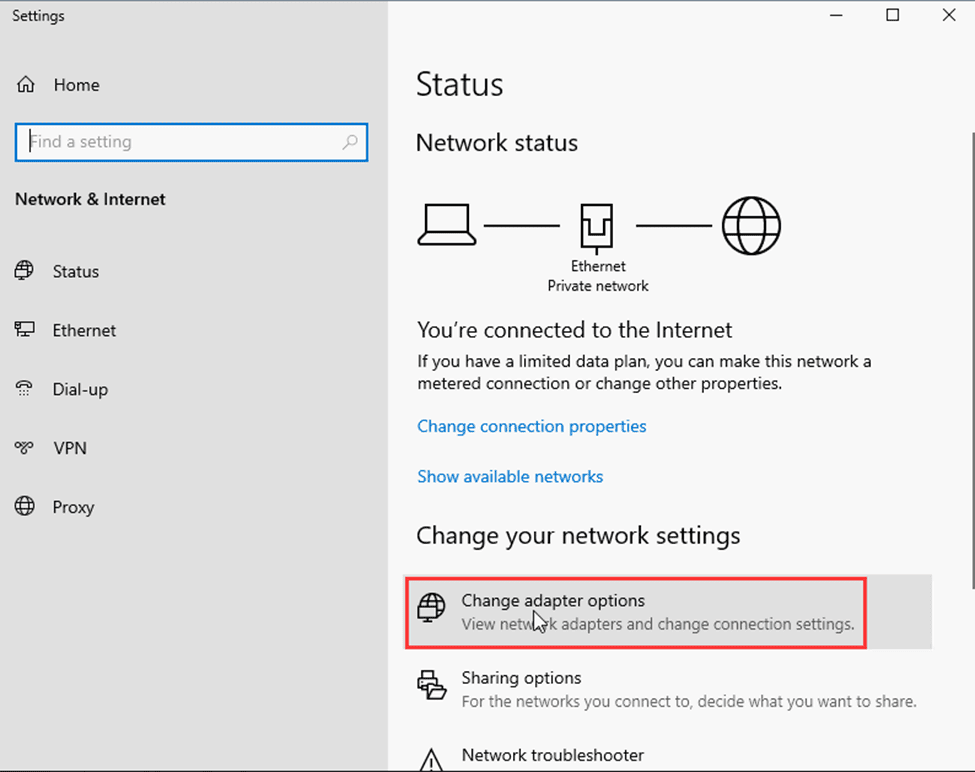
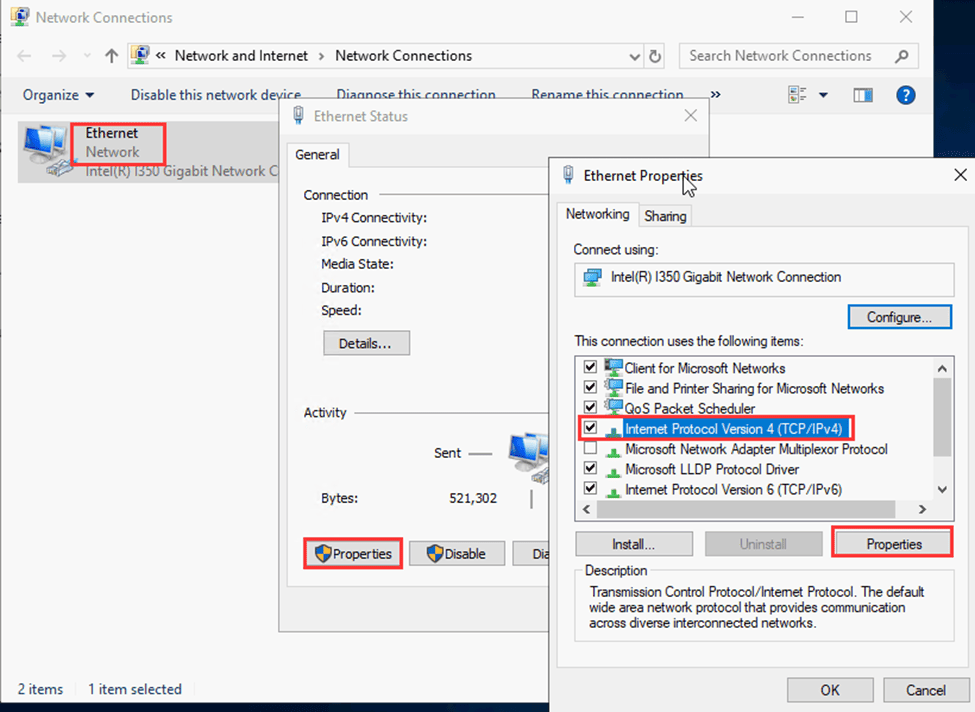
- Right-click your Ethernet adapter, then select Properties.
3.3 Set TCP/IPv4 to Automatic
- Select Internet Protocol Version 4 (TCP/IPv4).
- Click Properties.
- Choose:
- Obtain an IP address automatically
- Obtain DNS server address automatically
- Click OK, then Close.

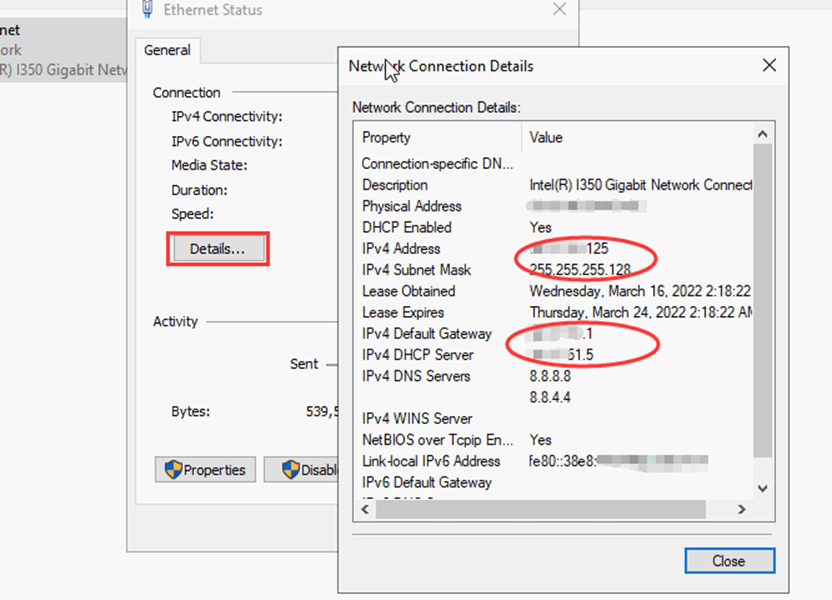
3.4 Check IP Address
- Double-click the Ethernet adapter.
- Click Details to confirm that the client has received an IP address from your Windows DHCP server.
Conclusion
You have now:
- Learned the DHCP meaning and why it’s important
- Installed the DHCP server on Windows Server 2019
- Configured DHCP settings by creating a scope
- Verified that a client machine successfully received an IP address
With this knowledge, you can manage IP addresses in your network efficiently without manually configuring each device.
dhcp server, dhcp meaning, dhcp server windows, dhcp for windows, configure dhcp server, dhcp configuration, dhcp server meaning, dhcp setting