

How to Install Debian 11 Desktop and Enable XRDP
If you want to use your Debian server with a graphical interface and connect via Remote Desktop (RDP), you’ll need to install a desktop environment and enable XRDP.
This guide will walk you through installing XFCE (a lightweight Debian desktop) and setting up remote desktop access for Debian 9.
This guide will walk you through installing XFCE (a lightweight Debian desktop) and setting up remote desktop access for Debian 9.
Step 1: Log in and Switch to Root User
Log in to your Debian server via SSH, then switch to the root account:
sudo -iStep 2: Install the Desktop Environment
Debian includes tasksel, a tool that lets you install complete software packages like desktop environments.
Run:
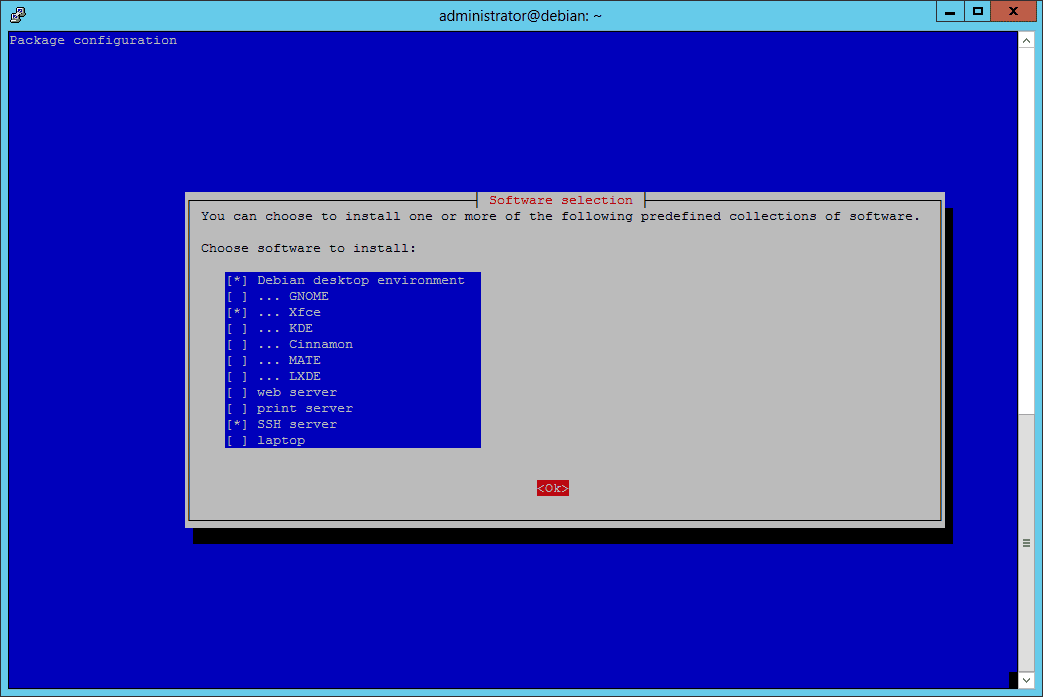
taskselIn the list that appears:
- Select the Debian desktop environment.
- Choose your preferred interface, for example, XFCE (lightweight and fast).
- Then press OK to start the installation.
Step 3: Reboot the Server
Once the installation is complete, reboot:
rebootNow your Debian system has a graphical desktop environment.
Step 4: Install XRDP and TigerVNC
To access Debian remotely with RDP from Windows or other devices, install XRDP and a VNC backend:
apt-get install xrdp tigervnc-standalone-serverStep 5: Enable and Start the XRDP Service
Run the following commands:
systemctl start xrdp
systemctl enable xrdp
This will start the XRDP service and enable it to run at boot.
Step 6: Connect to Debian Server
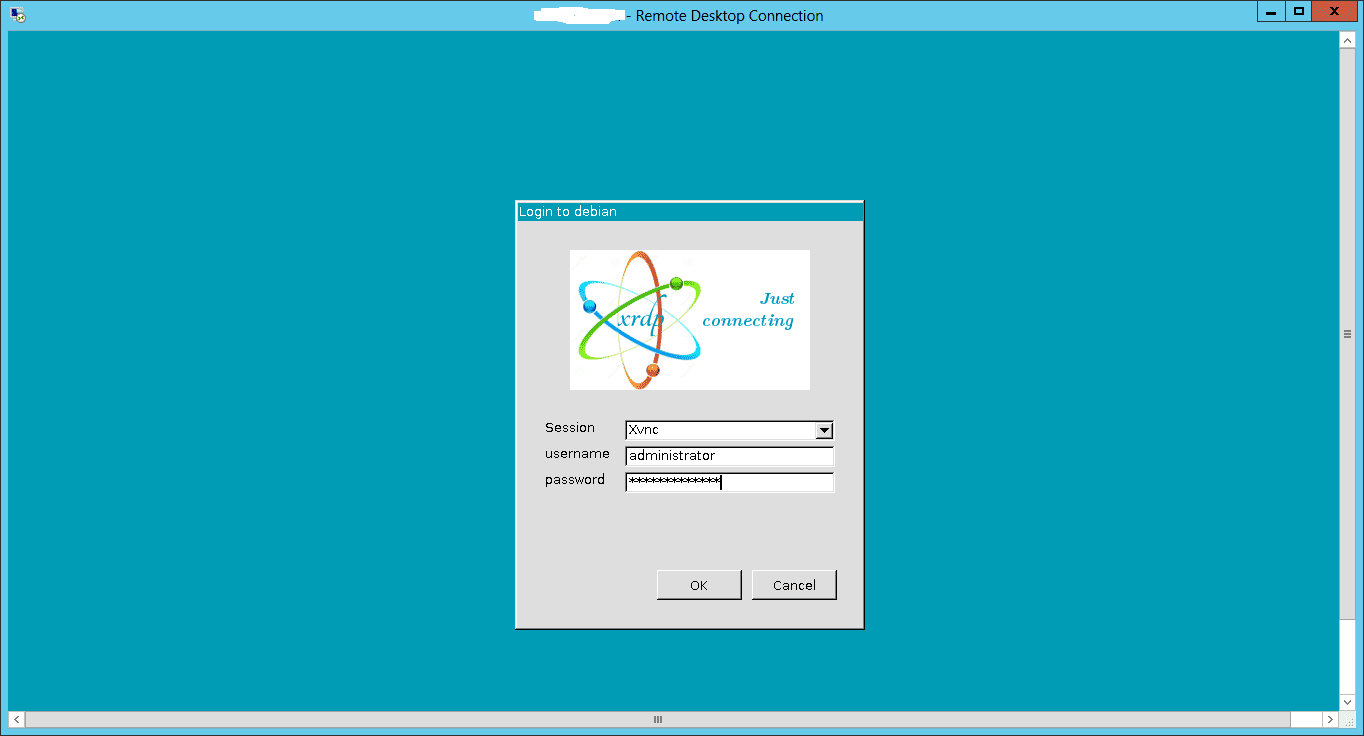
From your Windows PC:
- Open Remote Desktop Connection.
- Enter your server’s IP address.
- Log in with your Debian username and password.
- You should now see your Debian XFCE desktop.
Keywords:
debian desktop, remote desktop debian, debian xrdp, rdp for debian, debian 11 xfce, debian 11 desktop, debian enable rdp, debian enable remote desktop