

How to Install PHP 8.1 for Nginx on Ubuntu
Introduction
PHP is one of the most widely used server-side programming languages for building dynamic websites and applications. Popular CMS platforms, such as WordPress, Magento, and Drupal, all run on PHP.
In this guide, we’ll walk you through how to install PHP 8.1 for Nginx on Ubuntu 20.04. We’ll cover every step in detail so even beginners can easily follow along. By the end, you’ll be able to configure, test, and run your PHP website hosting environment.
Steps to Install PHP 8.1 for Nginx
Step 1: Add the Ondrej PPA Repository
By default, Ubuntu 20.04 comes with PHP 7.4. To install the latest PHP versions, including PHP 8.1, we use the Ondrej PPA repository.
First, update your system and install dependencies:
sudo apt update
sudo apt upgrade
sudo apt install ca-certificates apt-transport-https software-properties-common
Now add the Ondrej PPA repository:
sudo add-apt-repository ppa:ondrej/phpPress ENTER when prompted.
Step 2: Install PHP 8.1 with Nginx
To set up PHP in Ubuntu with Nginx, install PHP-FPM (FastCGI Process Manager), which works best with Nginx.
sudo apt install php8.1 php8.1-fpmCheck if PHP-FPM is running:
sudo systemctl status php8.1-fpm
Now configure Nginx to process PHP files:
sudo nano /etc/nginx/sites-available/defaultUpdate the server block:
location ~ \.php$ {
    include snippets/fastcgi-php.conf;
    fastcgi_pass unix:/run/php/php8.1-fpm.sock;
}
Restart Nginx:
sudo systemctl restart nginxYou have successfully installed PHP 8.1 for Nginx.
Step 3: Install PHP 8.1 Extensions
PHP extensions allow you to expand functionality for databases, caching, and more.
Example: Install MySQL extension:
sudo apt install php8.1-mysqlInstall other extensions:
sudo apt install php8.1-cli php8.1-curl php8.1-xml php8.1-mbstring php8.1-zipStep 4: Configure PHP 8.1
- Edit the
php.inifile to optimize performance:
sudo nano /etc/php/8.1/fpm/php.ini- Change these values:
upload_max_filesize = 32M
post_max_size = 48M
memory_limit = 256M
max_execution_time = 600
max_input_vars = 3000
max_input_time = 1000- Restart PHP-FPM:
sudo service php8.1-fpm restartStep 5: Test PHP Processing
- Check PHP version:
php -v
2. Create a test file:
sudo nano /var/www/html/info.php- Add:
<?php
phpinfo();
?>- Visit in your browser:
http://your-server-ip/info.phpYou should see the PHP info page.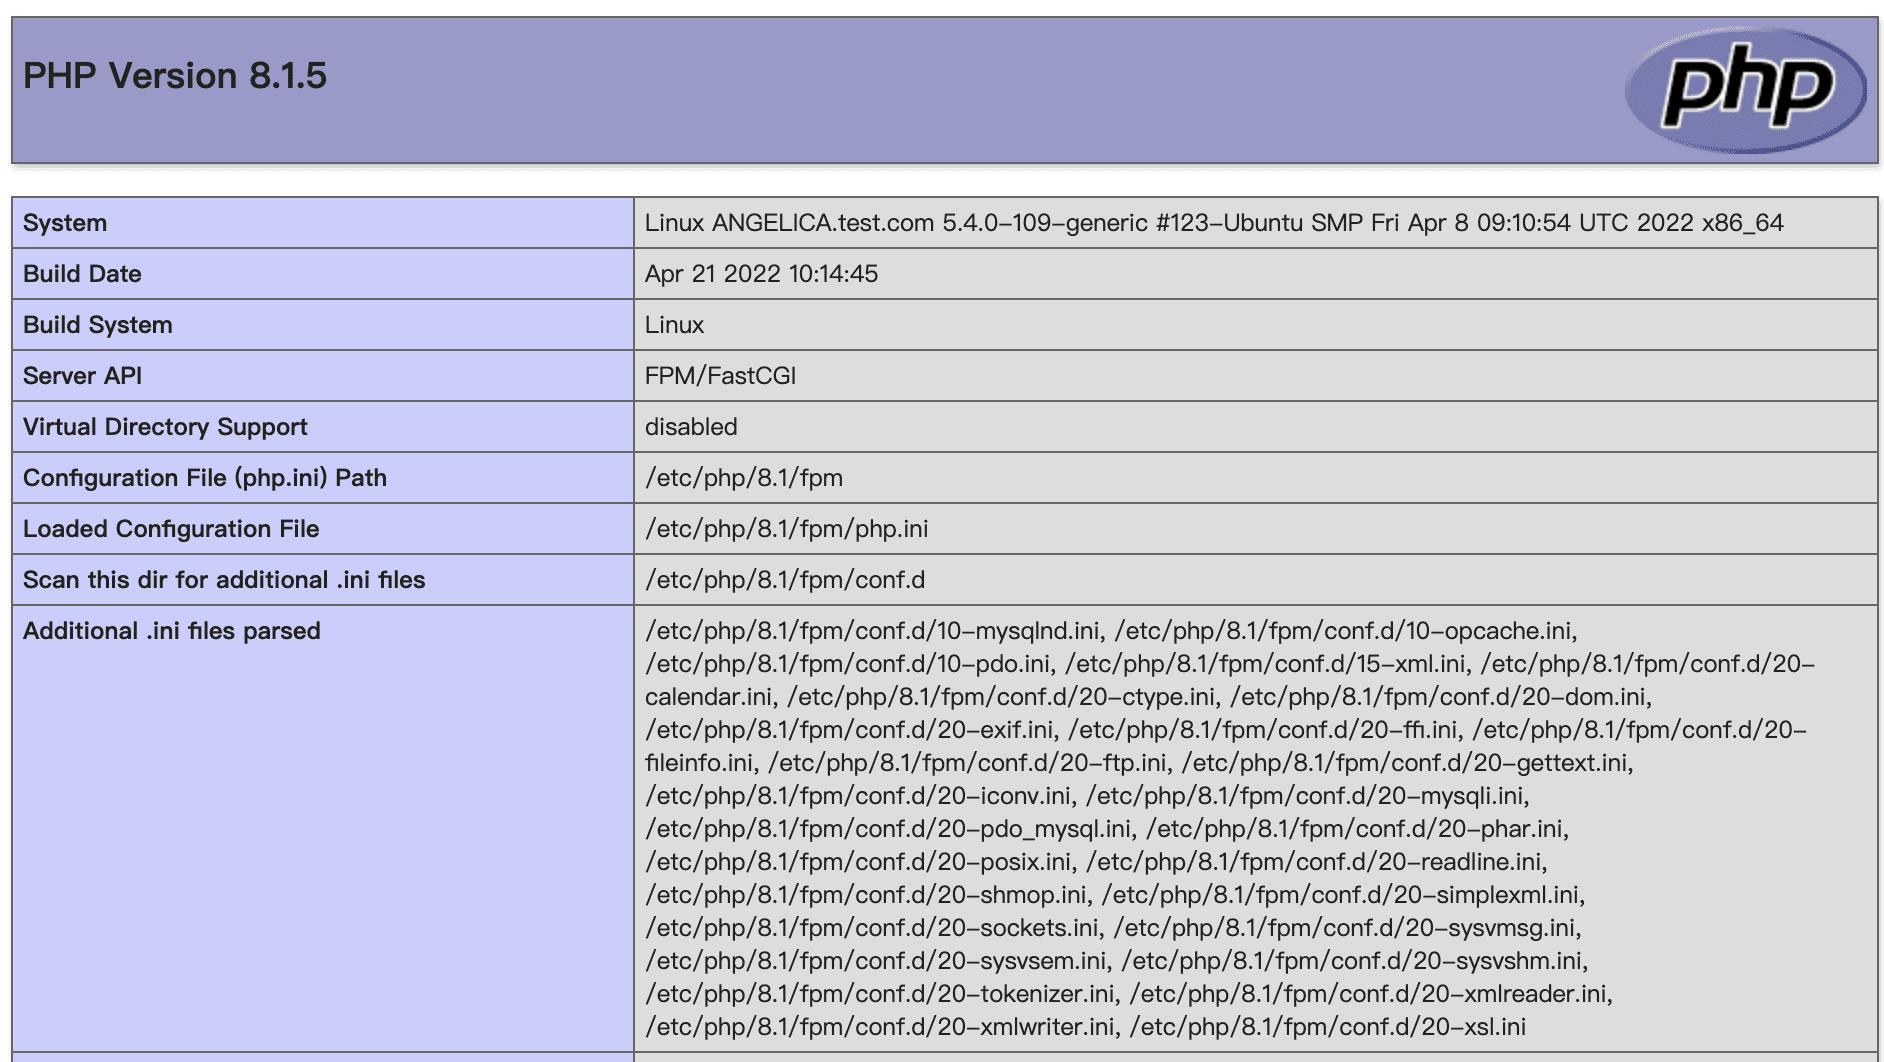
Step 6: Other Operations with PHP
- Install Multiple Versions of PHP
sudo apt install php7.4 php7.4-fpm
sudo apt install php8.0 php8.0-fpm- Switch Between PHP Versions
sudo update-alternatives --config php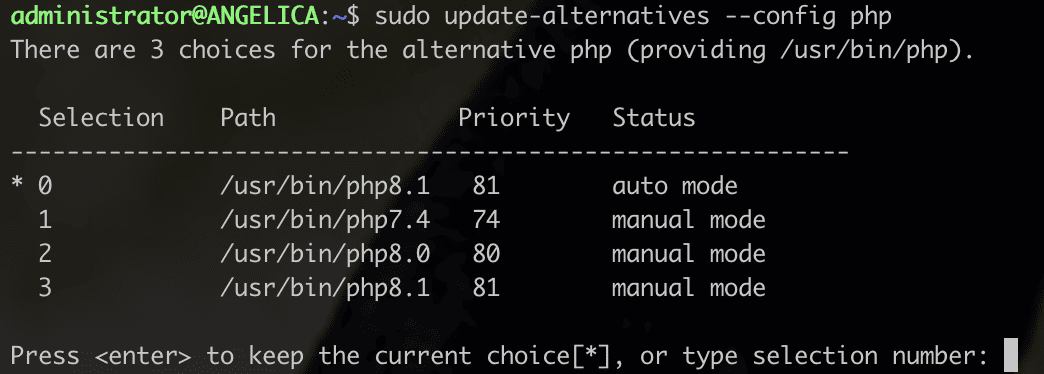
3. Check PHP Version
php -v
- Uninstall a PHP Version. Example: remove PHP 7.4
sudo apt remove --autoremove php7.4
sudo add-apt-repository --remove ppa:ondrej/php
Conclusion
In this tutorial, we’ve learned how to install PHP 8.1 on Ubuntu 20.04 with Nginx. We covered everything from adding the repository, installing PHP-FPM, configuring Nginx, installing extensions, and testing PHP.
This setup is perfect for anyone who wants to install PHP on Ubuntu server, host websites using PHP for Linux, or even run multiple PHP versions. Whether you’re setting up a personal project or preparing for best PHP web hosting on Ubuntu, this guide has you covered.
Further Reading
install php, install php on ubuntu, install php linux ubuntu, setup php in ubuntu, install php on linux, php for ubuntu, php linux ubuntu, php for linux, install php 8, install php for nginx, install php and nginx, php setup, install php 8 ubuntu, install php 8.1, install php 8.1 ubuntu, install php extensions ubuntu, ubuntu install php 8, ubuntu install php 8.1, install php in ubuntu server, install php on ubuntu server