

How to Install WordPress on Windows Server
Introduction
WordPress is a free and open-source Content Management System (CMS) based on PHP and MySQL. It allows you to build blogs, business sites, or even eCommerce stores with ease.
In this tutorial, you will learn how to:
- Install WordPress on Windows Server
- Configure IIS to run WordPress
- Connect WordPress to MySQL
This is a beginner-friendly guide, so don’t worry if you are new to IIS or Windows hosting.
How to Install WordPress on Windows?
Step 1. System Requirements
Before installing, make sure your Windows Server meets the following requirements:
- Windows Server with IIS 7.5 / IIS 8.0 (or newer)
- MySQL Database
- PHP 5.0+ (recommended: PHP 7.4 or higher)
This setup will allow you to run WordPress in Windows Server smoothly.
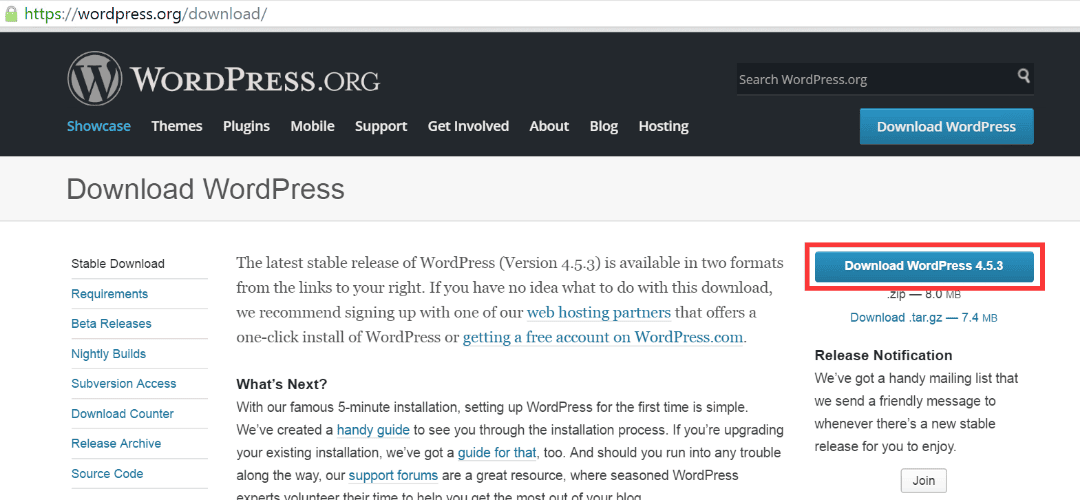
Step 2. Download WordPress
- Go to the official website: https://wordpress.org/download/
- Download the latest version of WordPress.
- Save the ZIP file to your local computer.
Step 3. Add Domain & Create Website
- Log in to your WebsitePanel (control panel).
- Add your domain (e.g.,
yourdomainname.com).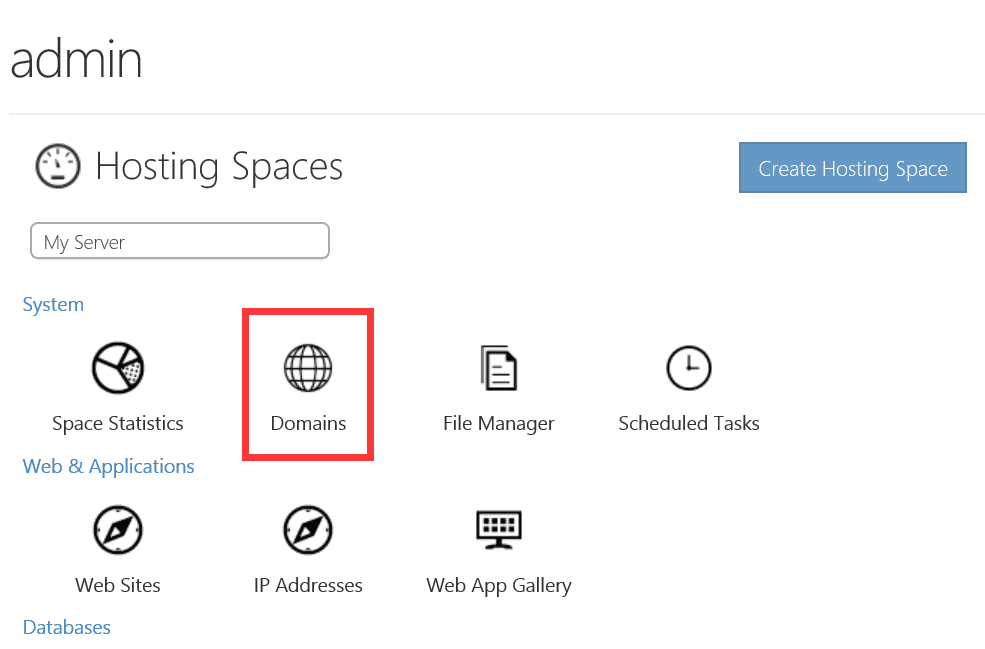
- Create a new website under IIS for your domain.
This step ensures that IIS knows where to serve your WordPress site.
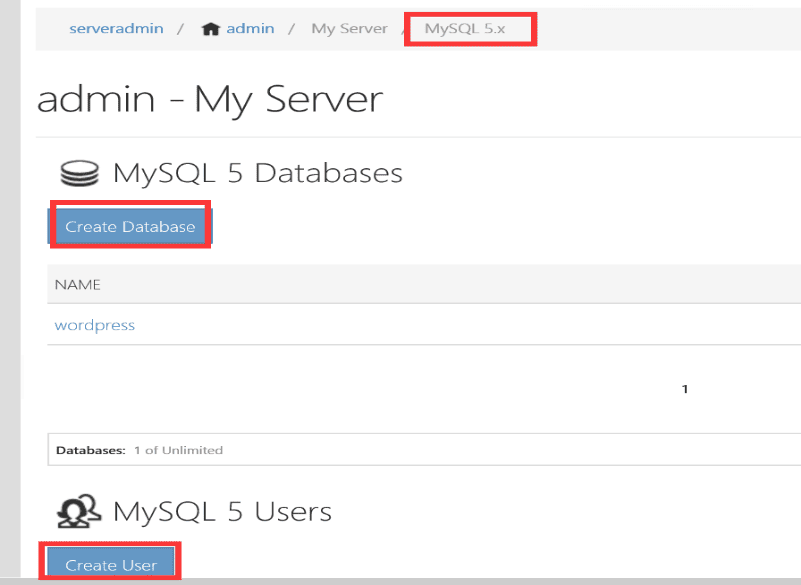
Step 4. Create MySQL Database & User
- Open WebsitePanel.
- Go to MySQL → Create Database and Create User.
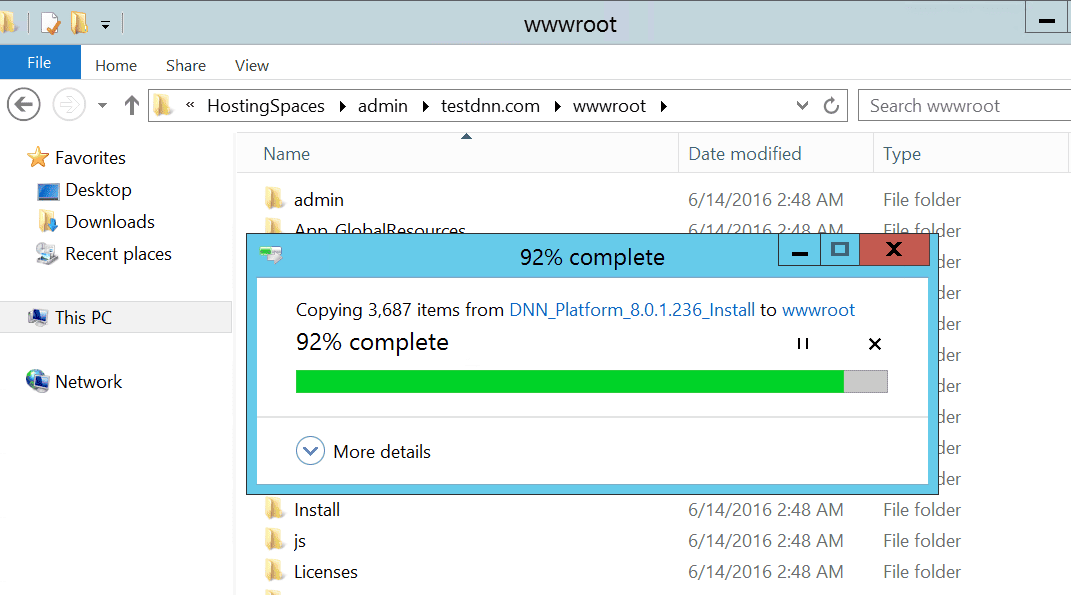
Step 5. Upload WordPress Files
- Extract the WordPress ZIP file on your computer.
- Upload the extracted files to:
C:\HostingSpaces\admin\yourdomainname.com\wwwroot - Use FTP if needed (e.g., FileZilla).
Step 6. Configure Website Settings
- Open WebsitePanel → Website Settings.
- Enable Write Permissions.
- Set Dedicated Application Pool.
- Configure Default Document** as
index.php. - Set ASP.NET to 4.0 (Integrated Pipeline) and PHP to 5.x.
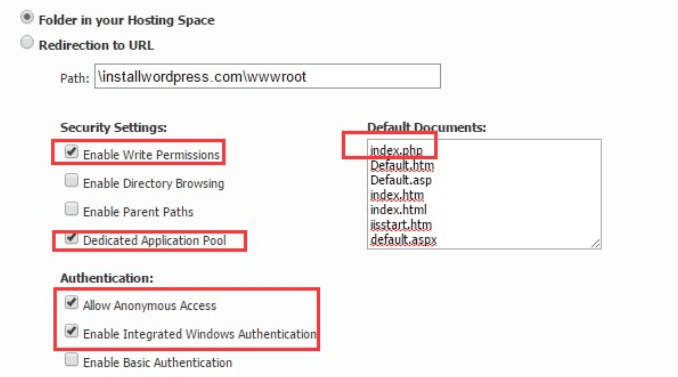
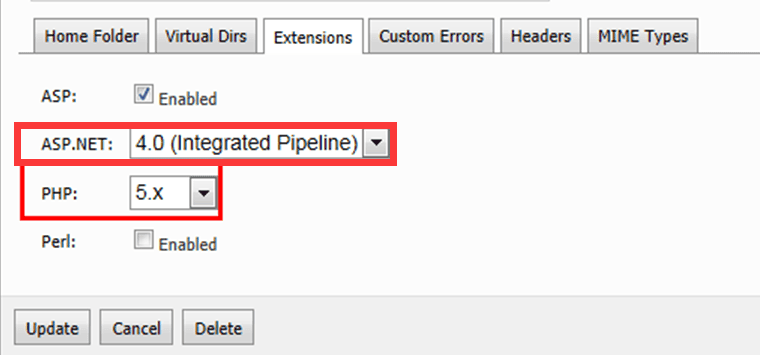
This ensures your WordPress site will load properly under IIS.
Step 7. Modify WordPress Configuration
- Navigate to:
C:\HostingSpaces\admin\yourdomainname.com\wwwroot- Rename
wp-config-sample.php→wp-config.php. - Edit the file and enter your MySQL details:
define('DB_NAME', 'your_database_name');
define('DB_USER', 'your_database_user');
define('DB_PASSWORD', 'your_database_password');
define('DB_HOST', '127.0.0.1'); // or remote MySQL server
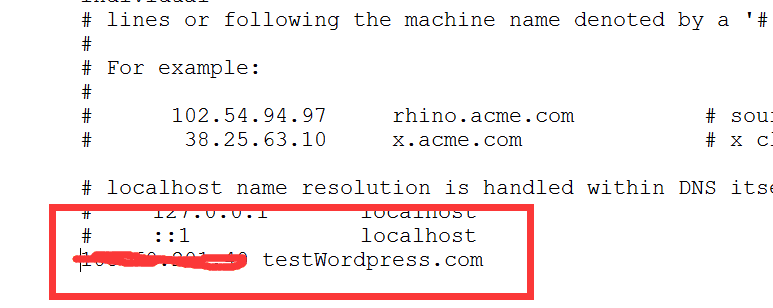
- If your domain is not yet resolving, update the hosts file:
C:\Windows\System32\drivers\etc\hosts- Add your server IP and domain name.
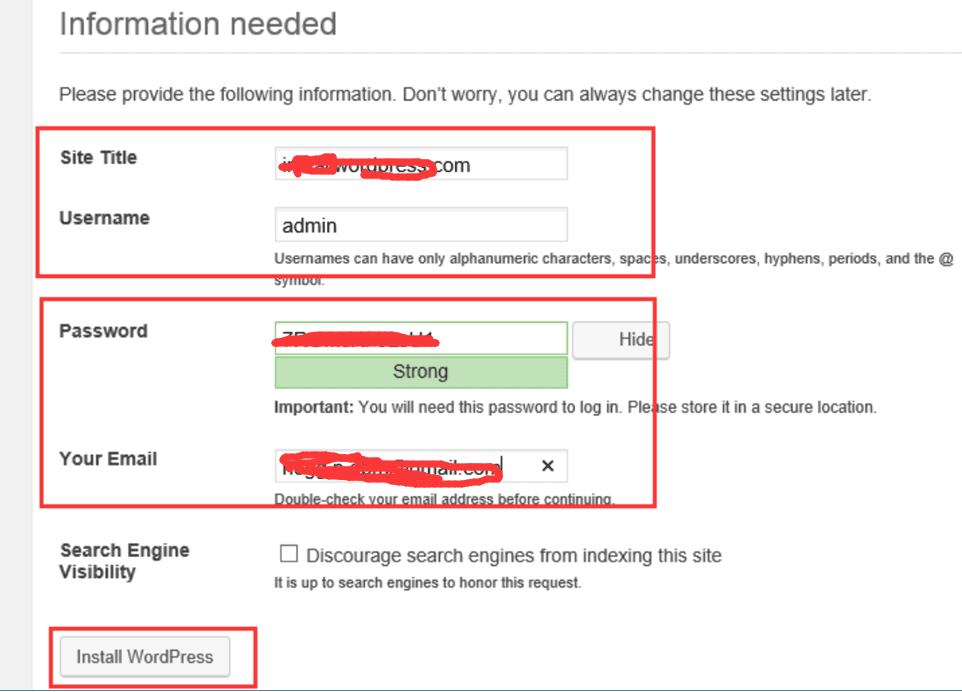
Step 8. Run WordPress Installation
- Open your browser and go to http://yourdomainname.com.
- The WordPress setup page will appear.
- Enter the following details:
- Site Title
- Admin Username
- Password
- Email Address
- Click Install WordPress.
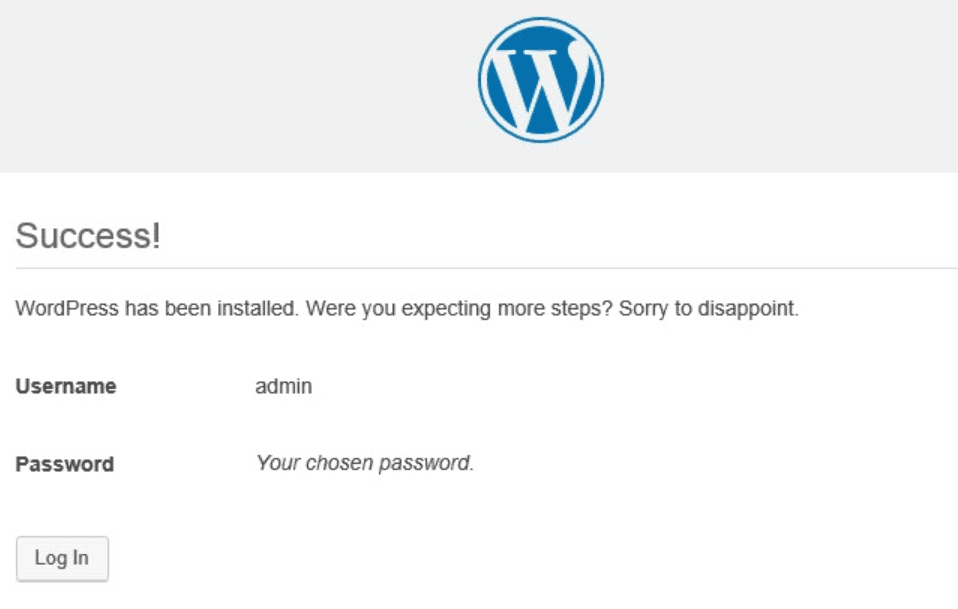
Congratulations! You have successfully installed WordPress on Windows Server using IIS.
Conclusion
Installing WordPress on Windows Server may seem technical at first, but by following this step-by-step guide, even beginners can get their WordPress site running. Using IIS as your web server is a powerful way to host WordPress in a Windows environment.
Now your WordPress website is ready for customization, plugins, and themes.
wordpress for windows server, wordpress in windows server, install wordpress on iis, iis install wordpress, install wordpress on windows server