

How to Open Port Windows in Windows Firewall
Sometimes you need to open a port in Windows to let applications or services communicate over the network—for example, allowing TCP port 1093 through Windows Firewall so it’s accessible from outside your computer or server. This guide explains how to open a port in Windows Firewall, allow TCP or UDP connections, and apply the rule in Windows.
Why Open Port in Windows Firewall?
Opening a port is needed when:
- Hosting a game server
- Allowing remote management tools
- Running software that requires a specific port
Common examples include HTTP (80), HTTPS (443), and custom app ports.
Steps to Open Port in Windows Firewall
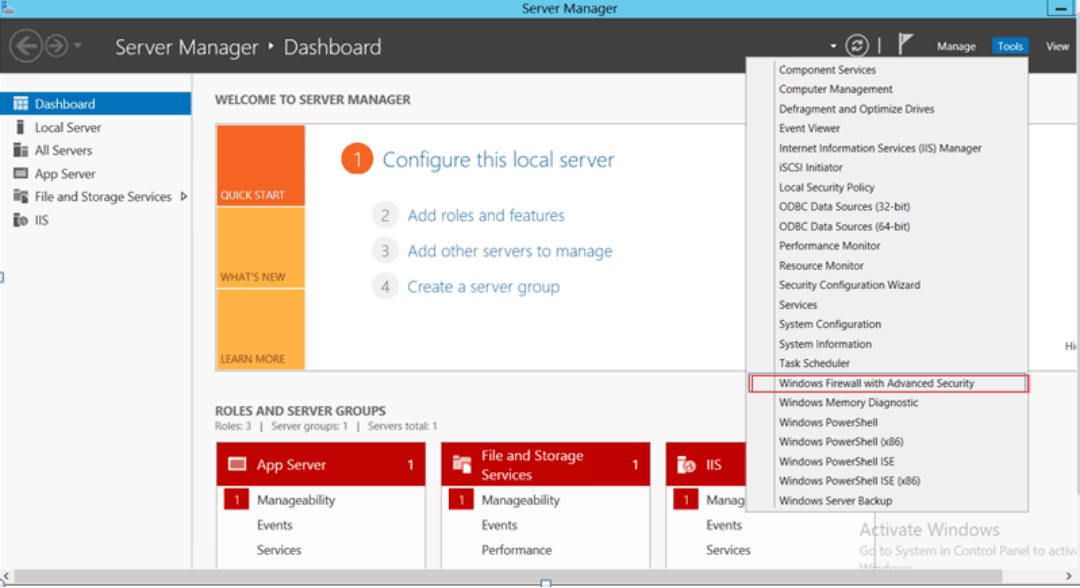
Step 1: Open Windows Firewall with Advanced Security
- Open Server Manager.
- Go to Tools → Windows Firewall with Advanced Security.
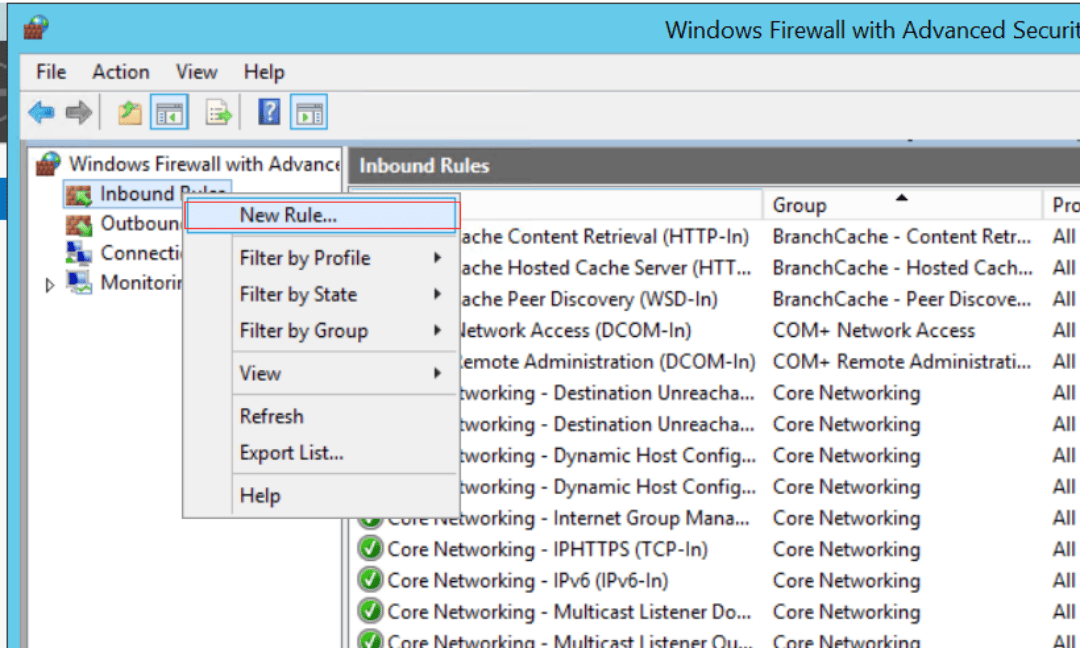
Step 2: Create a New Inbound Rule
- In the left panel, click Inbound Rules.
- On the right, click New Rule….
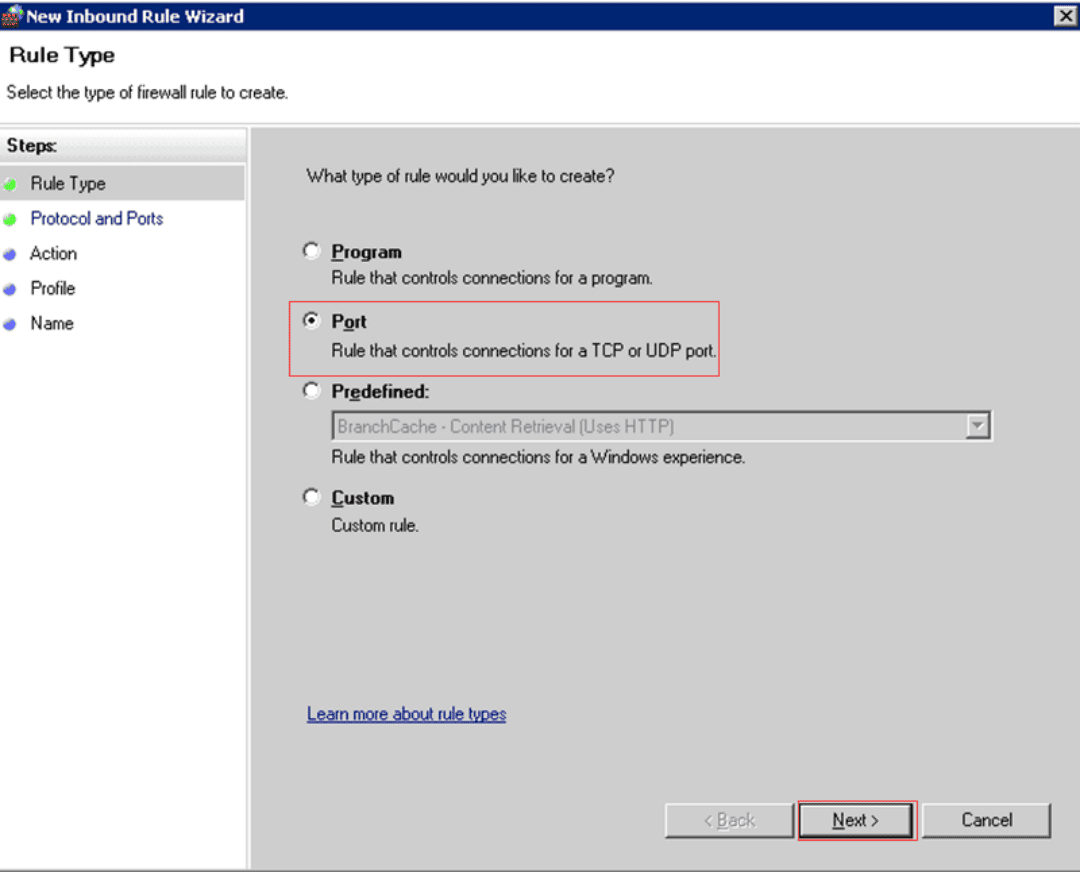
- Choose Port as the rule type and click Next. This tells Windows you want to open a TCP or UDP port.
Step 3: Configure Protocol, Port, and Action
- Select TCP or UDP depending on your application. TCP is the most common.
- Choose Specific local ports and enter the Specific local ports (e.g.,
1093).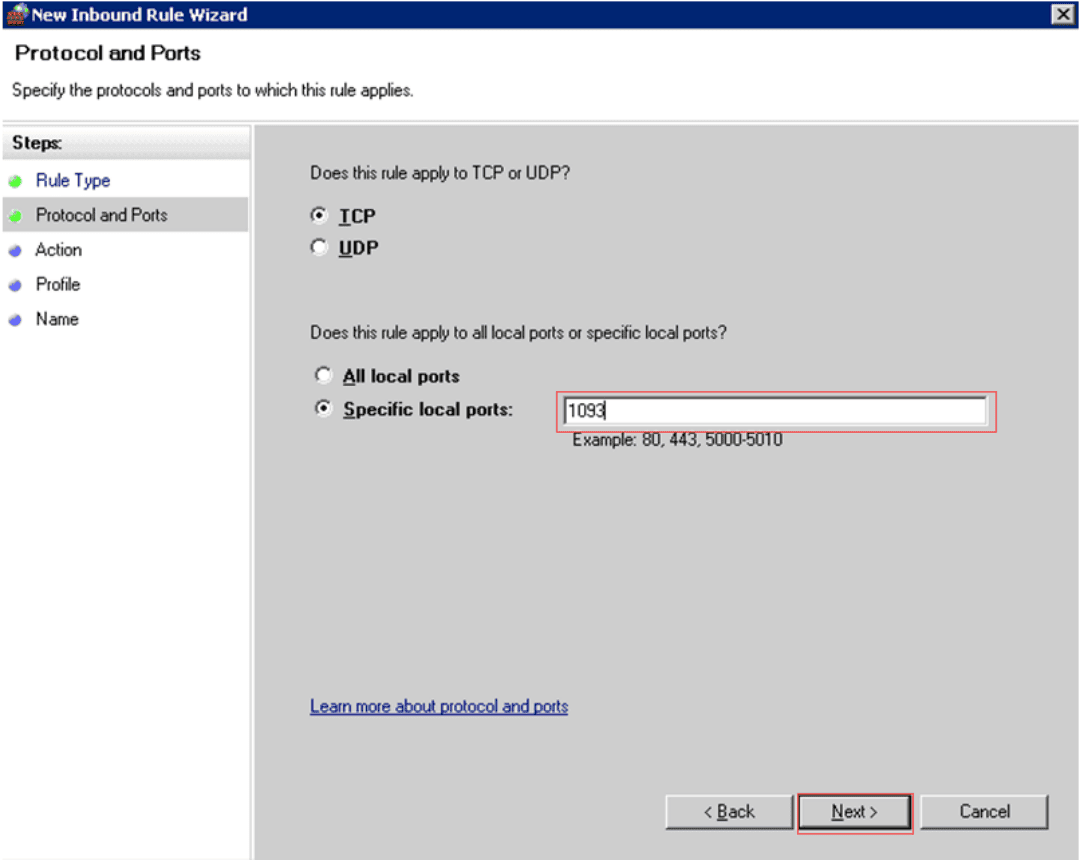
- Select Allow the connection and click Next.
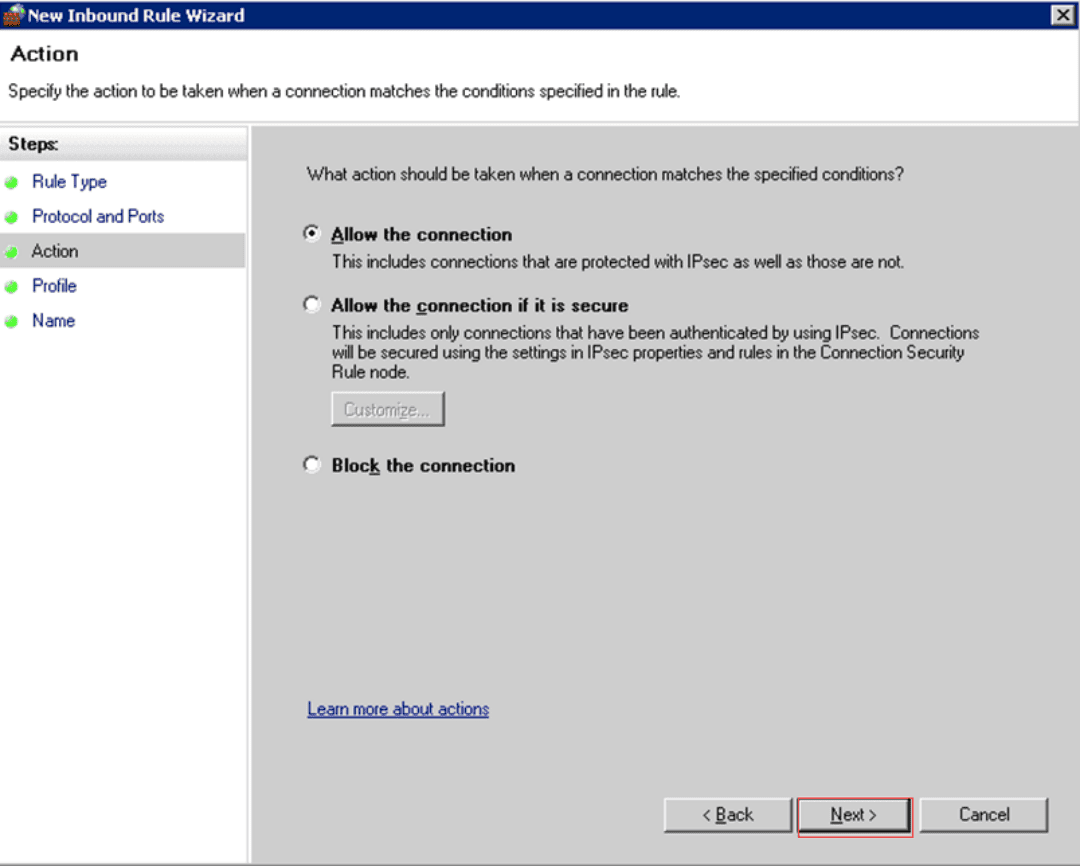
- Apply the rule to Domain, Private, and Public profiles.
- Choose Domain, Private, and Public (check all).
- Click Next.

Step 4: Name and Test the Rule
- Give the rule a clear name like
Allow TCP 1093. Then click Finish.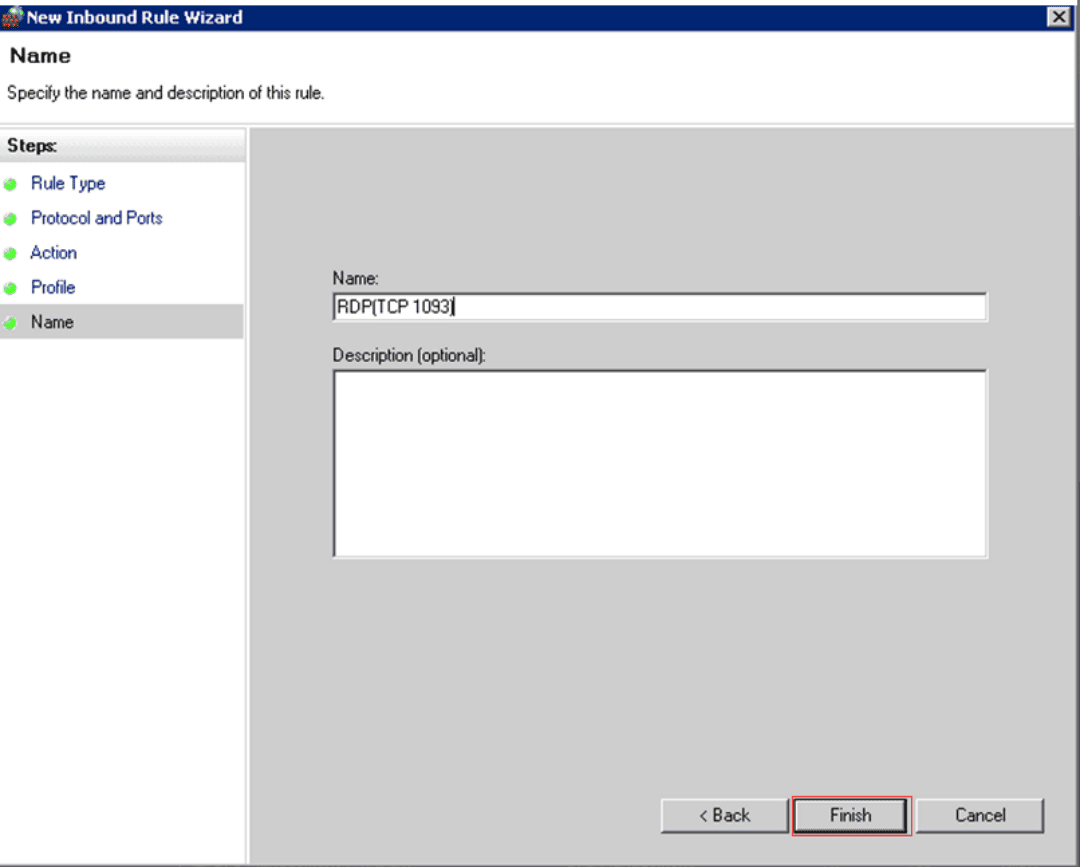
- Open PowerShell to test whether the port is open using:
Test-NetConnection -ComputerName localhost -Port 1093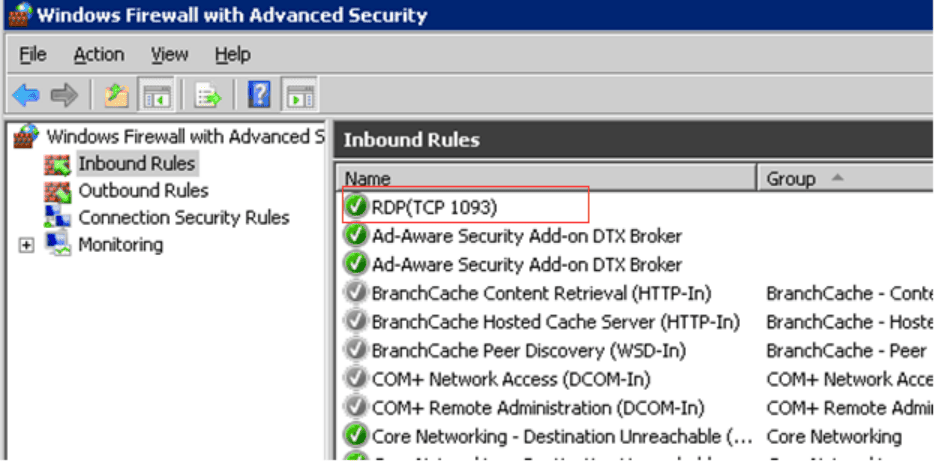
Summary
You’ve successfully:
- Added a port to Windows Firewall
- Allowed it for TCP or UDP
- Applied it to all profiles
Keywords:
open port windows, windows allow port, windows firewall enable port, open port windows firewall, open port in windows, windows server open port, windows firewall allow port, windows firewall port forwarding, windows firewall port, allow port in windows firewall, windows allow port through firewall, open firewall port windows, open port in firewall windows, windows firewall open port, Add port to windows firewall, allow a port through windows firewall, windows server firewall open port
Outline