

How to Upgrade WordPress Site
In this guide, we’ll show you how to update WordPress manually (step by step) so even beginners can follow easily.
Why You Should Update WordPress?
- Security: Updates often fix bugs and patch security issues.
- New Features: Each WordPress update brings improvements and tools.
- Better Performance: Faster and smoother website operation.
- Compatibility: Updated WordPress works better with plugins and themes.
Steps to Update WordPress Site
Step 1: Take a Full Backup
Before you update your WordPress site, always create a backup of:
- Website files
- WordPress database
You can use backup plugins or download files via FTP. This way, if something goes wrong, you can restore your site quickly.
Step 2: Download the Latest WordPress Package
- Go to the official WordPress site: https://wordpress.org/download/
- Download the latest version of WordPress.
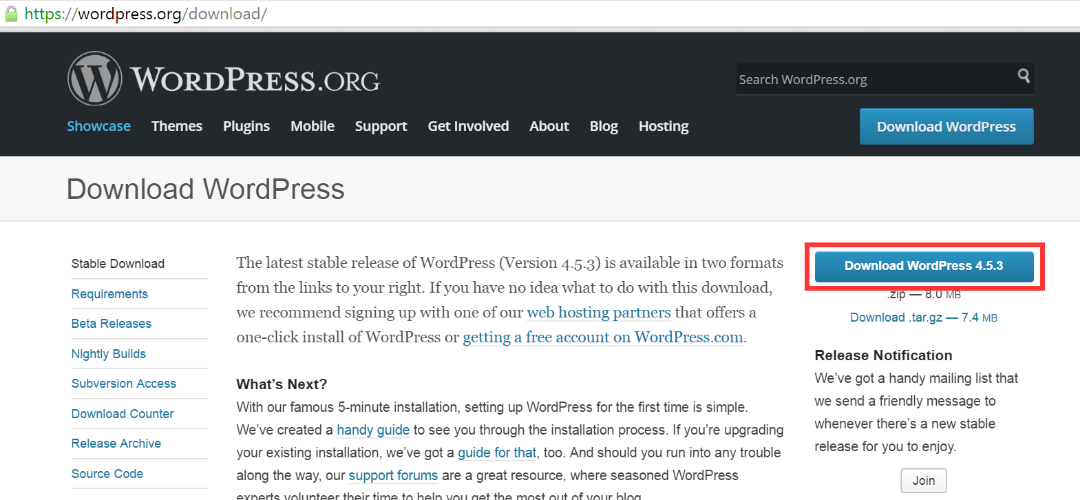
This is the package you’ll use to update WordPress manually.
Step 3: Upload the New Files
3.1 Delete Old Folders
Using FTP (or RDP access), delete the following folders from your server:
wp-adminwp-includes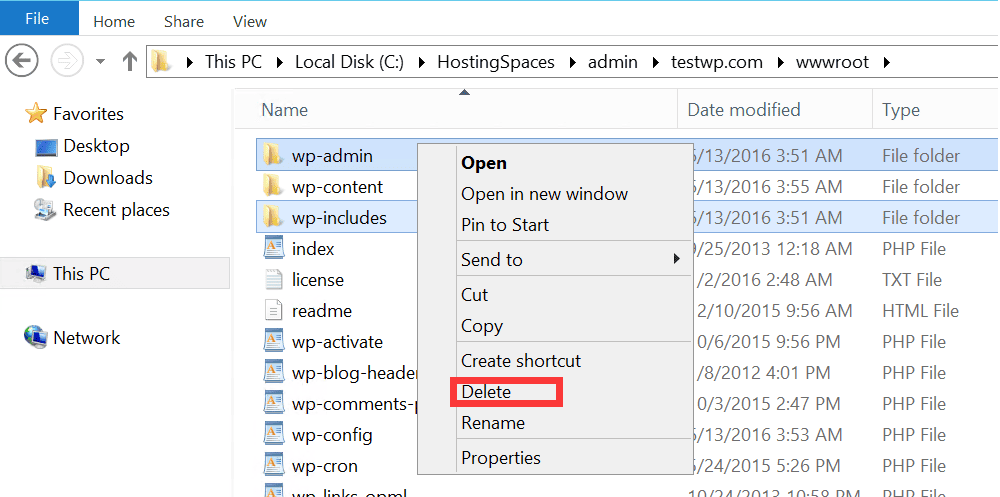
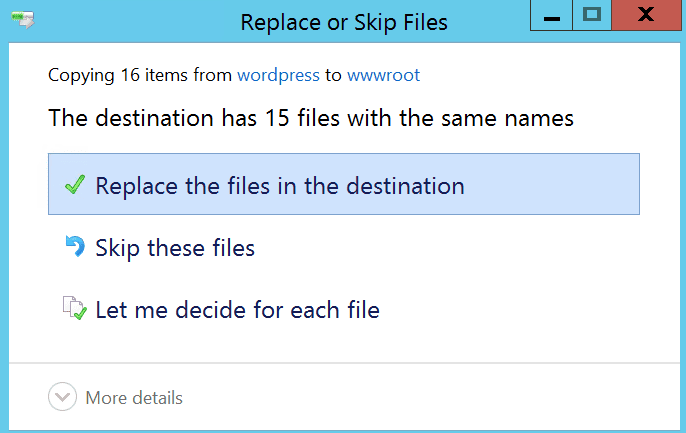
3.2 Replace Files
- Upload the new WordPress files you downloaded.
- Do not delete or replace the
wp-contentfolder. This folder contains your themes, plugins, and uploads. - Replace all other files in your WordPress root directory.
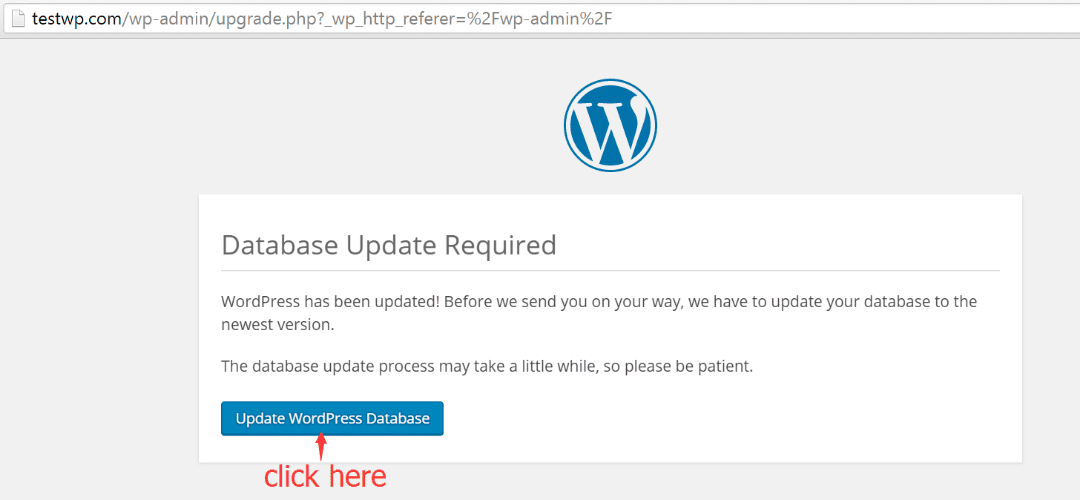
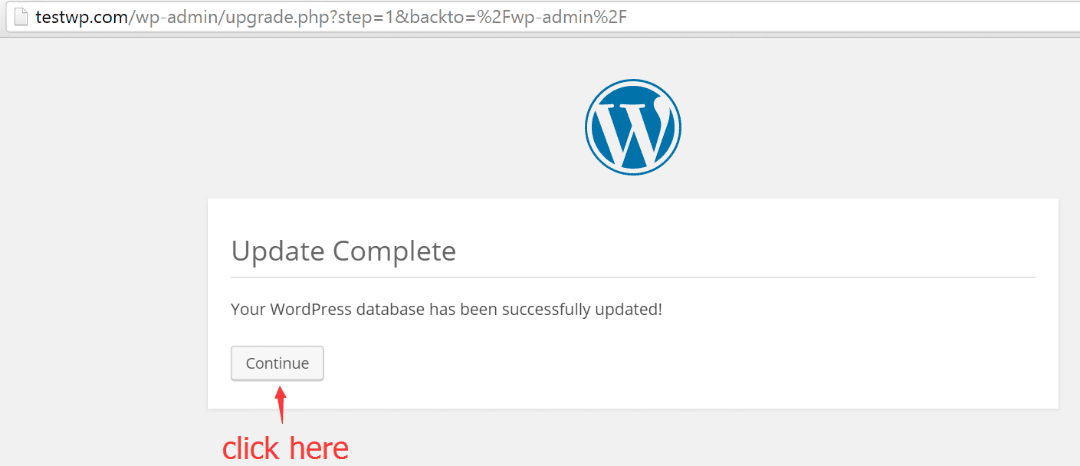
Step 4: Update WordPress Database
- Visit your website after uploading.
- WordPress will ask you to update the database (if needed).
- Click Continue to finish the upgrade.
Conclusion
Learning how to update a website in WordPress may seem technical at first, but once you know the steps, it’s simple. Always remember:
- Take a backup
- Download the update
- Upload and replace files safely
- Update the database
By following these steps, you can update your WordPress site anytime without relying on auto-updates. This ensures better control, security, and stability for your website.
wordpress update, update wp, update wordpress manually, update wp manually, how to update wordpress, upgrade wordpress, how to update a website in wordpress, how to update wordpress site, update wordpress site, update wordpress website, wordpress update manual