

How to Generate a CSR in Windows-Based Server
Introduction
Generating a certificate signing request (CSR) is one of the pre-steps to get your own SSL certificate.
The following steps will guide you on how to generate CSR in a Windows-based server, where the corresponding SSL certificate will be installed.
Before we generate CSR for a domain, we need to obtain the following information.
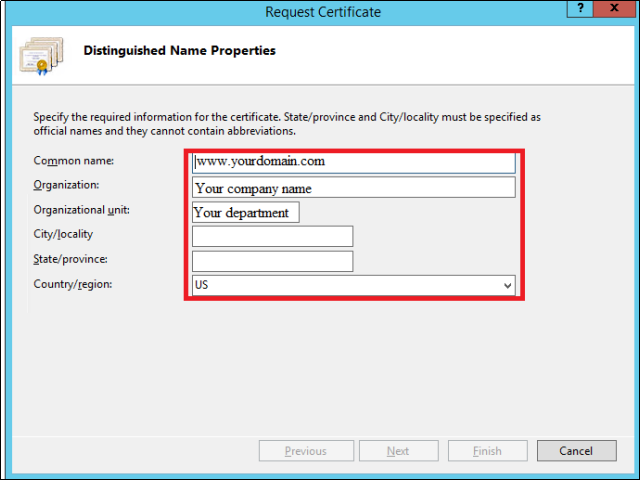
Common Name: The name of the domain requiring an SSL certificate

Organization: The name of your organization/company

Organizational Unit: Affiliated department

Locality (City):

State:

Country:
Steps to Generate CSR on Windows Server
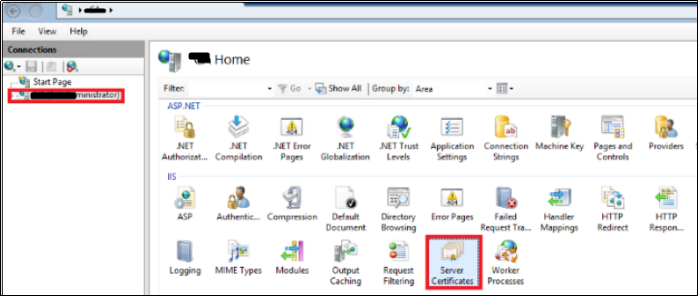
Step 1: Find the place where the CSR can be generated
- Log in to the server where you plan to install the certificate.
- Go to the IIS Server Certificate option.
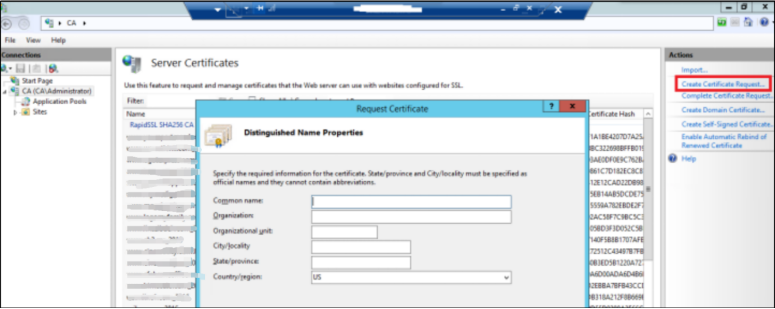
Step 2: Create a certificate request
Click Create Certificate Request in the right-hand of the panel.
Step 3: Fill in the CSR information
Fill in the CSR information as described before. Click Next.
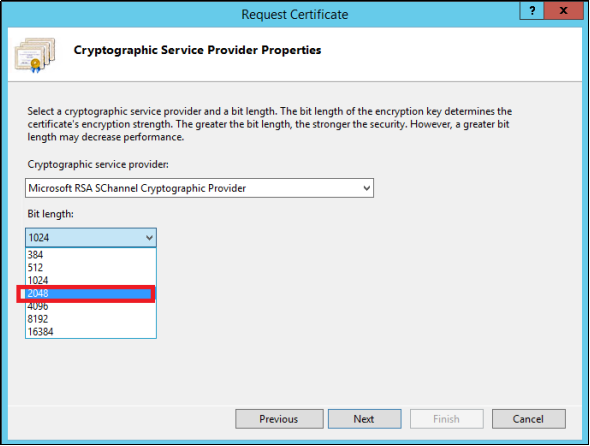
Step 4: Choose the encrypted length
Select the encrypt length for 2048 bits. Click Next.
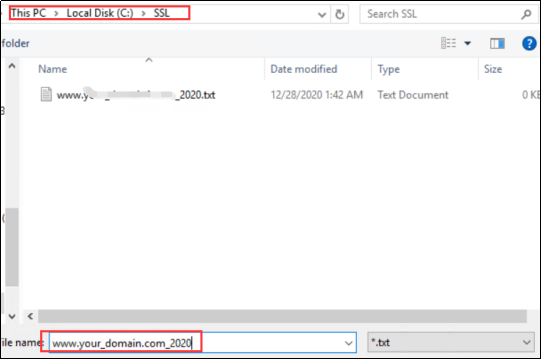
Step 5: Save the certificate request path
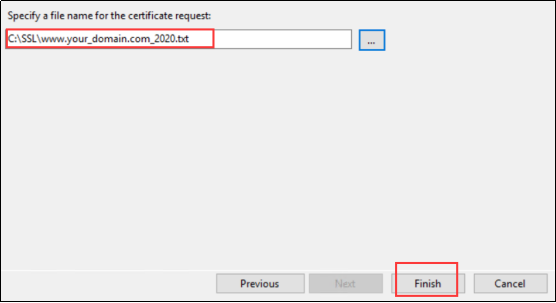
Specify a file name for the certificate request.
Step 6: Complete the CSR request
Click Finish to complete the CSR generating process.
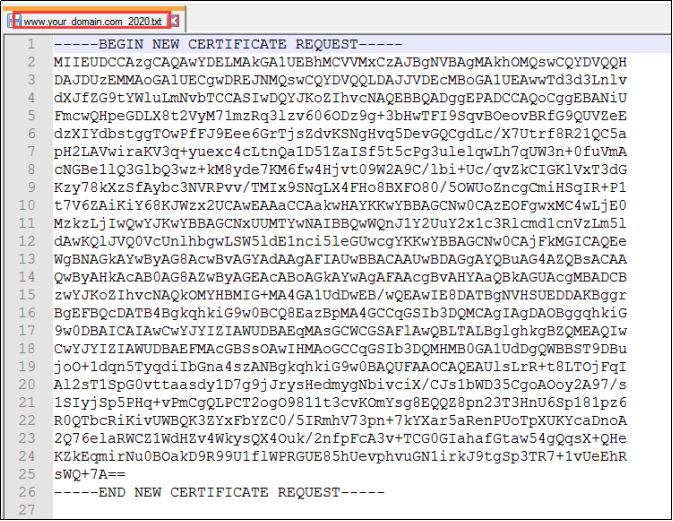
Step 7: Check the CSR file
Open the CSR file (C:\SSL\your_domain.com_2020.txt).
Step 8: The next step
Once you have completed all of the above steps, you can proceed to configure a certificate in the Billing system by referring to How to Configure a Certificate in the New Client Control Panel.