

How to Create Site in IIS Manually
Introduction
Adding a new website in IIS is essential for hosting multiple domains on a Windows server. This guide explains how to create a site in IIS, configure dedicated application pools, and test your site.
Whether you are a beginner or setting up IIS for the first time, this tutorial will make the process simple and clear.
How to Create a Site in IIS Manually?
Step 1: RDP to the Server
First, connect to your Windows server via RDP: How to RDP to the VPS or Dedicated Server
Once connected, you can start setting up your website.
Step 2: Create a Folder for the New Website Files
- If your server doesn’t already have a folder for web files, create a main folder called:
C:\Websites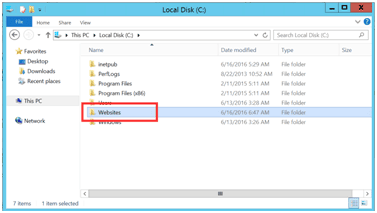
2. Inside the Websites folder, create a new folder named after your domain, e.g.:
C:\Websites\test.com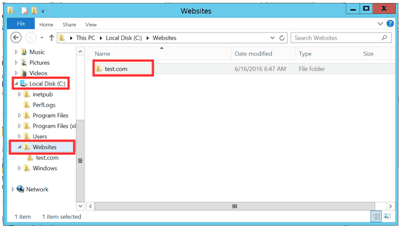
3. Inside the domain folder, create:
C:\Websites\test.com\wwwroot
C:\Websites\test.com\logwwwrootwill contain your website filesLogwill store server logs
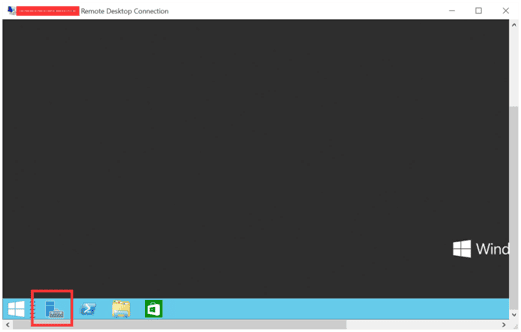
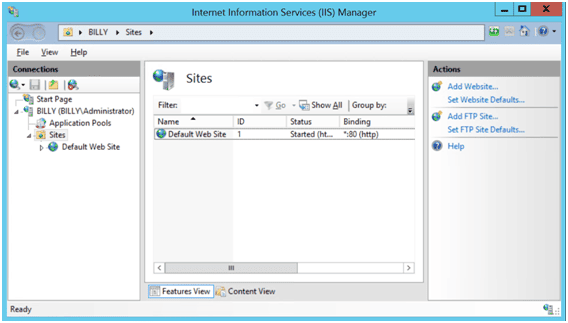
Step 3: Open IIS Management
- Click Server Manager from the Windows Start menu.
- In Server Manager, go to Tools → Internet Information Services (IIS) Manager. This opens the IIS interface, where you can manage websites
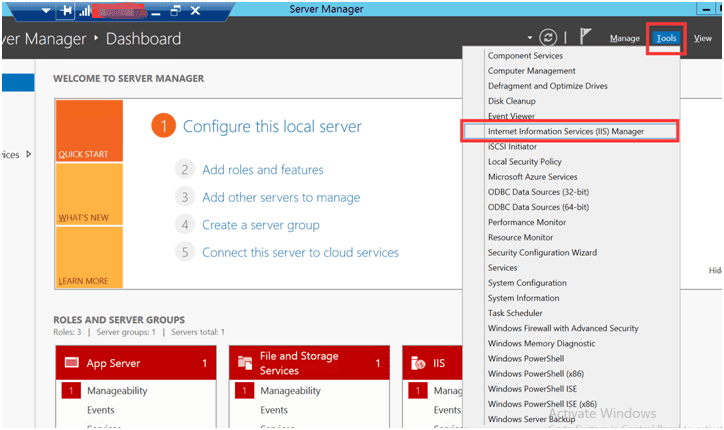
- Look at the Connections pane, Features View, and Actions panel. Understanding the interface helps when adding websites
Step 4: Add Dedicated Application Pools
It is recommended to create a dedicated Application Pool for each website.
- In IIS Manager, right-click Application Pools
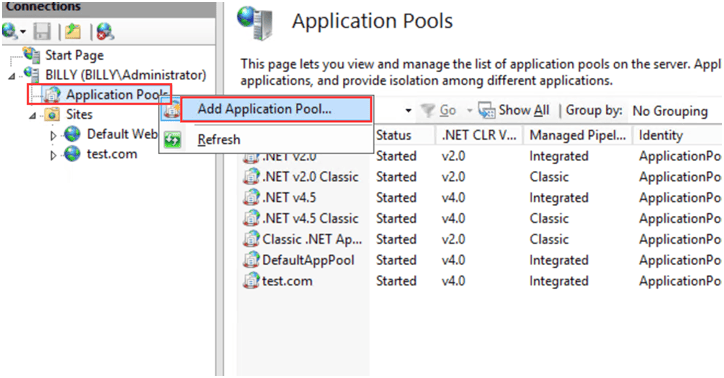
- Select Add Application Pool…
- Enter the domain name as the pool name
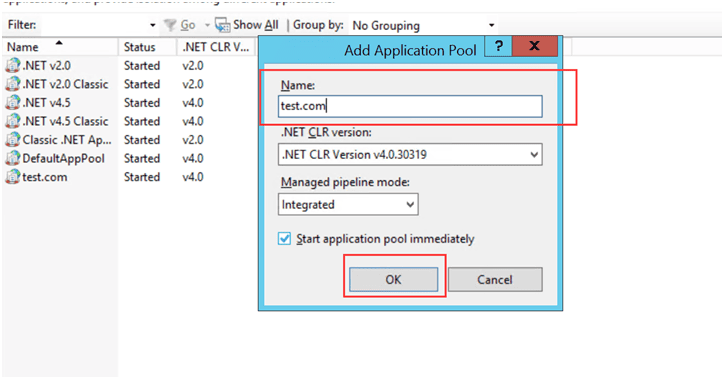
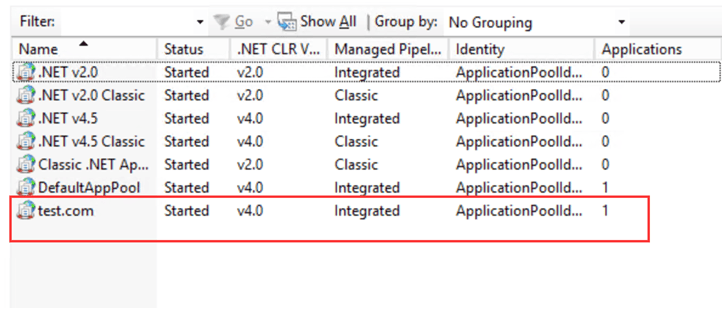
- Click OK
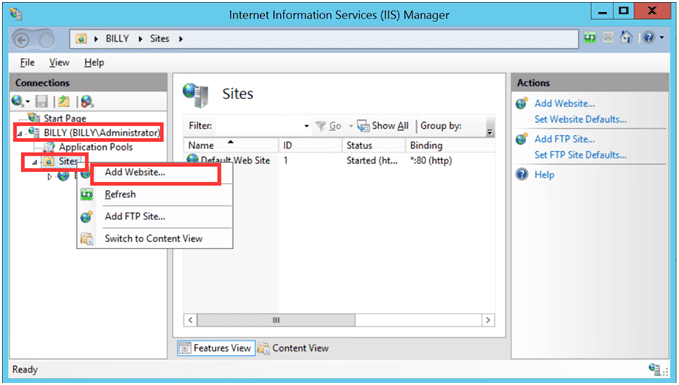
Step 5: Add a New Website in IIS
- In IIS Manager, right-click Sites → Add Website…
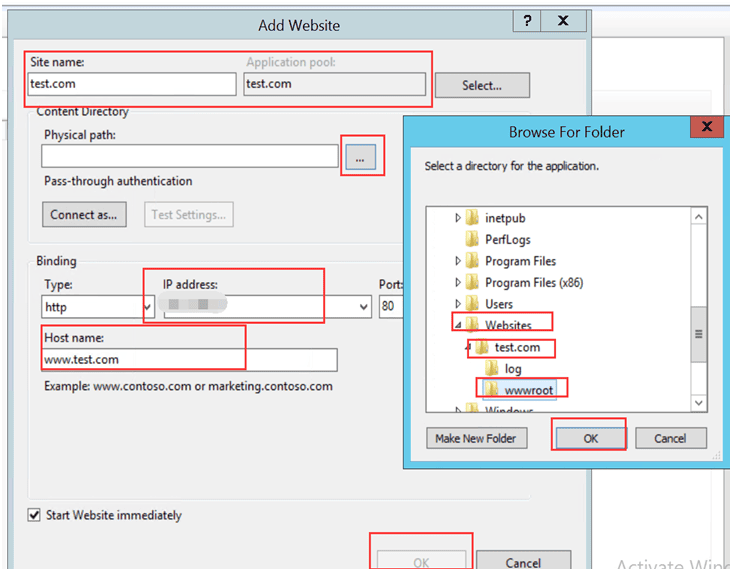
- Fill in the following details:
- Site Name: Your domain name (test.com)
- Physical Path: Browse to C:\Websites\test.com\wwwroot
- IP Address: Select the server IP (or use All Unassigned)
- Host Name: Enter your domain name (test.com)
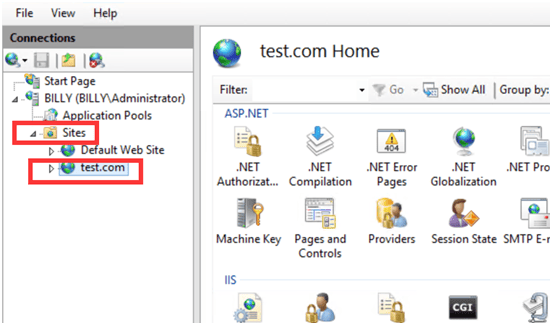
- Click OK to create the site
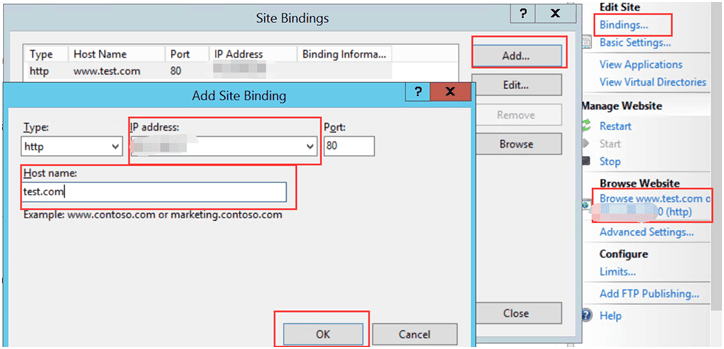
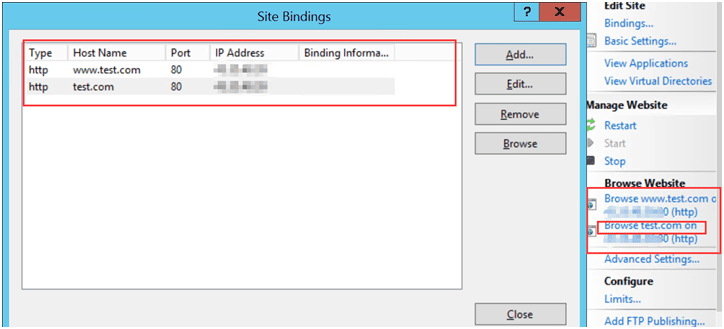
Step 6: Add Site Bindings
- Go to Site → Bindings…
- Add bindings for your domain:
- test.com
- www.test.com
- You can add any aliases or subdomains here
Step 7: Update Local Host File to Test the Website
Before DNS propagation, you can test your site locally:
- Edit the hosts file:
C:\Windows\System32\drivers\etc\hosts- Add a line with your server IP and domain:
192.168.1.10 test.com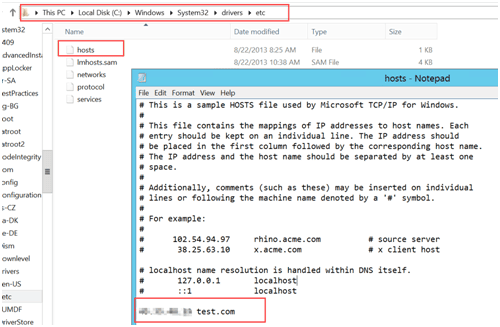
Step 8: Test the Website
- Create a file named
Default.aspxinsidewwwroot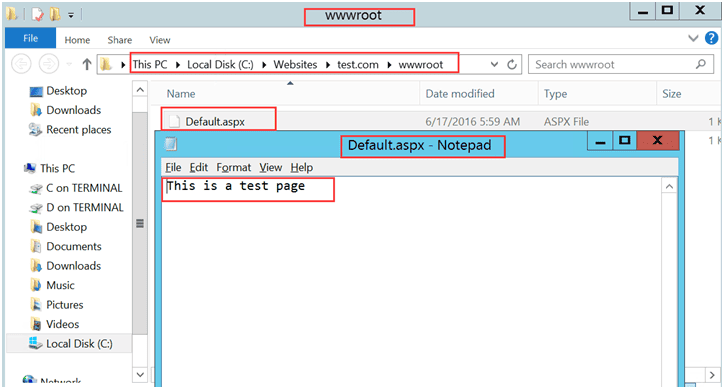
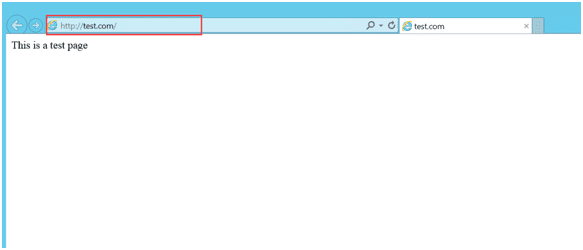
- Type your domain (
test.com) in the browser - You should see your new website
Conclusion
Adding a new website in IIS is straightforward when you follow the correct steps. By following this guide, you have learned how to:
- Create site in IIS manually
- Set up dedicated application pools for each website
- Configure site bindings including aliases
- Test your website using the local host file
Now you can confidently add website IIS, manage multiple sites on the server, and ensure that each site runs in its own isolated environment.
This method is perfect for beginners who want to iis create website, iis add site, or add new website in IIS without relying on control panels like WebsitePanel.
iis create website, create site in iis, add website iis, iis add site, add new website in iis, iis add new website