


How to Create Email Accounts in ISPConfig
Introduction
If you’re hosting your website or business on ISPConfig, you’ll also want to create email accounts for your domain. With ISPConfig, it’s easy to set up email accounts, manage users, and configure business email accounts that match your domain name.
This beginner-friendly guide will walk you through the full process of creating and setting up a new email account in ISPConfig, step by step.
Why Use ISPConfig for Email Accounts?
ISPConfig makes it simple to manage email accounts directly from the same control panel where you manage your website and database. By creating a business email account (e.g., info@yourdomain.com), you project a professional image and have more control over your email system compared to free email providers.
Steps to Create an Email Account
Step 1: Login to ISPConfig
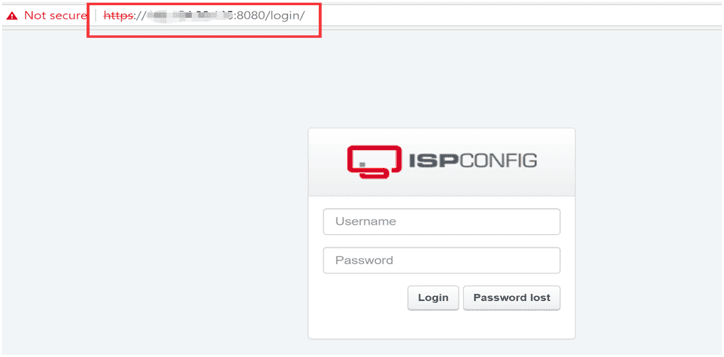
- Open your browser and go to your ISPConfig control panel URL:
https://your-server-ip:8080/orhttps://yourdomain.com:8080/ - Enter your admin username and password to log in.
Step 2: Open Email Management
- After logging in, click the “Email” button on the ISPConfig home page.
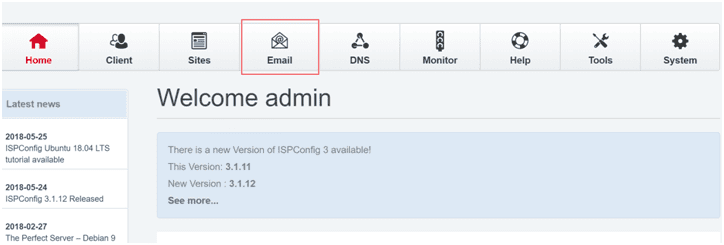
- This will take you to the email management dashboard, where you can create and manage all your email accounts.
Step 3: Create a Mail Domain
Before you can create an email account, you need to set up a mail domain:
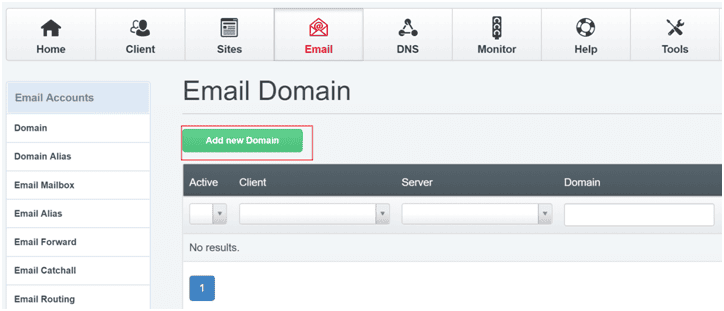
- In the Email section, click “Add new Domain”.
- Select your website’s domain (e.g., yourdomain.com).
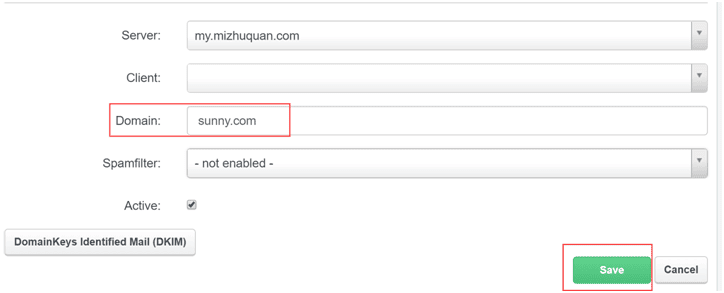
- Save the settings.
This step links your domain name to the ISPConfig mail server so you can start creating email accounts under it.
Step 4: Add a New Email Account
Now that your mail domain is ready, you can set up a new email account:
- In the Email section, click “Email Mailbox” from the left menu.
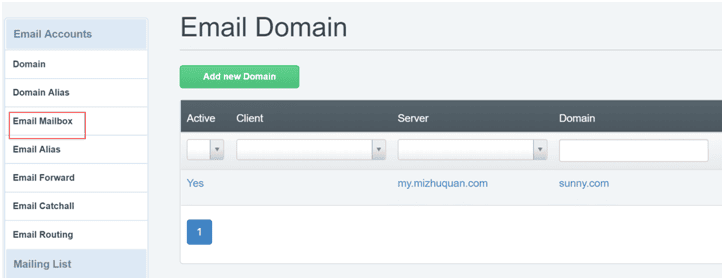
- Click “Add new Mailbox”.
- Fill in the required details:
- Username: This will be the first part of your email address (e.g., “info” → info@yourdomain.com).
- Password: Create a strong password for your mailbox.
- Domain: Select the domain you created earlier.
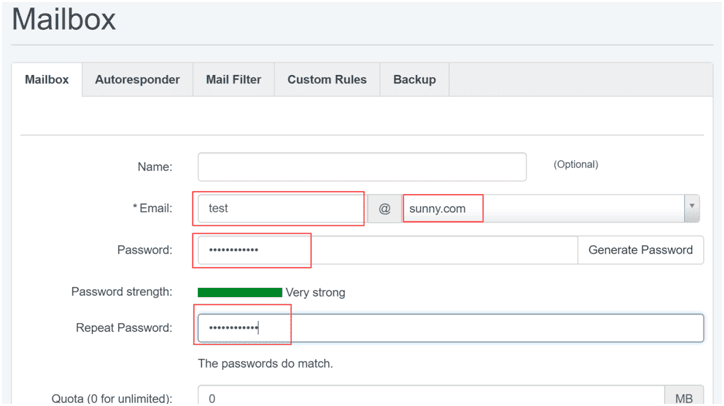
- Save your changes.
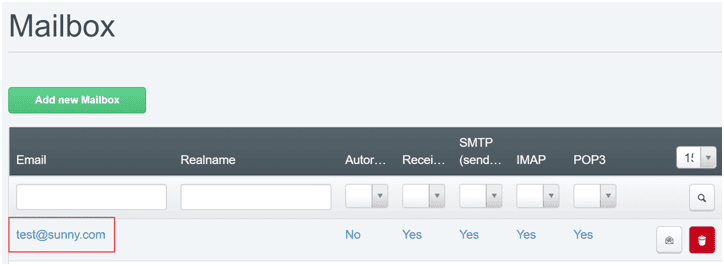
Congratulations! You’ve just created an email account in ISPConfig.
Conclusion
With just a few steps, you can create email accounts in ISPConfig and manage them easily. Whether you’re setting up a business email account for your company or just creating a new email account for personal use, ISPConfig provides all the tools you need.
By following this guide, even beginners can quickly set up email accounts and configure email accounts without confusion.
email account, create email account, setup email, setup email account, configure email account, business email account, create email, new email account