


How to Install ISPConfig on Linux
ISPConfig is a free, open-source control panel for managing websites, databases, email, DNS, and FTP services on Linux servers. It is a cost-effective solution for businesses and hosting providers that need flexible server hosting without expensive control panel licenses. This guide covers the basic installation process, configuration, and alternatives for users running Linux-based hosting environments.
What Is ISPConfig?
ISPConfig provides a web-based interface for managing multiple websites and hosting services from one server. Its main features include:
- Website management: Configure domains, virtual hosts, SSL certificates, and PHP settings.
- Email management: Create email accounts, forwarding rules, and spam filters.
- DNS management: Create DNS zones and manage DNS records.
- Database management: Manage MySQL or MariaDB databases and users.
- FTP management: Create accounts and configure file access permissions.
For a hosting provider operating a USA hosting service or managing multiple client websites, ISPConfig offers a flexible way to centralize server administration.
Steps to Install ISPConfig
This tutorial follows the original installation package and procedure for Ubuntu 22.04, Ubuntu 20.04, Ubuntu 18.04, and CentOS 7. Important: CentOS 7 and Ubuntu 18.04 are outdated, and Ubuntu 20.04 has passed its standard support period. Check the package's current compatibility and use a supported operating system for new deployments. The installation package referenced below may also be outdated or unavailable.
1. Install wget and Download the Installation Package
On Ubuntu, install wget with:
sudo apt-get update
sudo apt-get -y install wget
On CentOS 7, use:
sudo yum -y install wget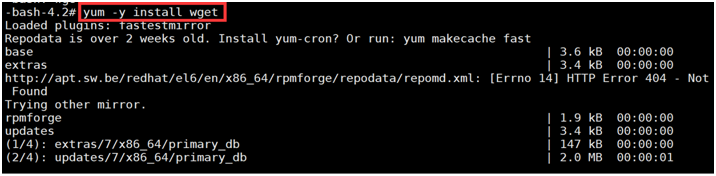
Download the installation package:
cd /usr/local/src
wget https://gitlab.cloudclusters.net/public_package/ispconfig/raw/master/ispconfig_basic_install.tar.gz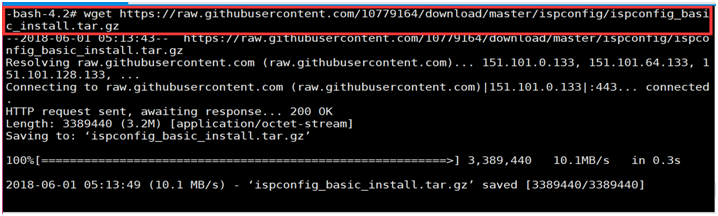
Only use this package if its source and integrity can be verified. For a new installation, consult the official ISPConfig website for current installation instructions.
2. Extract the Installation Package
Run:
tar -xvf ispconfig_basic_install.tar.gz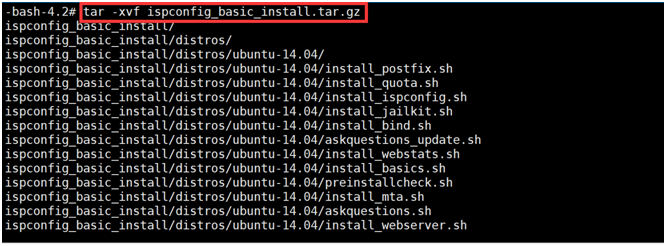
3. Install ISPConfig
Navigate to the extracted directory:
cd ispconfig_basic_installStart the installation:
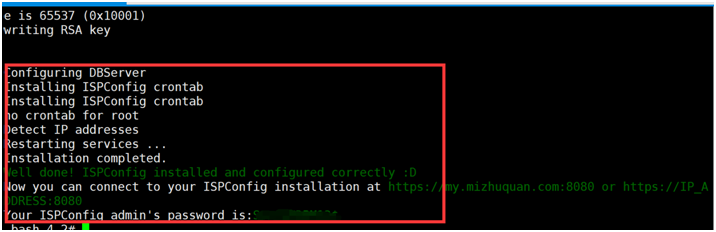
sudo bash install.sh
The installation may take around 30 minutes, depending on your server and network. Follow the prompts to configure the database root password, select a web server, and set the ISPConfig administrator password.
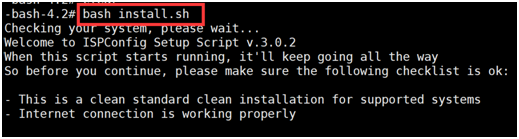
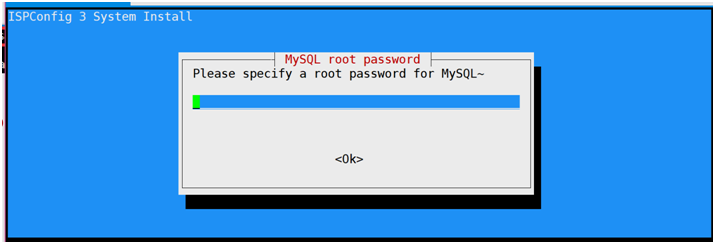
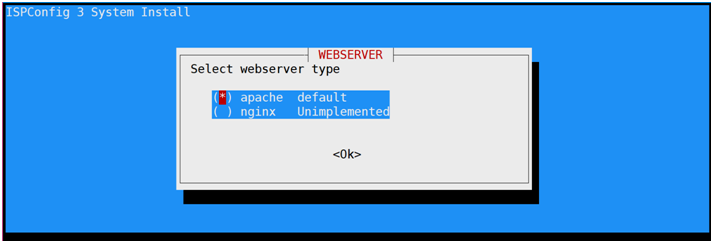
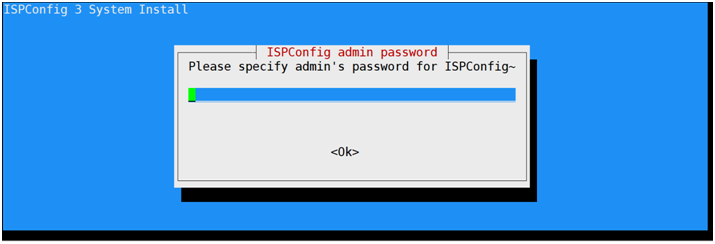

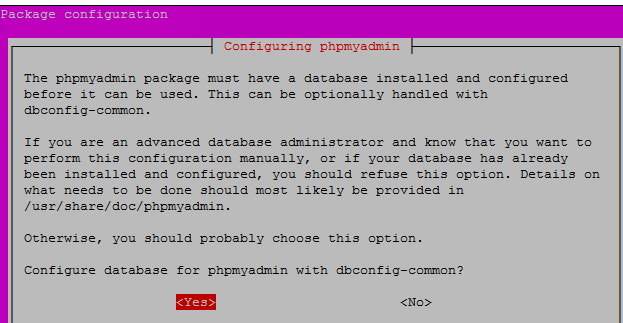
If the installer displays the phpMyAdmin configuration prompt shown below, select No if you do not want to configure phpMyAdmin at this stage.
4. Log In to ISPConfig
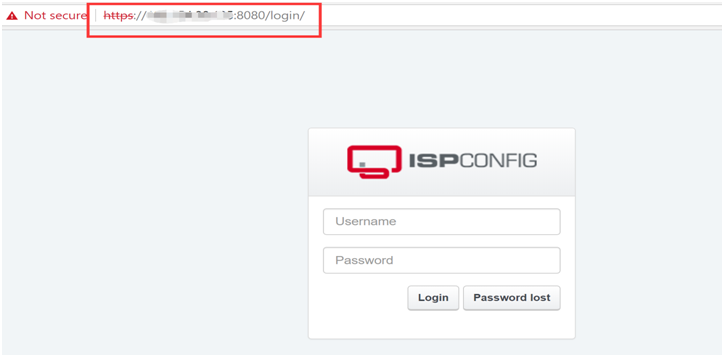
After installation, open the following address in your browser, replacing the placeholder with your server's IP address:
https://YOUR_SERVER_IP:8080/
- Username:
admin - Password: The ISPConfig administrator password configured during installation.
Ensure that port 8080 is allowed by your firewall and that the ISPConfig service is accessible.
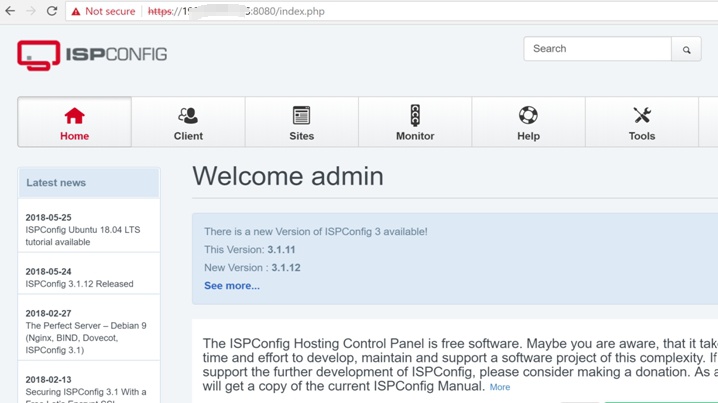
The basic installation includes the core web hosting components specified by the package. Additional services, such as DNS and email, may require further configuration.
5. Install Mail and DNS Services
Return to the installation directory:
cd /usr/local/src/ispconfig_basic_install
sudo bash update.sh
Follow the prompts to select the services you want to install. Depending on the package, you may be asked to enter the MySQL root password, confirm the web server, and configure the Roundcube database password.
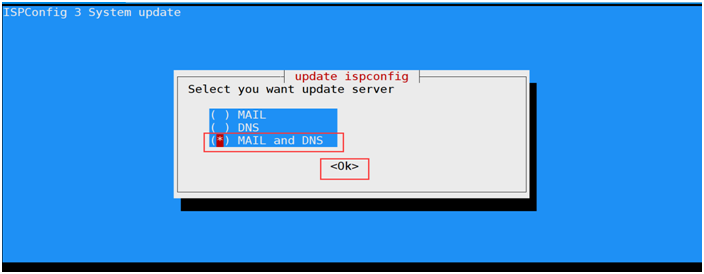
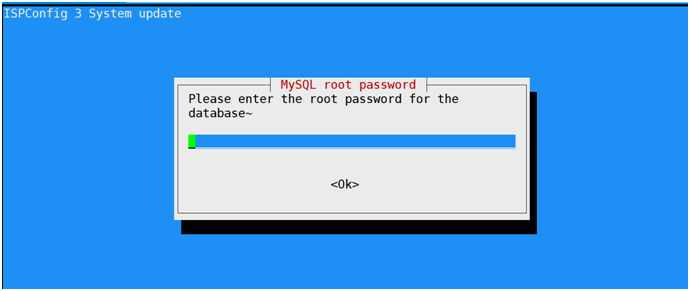
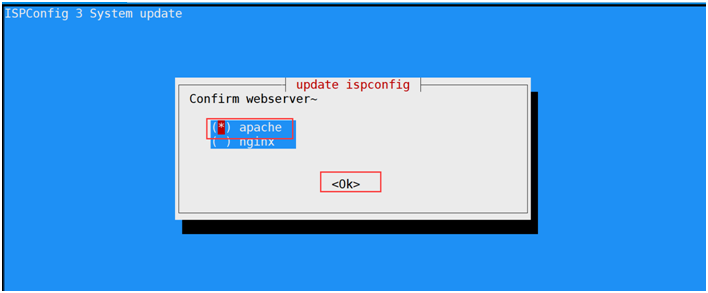
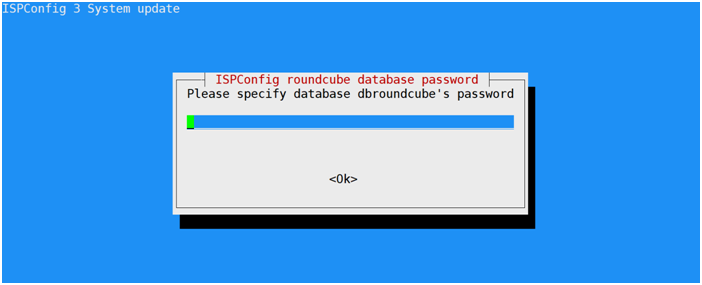
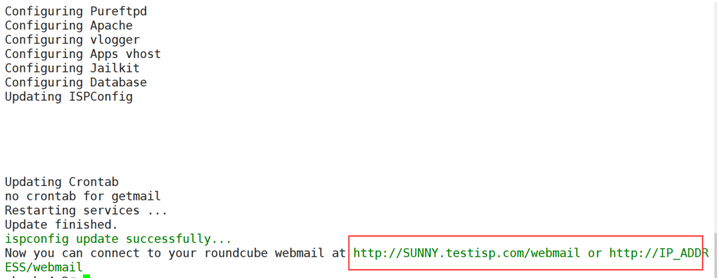
The available services depend on the installer version and the selected configuration.
6. Verify the Installation
Log in to ISPConfig again and check whether the selected DNS and mail services are available.
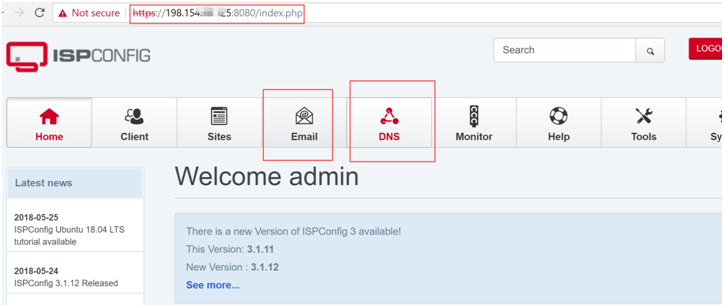
You can now use the control panel to manage websites and other configured hosting services. Before deploying production websites, verify firewall rules, SSL certificates, DNS records, mail delivery, backups, and server security.
ISPConfig Alternatives
If ISPConfig does not meet your requirements, consider these alternatives:
- cPanel: A widely used commercial control panel with website, email, database, and server management tools. It requires a paid license.
- Plesk: Supports Linux and Windows servers and provides tools for managing websites, email, databases, and security.
- Webmin: An open-source web interface for general Linux server administration.
- Virtualmin: Built on Webmin, with features for hosting multiple websites, managing email, and configuring databases.
- DirectAdmin: A commercial control panel known for its relatively lightweight interface and server management features.
Compare current pricing, operating system compatibility, required features, and resource usage before choosing a control panel.
Conclusion
ISPConfig provides a flexible, open-source solution for managing Linux hosting servers without a paid control panel license. Follow the installation steps that match your operating system, verify that the installation package is trustworthy and compatible, and secure the server before hosting production websites. Whether you manage your own infrastructure or operate as a USA hosting provider, choosing a supported OS and maintaining reliable backups are essential for secure server hosting.