


How to Install MailEnable on Windows VPS
This beginner-friendly guide explains how to install and configure MailEnable on a Windows VPS. It covers downloading the installer, selecting components, creating a post office, configuring SMTP, and post-installation security settings, helping you quickly set up your own email server.
What is MailEnable?
MailEnable is a free Windows mail server software that allows you to set up your own email server on a Windows VPS. It’s suitable for businesses or individuals who want full control over their email system.
Steps to Install MailEnable
1. Download and Run the Installer
- Go to the MailEnable official download page and download the installer.
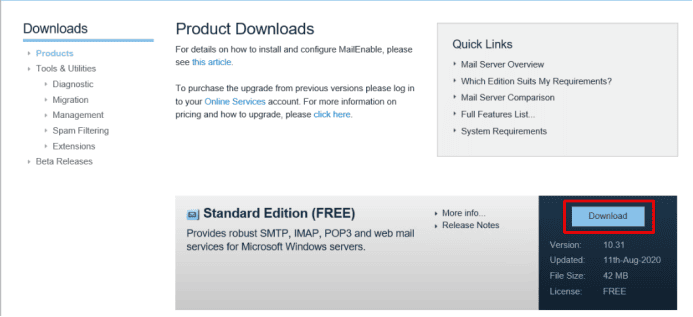
- Double-click the file and click OK to allow Windows User Account Control if prompted.
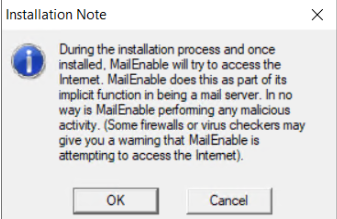
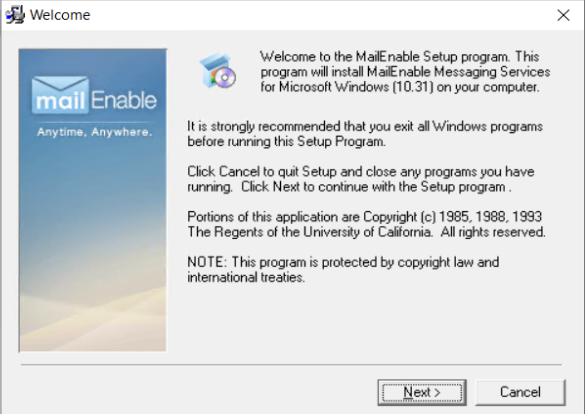
- Follow the setup wizard and click Next.
2. Enter Registration Details
- Fill in your Name and Company (optional for Free edition).
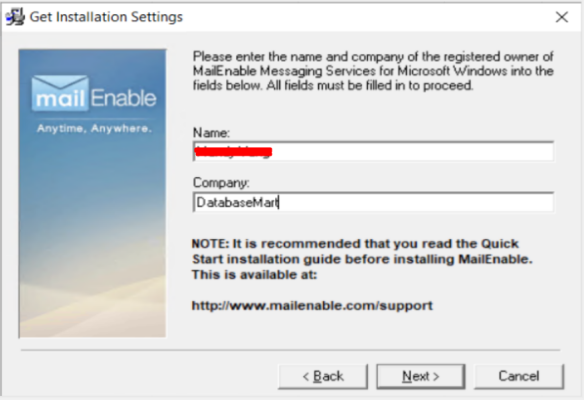
- Click Next to continue.
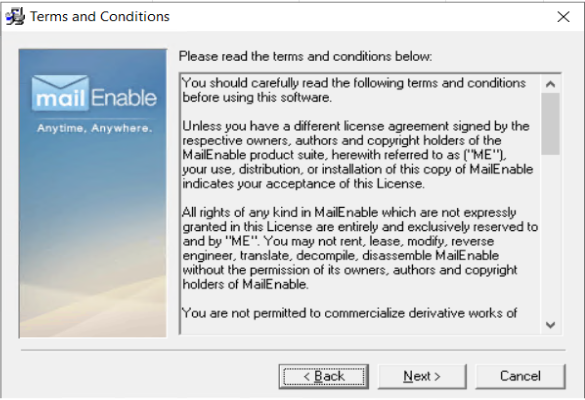
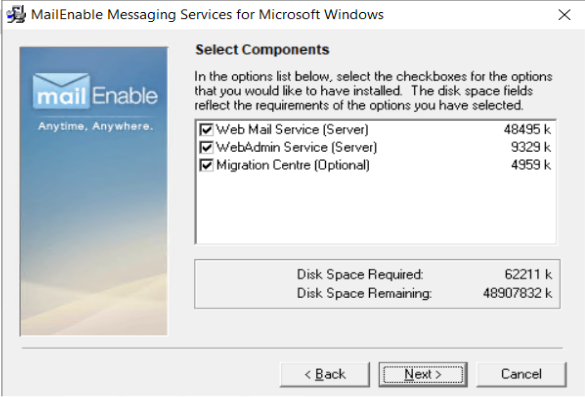
3. Select Components and Installation Location
- Choose components (e.g., SMTP Service, POP3/IMAP, Webmail). Then click Next.
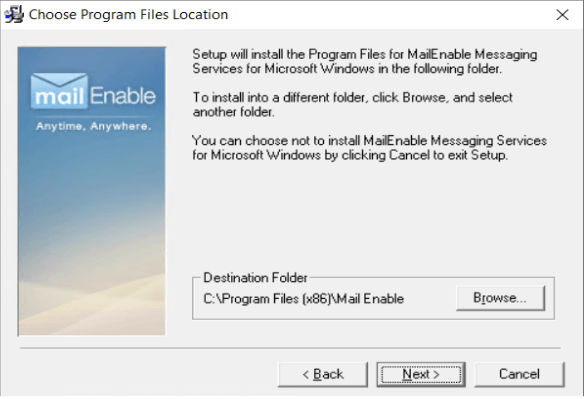
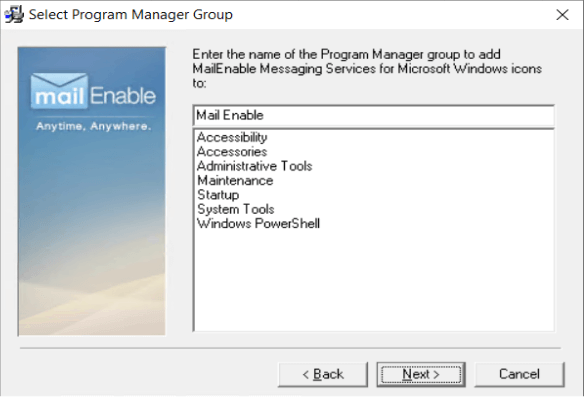
- Accept the default installation location and Program Group. Click Next.
4. Configure Post Office and SMTP
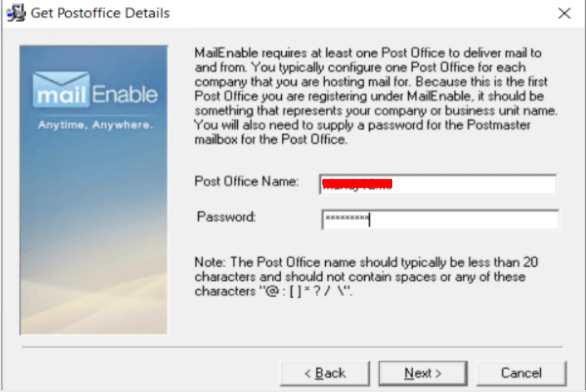
- Create the initial Post Office and set a secure password.
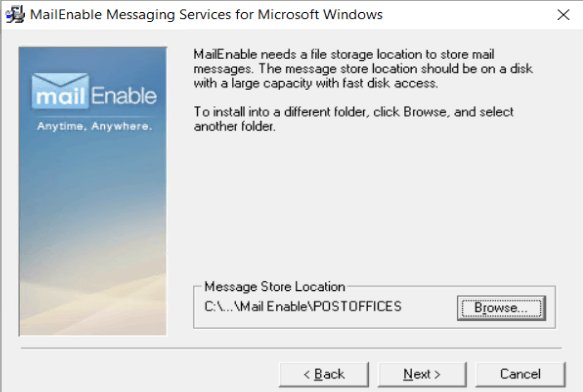
- Selecting Message Store Location. Click Next.
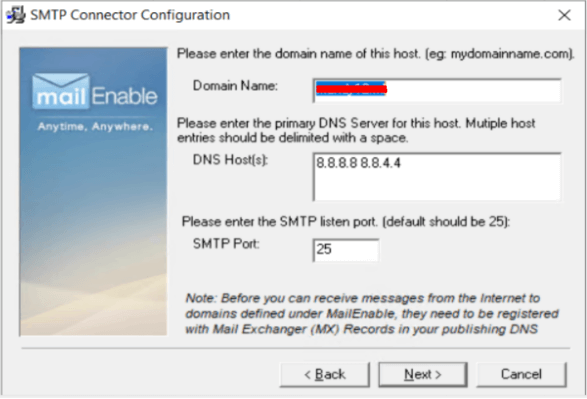
- Enter the Domain Name, DNS Host, and SMTP Port (25 by default).
- Click Next.
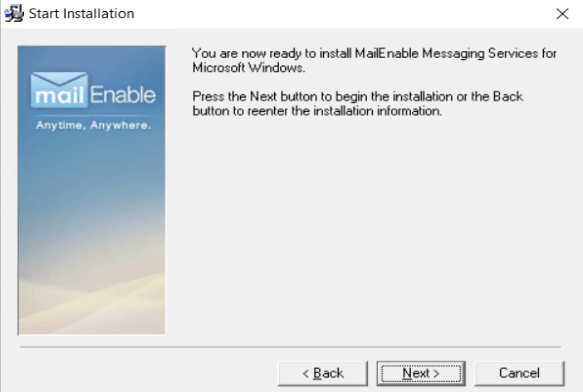
5. Install and Finish
- Review your settings and click Next to start installation.
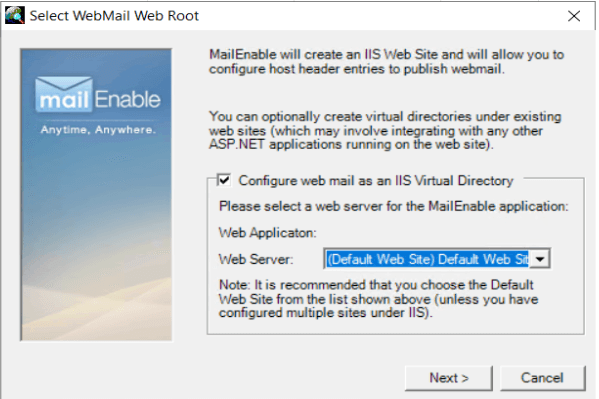
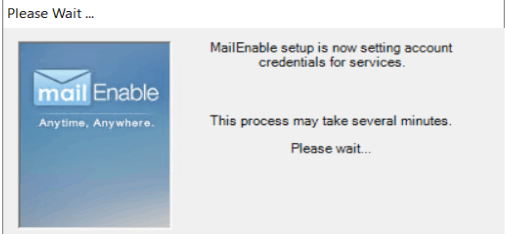
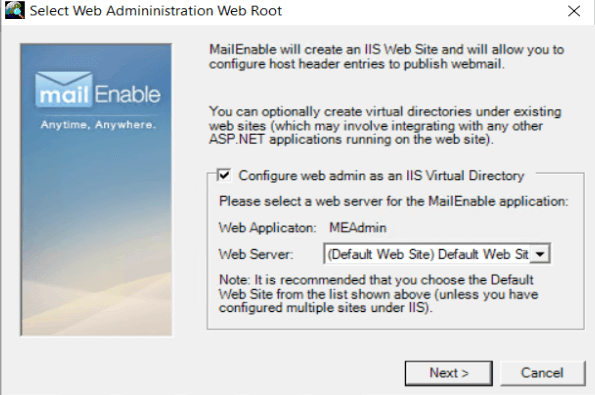
- Check the web admin as an IIS Virtual Directory. Then click Next.
- Wait for setup to complete, then click Finish.
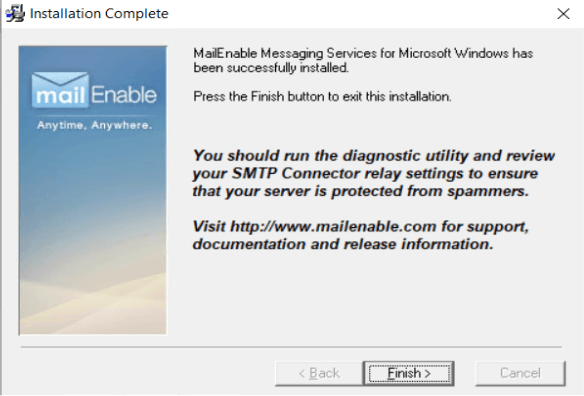
- Reboot the server if prompted.
6. Post-Installation Configuration
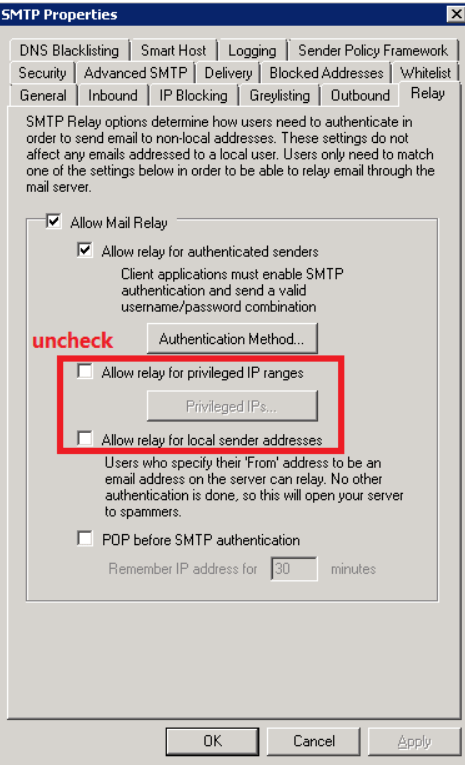
Restrict Relay Sending:
Uncheck 2 options to restrict relay to prevent sending spam.
Restrict Sender Domain:
In the Security option, check the following four options.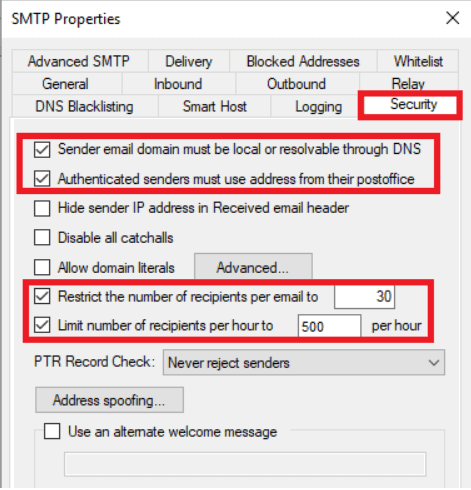
Enable TLS Encryption:
Protect email transmission with TLS for security.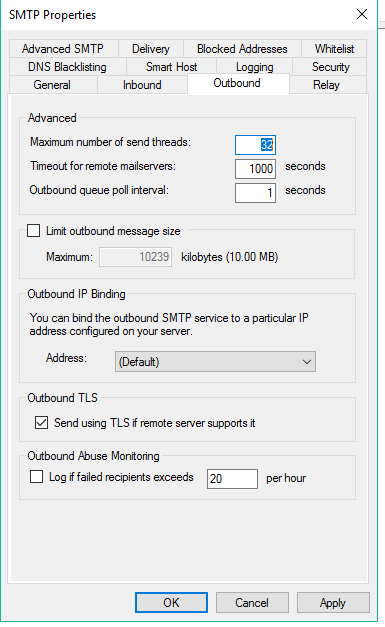
Important Notes for Beginners
📌Your system may require a restart after installation.
📌Make sure your firewall allows ports 25, 110, 143, 587, etc.
📌Always backup important data before installation to prevent loss.
Keywords:
hostinger mail, mail hosting service, domain with email, windows vps, free email hosting services server, mailenable setup, free email server, install mailenable windows, windows vps mail server, smtp server setup, beginner email hosting guide, how to host your own email
Outline